Add Records
Before you begin
App users cannot add data directly to the table. Ensure that you have linked appropriate widgets to enter the table row data for addition to the table. See Add Rows to a Table Using a Table Block and Prepare Widgets for Record Editing.
Modify the Page Controls
About this task
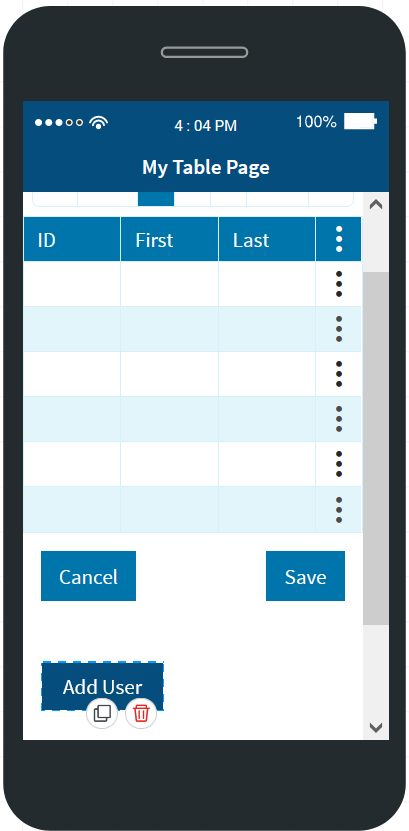
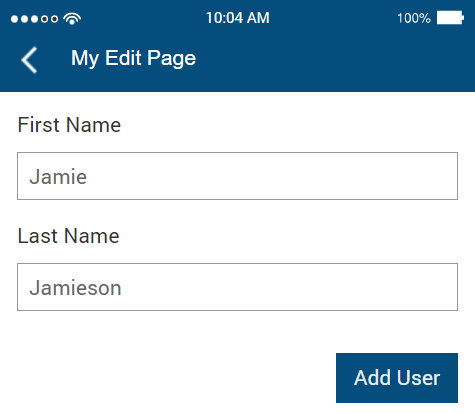
In this exercise, we will create an Add User button to navigate to the record editing page. On the record editing page, we will create another Add User button to save the new record.
Procedure
- In the Canvas, open the Widgets tab.
- From the list of forms and pages, select the page with the table. Double-click or drag and drop a Button widget and place it below the table on the form.
-
In the Button Properties tab, go to the
Display Text field and enter Add User.
- Click the button's Events tab. Under the Events dropdown, select On Click.
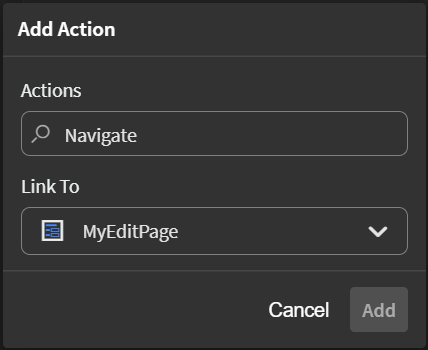
- Below the Events dropdown, click the Add button. The Add Action pop-up will open.
-
From the Actions dropdown, select Navigate. From the
Link To dropdown, select the name of the record
editing page. Click Add.
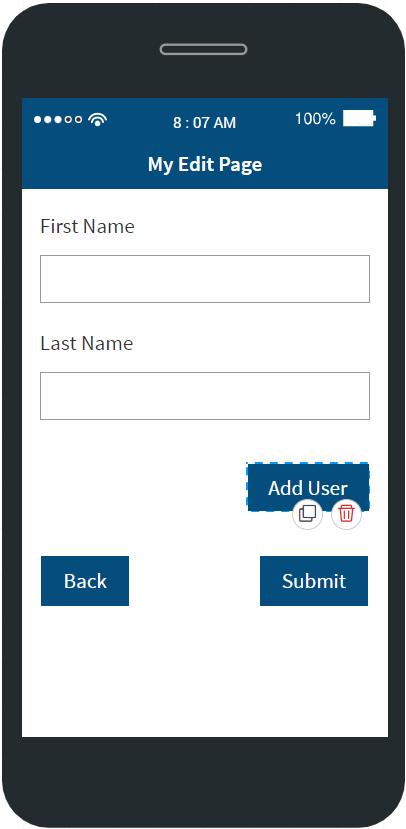
- From the list of forms and pages, select the record editing page. Double-click or drag and drop a Button widget and place it below the table on the form.
-
In the Button Properties tab, go to the
Display Text field and enter Add User.
Prepare the Blockly Code
Procedure
- For the Add User button, click the Events tab. Under the Events dropdown, select On Click.
- Below the Events dropdown, click the Add button. The Add Action pop-up will open.
- From the Actions dropdown, select Run Blockly. Click Blockly Editor, and the Blockly editor will open.
- In the Blockly Name field, enter a name for the Blockly script.
-
In the Blockly editor's left-hand panel, click the
Connections group and drag a
connection block into the main area.
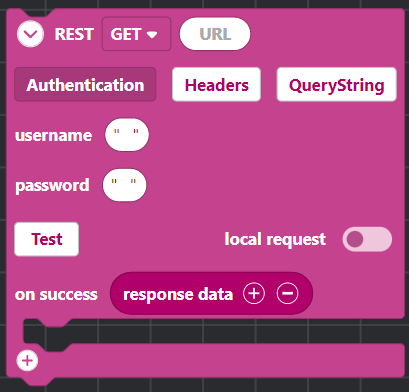
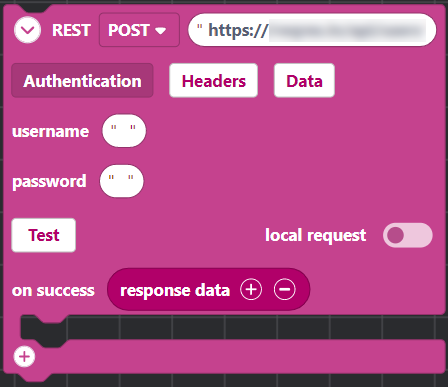
-
In the REST dropdown, select
POST to allow new data to be added to the data
source. In the URL block, enter the address of the database API (Application
Programming Interface) connection.
-
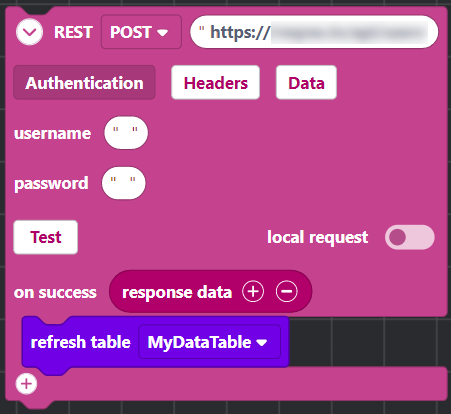
To update the data on the table after an edit is committed, you must
request a refresh. Click the Table group, and drag
the refresh table block to the on
success section of the connection
block. From the refresh table dropdown, select the
name of the table to be refreshed.
-
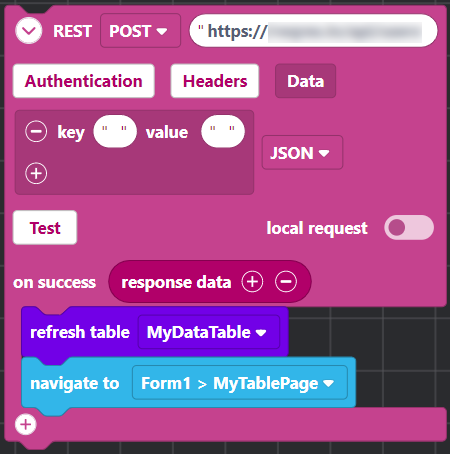
Once the table is updated, you will want the app to navigate to the table
page to see the results. Click the App Actions group,
and drag the navigate to block below the
refresh table block. From the navigate
to dropdown, select the name of the table page.

-
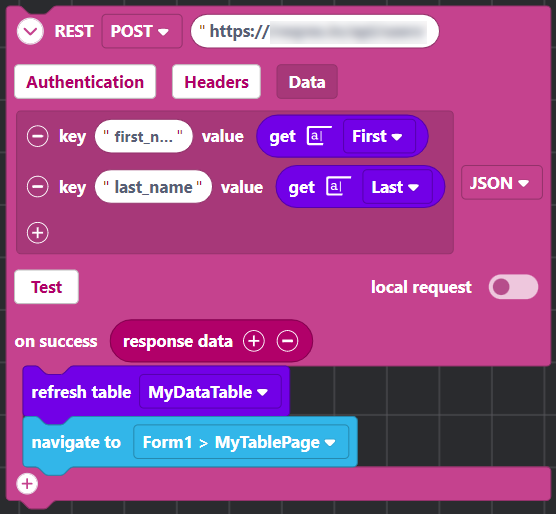
To link source data with the edited fields, perform the following:
-
Click the Data button. Beside the JSON
dropdown, click the Add button.
-
Click the Add button, and repeat this step
for all edited fields.
-
Click the Data button. Beside the JSON
dropdown, click the Add button.
- Click Save. You will return to the Canvas.
-
Select Save in the SOTI Snap
banner to apply your changes.

Test the Blockly Code
About this task
To test your Blockly code, perform the following:
Procedure
-
In the Canvas, click the
preview button to run the app. The
Preview Options window will open.

- Click Preview to accept the default skin. The app will open.
- On the table page, click the Add User button. The record editing page will open.
-
On the record editing page, enter the first and last names of a new user.
Click Add User to save the record and return to the
table page.
- Review the table to ensure the new record is present.
Results
Changes to records should be reflected in the table's row data. If not, check the steps taken under Prepare Widgets for Record Editing, Modify the Page Controls, and Prepare the Blockly Code above.