Add a User List Widget
Before you begin
About this task
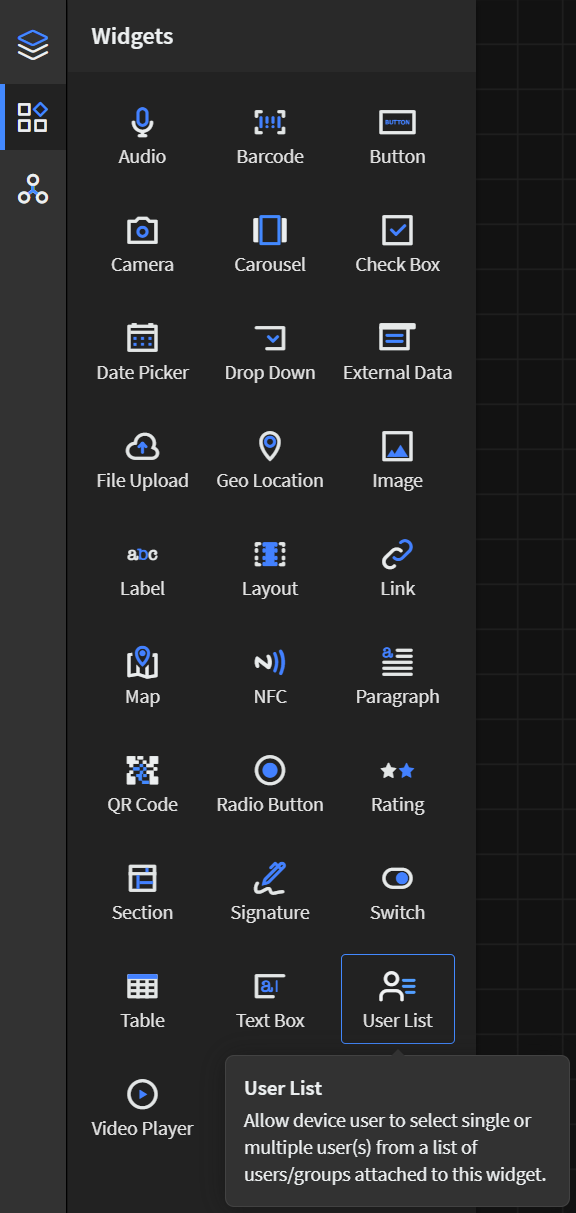
Use the User List widget to create a filtered list of users or user groups
from which the app user can select. The typical application for the User
List widget is to select authorized approvers in workflow
applications.
Note: The list of available users are from
SOTI Identity and includes any integrated third-party
identity providers (IDPs).
Procedure
- In the Canvas, open the Widgets tab.
-
Drag the User List widget onto the app canvas.

- In the User List Properties panel, enter an ID and Name for the widget or keep the defaults.
- Optional: Use the Display text field to give hint text indicating the type of content to enter in the text box. The display text disappears when the user makes a selection.
-
In General, set the following options:
Option Description Required Select to require the user to make a selection from the list. Allow Multiple Value Selection Select to allow the user to select more than one list item. Preserve The Last Submitted Value
Select to offer the user's last selection each time the user browses the list. -
In Users & Groups, set the following options to decide
the users and groups that the app user may select:
Note: You must specify at least one user or group.
Option Description Allow All Users & Groups
Options: - Turn on to make all users and groups selectable.
- Turn off to set specific users or groups as selectable.
List Of Users Which Can Be Selected Select the users to populate the user list. List Of Groups Which Can Be Selected
Select the user groups to populate the user list. -
In the Widget Alignment section, choose how you want to
align your widget in the app.
- Align Left
- Center
- Align Right
- Optional:
In the Rules section, add a requirement rule to the
widget.
Use requirement rules to specify whether the app user must configure this widget or can skip it.
- Select Requirement Rule to open the Set Requirement Rule dialog box.
- Select whether the requirement rule requires meeting all or any conditions.
- From the Field list, select an app field or variable and an operator. Enter the value required for the widget to be visible.
- Select Add Condition to add another condition.
- Select OK to save.
- Optional:
In the Rules section, add a visibility rule to the widget.
Use visibility rules to control when a widget is visible to the app user. For example, you can create a condition that a widget should only appear after the app user fills in a field or submits a form.
- Select Visibility Rule to open the Set Visibility Rule dialog box.
- Select whether the visibility rule requires meeting all or any conditions.
- Select an app field or variable and an operator from the Field list. Enter the value required for the widget to be visible.
- Select Add Condition to add another condition.
- Select Save.
- Move to the Format tab to customize the widget's appearance.
- Optional:
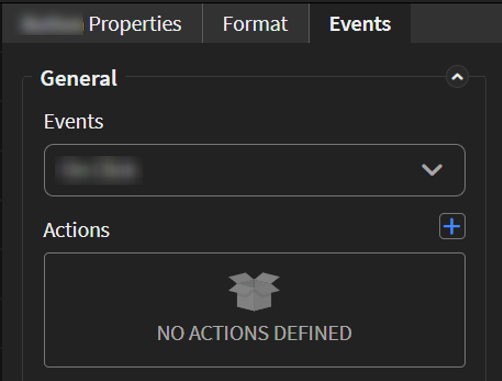
Add events and actions to the widget.
Events are activities that you can set to trigger an Action. For example, you can configure a widget to navigate to a new section in the app when the user selects it.Important: Events and actions offer a wide range of combinations. The following steps are guidelines only. Replace the listed events and actions with ones that suit your app's needs and structure. Learn more about available events and actions at Events and Actions.
-
Select Save in the SOTI Snap
banner to apply your changes.

Results
Tip: Select
Preview to see how the widget appears in your app.
