Add a Business Card Reader Widget
Before you begin
Restriction: You can only have a maximum of one Business Card widget per
application.
About this task
Use the Business Card Reader widget to perform a quick scan of any business card to your form. This quick scan removes the time and effort required to copy information from business cards into your system. The Business Card Reader widget uses Optical Character Recognition (OCR) to translate visual information from a camera image or stored picture into written content. It is also possible to manually enter contact information when you do not have a business card.
The Business Card Reader widget captures the
following contact information fields:
The raw data gathered by the reader is also viewable on demand.
- Name
- Title
- Phone
- Company
Since SOTI Snap 2024.1.0 and later, when this widget
reads a business card image, the image is also saved into the SOTI Snap report. You can toggle Use Online
Classifier (with the application having internet access) to retrieve
a more accurate scan.
Notice: When the application
does not have internet access or the toggle is off, SOTI Snap generates a less accurate
scan.
Procedure
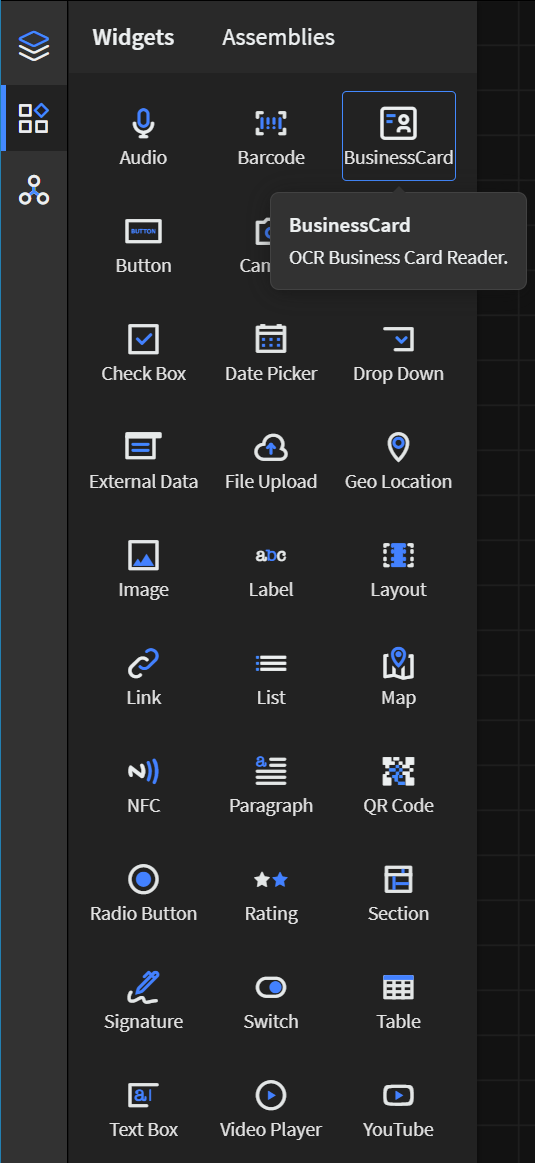
- In the Canvas, open the Widgets tab.
-
Drag the Business Card Reader widget onto the app
canvas.
- In the Business Card Properties panel, enter an ID and Name for the widget or keep the defaults.
- Use the color picker to select a background color for the widget in Color Scale.
- In the Text Formatting section, change the default formatting settings for text.
- Optional:
In the Rules section, add a visibility rule to the widget.
Use visibility rules to control when a widget is visible to the app user. For example, you can create a condition that a widget should only appear after the app user fills in a field or submits a form.
- Select Visibility Rule to open the Set Visibility Rule dialog box.
- Select whether the visibility rule requires meeting all or any conditions.
- Select an app field or variable and an operator from the Field list. Enter the value required for the widget to be visible.
- Select Add Condition to add another condition.
- Select Save.
- Move to the Format tab to customize the widget's appearance.
- Optional:
Add events and actions to the widget.
Events are activities that you can set to trigger an Action. For example, you can configure a widget to navigate to a new section in the app when the user selects it.Important: Events and actions offer a wide range of combinations. The following steps are guidelines only. Replace the listed events and actions with ones that suit your app's needs and structure. Learn more about available events and actions at Events and Actions.
-
Move to the Events tab.
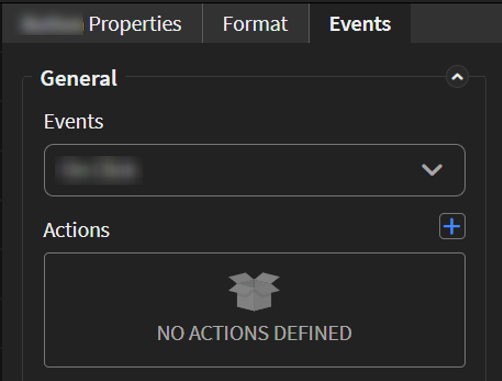
-
Move to the Events tab.
-
Select Save in the SOTI Snap
banner to apply your changes.
