Add a QR Code Widget
About this task
The QR Code widget generates a Quick Response (QR) code to contain selected capture fields from your app. From the app, the user taps the widget to generate the QR code containing data from their form. The system that scans the QR code receives the data in a predetermined format (JSON, XML, or a custom delimited string). This feature enables data copying between two form systems, saving time and reducing errors caused by entering data manually.
Procedure
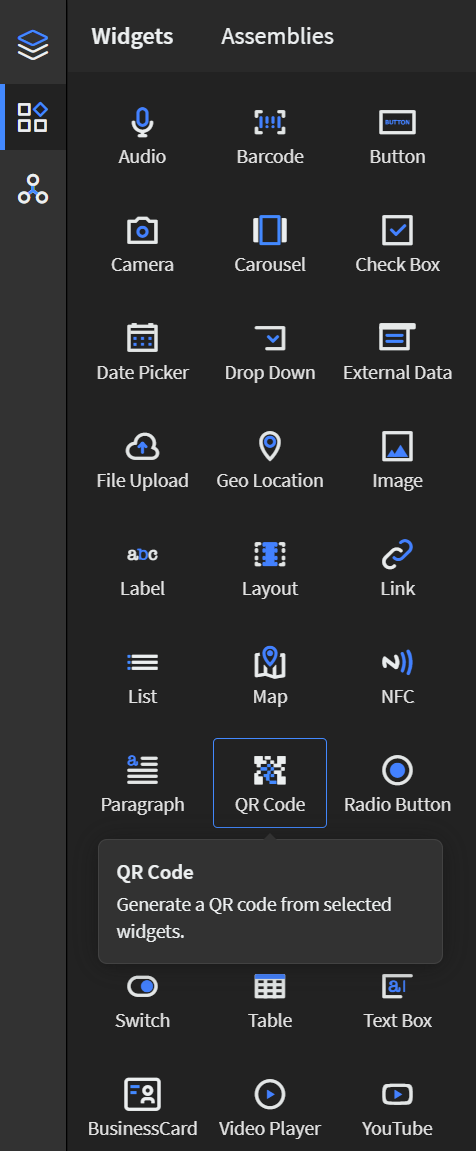
- In the Canvas, open the Widgets tab.
-
Drag the QR Code widget onto the app canvas.
- In the QR Code Properties panel, enter an ID and Name for the widget or keep the defaults.
- In Content Settings, select Select Data. A list of widget field names from your app appears.
-
From the list, select all the widget fields whose data you wish to include in
the QR code content. Drag the widget field names to place them in the desired
order.
Note: The maximum data size of the formatted output is 4,296 alphanumeric characters.
-
In Format Settings, set the following details that
govern the output format of the encoded data:
Option Description JSON Output data in the JSON format. Example:
{"Product Name":"Door hinge","Product Code":"DH-4289-001","Product Type":"Non-Fragile","Shipping Address":null}XML Output data in the XML format. Example:
<qrcode22><QRqrcode22Widget0 Name="Product Name" Id="textbox2">Door hinge</QRqrcode22Widget0><QRqrcode22Widget1 Name="Product Code" Id="textbox31">DH-4289-001</QRqrcode22Widget1><QRqrcode22Widget2 Name="Product Type" Id="dropdown13">Non-Fragile</QRqrcode22Widget2><QRqrcode22Widget3 Name="Shipping address" Id="textbox27">null</QRqrcode22Widget3></qrcode22>
String With Custom Delimiter Define the delimiter to use to separate field data. Select from: - [Enter]
- [Tab]
- [Custom] - Specify a character.
- [Space]
Example using a comma as the custom delimiter:
Door hinge,DH-4289-001,Non-Fragile,null -
Select Display for Empty Fields and choose a value to
insert into data fields when they contain no content:
- [Blank]
- [N/A]
- [Null]
-
In the Widget Alignment section, choose how you want to
align your widget in the app.
- Align Left
- Center
- Align Right
- Optional:
In the Rules section, add a visibility rule to the widget.
Use visibility rules to control when a widget is visible to the app user. For example, you can create a condition that a widget should only appear after the app user fills in a field or submits a form.
- Select Visibility Rule to open the Set Visibility Rule dialog box.
- Select whether the visibility rule requires meeting all or any conditions.
- Select an app field or variable and an operator from the Field list. Enter the value required for the widget to be visible.
- Select Add Condition to add another condition.
- Select Save.
- Move to the Format tab to customize the widget's appearance.
- Optional:
Add events and actions to the widget.
Events are activities that you can set to trigger an Action. For example, you can configure a widget to navigate to a new section in the app when the user selects it.Important: Events and actions offer a wide range of combinations. The following steps are guidelines only. Replace the listed events and actions with ones that suit your app's needs and structure. Learn more about available events and actions at Events and Actions.
-
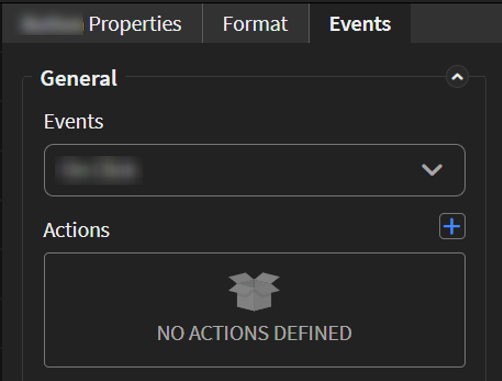
Move to the Events tab.
-
Move to the Events tab.
-
Select Save in the SOTI Snap
banner to apply your changes.

Results
Tip: Select Preview to see how the
widget appears in your app.