Starting a Live View Session
Start a view and make observations about what is happening in the running view.
Starting a View
To start a Live View session:
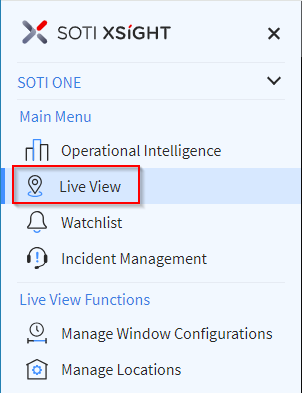
- From the main menu, select Live View.
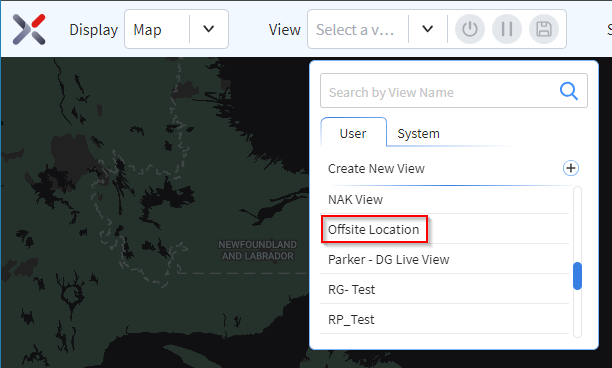
- Select a view from the View dropdown (at the top of the
screen).
- Select Start to start the view.

Note: After starting a view, you should be able to see your
devices in Live View in either List or Map display modes.
Note: You can adjust various settings of the map using the
Map Setting control (at the bottom-right of the
screen).
Note: Select the Time Machine control (at the bottom-left of the
screen) to view up to 72 hours of past activity in the view.

Device Details Dialog and Auto Zoom
To view device details in map display mode:
- Select the icon for the device on the map. The Device
Details panel displays.
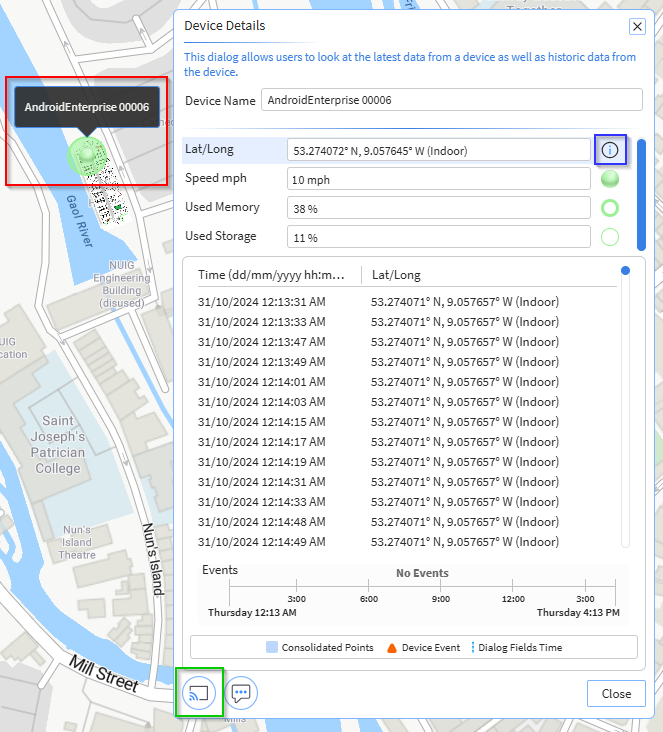
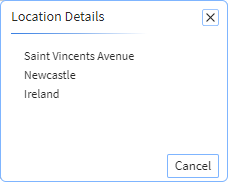
- To see location information, view the Location Details
panel by selecting the information button (see the blue box in the screen
shot above).
- Select the Remote Control Session icon (green box in
the Device Details screenshot above) to initiate a
remote control session with the device. If the device is offline, a message indicating the offline status displays when you hover over the Remote Control Session icon.


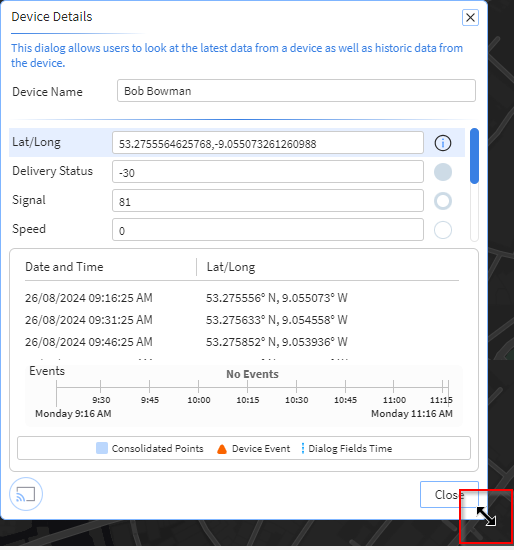
- Resize the Device Details panel by dragging the
bottom-right corner of the panel.
