Using Live View Controls
This topic describes the controls on the main Live View map.
Follow steps 1 through 3 in Starting a View from the Starting a Live View Session section.
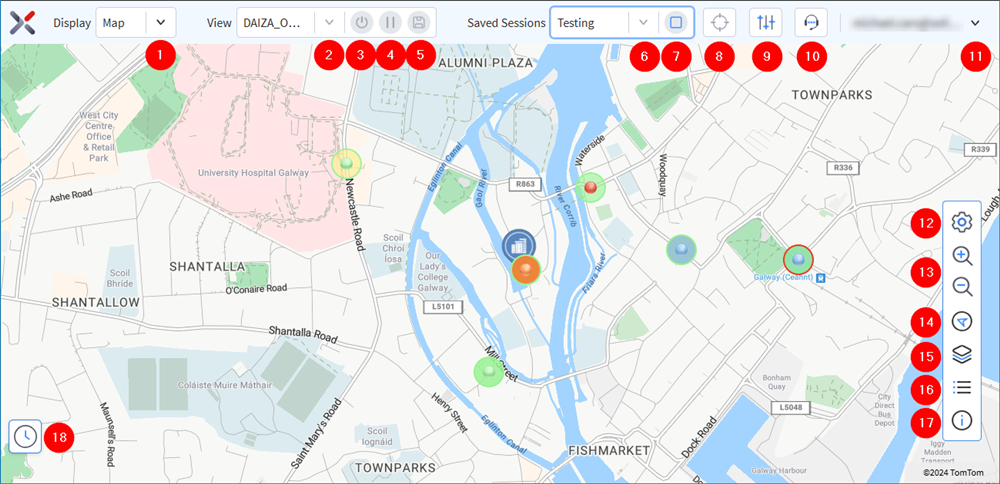
| Control | Action | |
|---|---|---|
| 1 | Display mode dropdown | Change between different display modes (see Using Display Modes) |
| 2 | View dropdown | Select an existing view or create a new view |
| 3 | Start/start the view | Start or stop the selected view |
| 4 | Pause | Pause the view |
| 5 | Save | Save the view (see Saving a Live View Session) |
| 6 | Saved session dropdown | Select a saved session |
| 7 | Start/stop saved session | Start or stop a saved session |
| 8 | Auto zoom option | Turn auto zoom on and off |
| 9 | Control panel | Toggles display of device tracking control panel (see Individual Device Tracking and Global Device Tracking) |
| 10 | Show chat | Toggles display of chat feature |
| 11 | Account settings | Log out of SOTI XSight, select language and theme. |
| 12 | Map settings | Displays a menu of settings options (see Adjusting the Map Settings) |
| 13 | Zoom In / Zoom Out | Zoom in or out of the map |
| 14 | Reset rotation | Reset map rotation. The icon rotates with map rotation to indicate the rotation of the map (see Rotating and Resetting the Map Rotation). |
| 15 | Select floor | Toggles the displays of a menu of available floors in a multi-floor indoor location. This icon only appears when the map has a multi-floor indoor location. |
| 16 | Map legend icon | Toggle the map legend display |
| 17 | View statistics | Toggle the view statistics panel |
| 18 | Time Machine | Open the Time Machine tool to see device events for the past 72 hours |
Select the Preferred Language
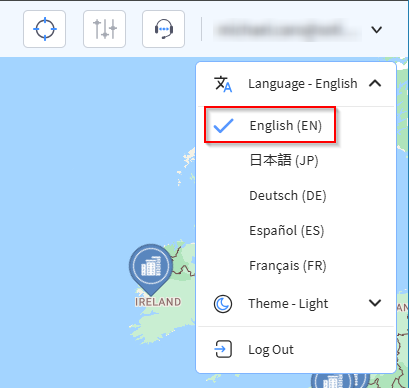
Select the preferred language using the Admin menu (at the top-right of the screen).
Select the Theme
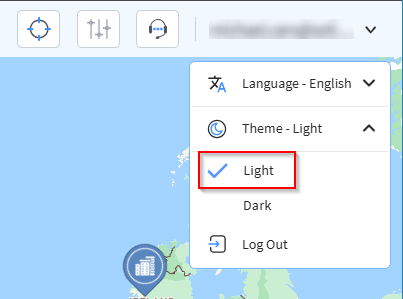
Configure the theme (light or dark) using the Admin menu (at the top-right of the screen) to change the background and foreground colors.
Adjusting the Map Settings
- Select the Map Settings icon in the bottom-right
corner of the screen.
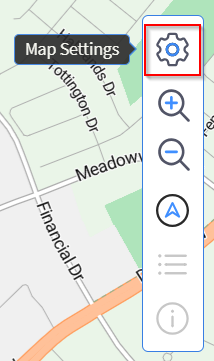
The Map Settings panel displays.
-
Configure the map view using the following settings:
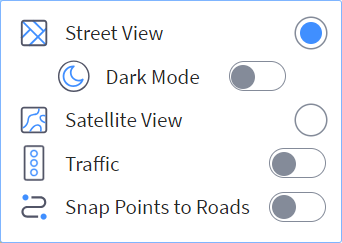
Control Description Street View Select this option to change the map to street view. Dark Mode dark/light map Use this to switch street view between dark and light modes. Satellite View Select this to change the map to satellite View. Note that satellite view is only available in light mode. Traffic on/off Provides visual information that represents the current traffic conditions. Snap Points to Roads on/off Moves device locations to the nearest road. Note: Snap to Road does not apply to devices in an indoor environment.
Auto Zoom
As devices move around, the auto zoom feature attempts to show all devices in the map area. When devices move in or out of the map area, the auto zoom feature zooms the map to include all devices. This may result in the map constantly zooming in or out. The auto zoom feature is on by default.
To turn off auto zoom, select the Auto Zoom button. Select it again to toggle auto zoom back on.

Manually Zooming In and Out
Zooming in allows you to see more detailed information, such as street names, specific buildings, or landmarks.
To manually zoom in or out of the map display:
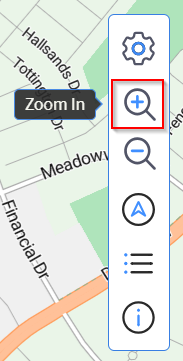
- To zoom in, select the Zoom In icon in the
bottom-right corner of the screen.
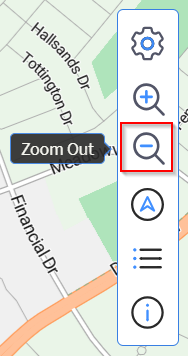
- To zoom out, select the Zoom Out icon in the
bottom-right corner of the screen.
 Note: Zooming in or out while auto zoom mode is enabled causes the following message to display.
Select Confirm to manually zoom in or out and disable auto zoom mode (see Auto Zoom).
Rotating and Resetting the Map Rotation
Use the rotate map feature to locate landmarks or geographical features on the map that are more easily recognizable when the map is rotated.
- Press and hold the Ctrl key on the keyboard while left or right-clicking and holding any point on the map with the mouse, then drag left or right. The map rotates clockwise as you move the mouse left and counter-clockwise as you move the mouse to the right.
- To return the map to its original north orientation, select the
Reset Rotation icon at the bottom-right corner of
the screen.
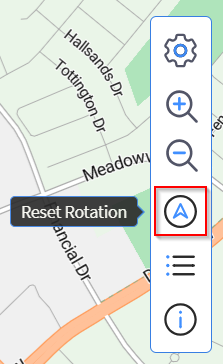 Note: As you rotate the map, the Reset Rotation icon rotates to indicate the orientation of the map.
Displaying the Map Legend
The map legend describes the meaning of the colors used in the device icons that show the state of devices displayed in the map and list modes. To display the map legend, select the Map Legend icon.
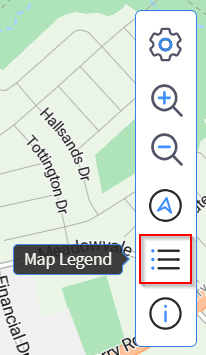
In the example legend below, the first row (Speed km/h) indicates the different colors the marble can take to indicate the speed the device is moving. The second row (Wi-Fi Signal) shows the colors the disk can take to indicate the device's Wi-Fi signal strength. The third row of the legend (Battery Level) shows the colors the ring can assume to indicate the charge level of the device's battery.

Device Icons
The circular device icon shown in a view's map and list modes represent a device and indicate the state of the device through the use of colors. The inner circle, or marble, is the center. The thicker layer is the disk, and the outer layer is the ring.
You configure the meaning (the topic and associated color ranges) for each of these parts when you create or edit a view (see Assigning and Changing the Color of the Rings).
Viewing Statistical Information
Statistical data can effectively communicate summary information about the devices in the map.
To view the statistical information:
- Select the View Info icon.
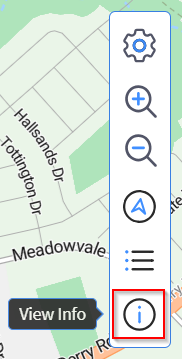
The View Statistics panel displays.
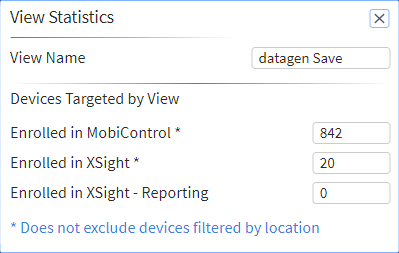
- The View Statics panel displays the following
information about devices targeted by the view:
- The name of the current view.
- The number of devices enrolled in SOTI MobiControl.
- The number of devices enrolled in SOTI XSight.
- The number of devices enrolled in SOTI XSight that are reporting.