Using Scheduled Reports
Before you begin
About this task
Scheduling app reports gives you the flexibility to deliver information without requiring users to log into Snap to receive it. To schedule and distribute predefined app reports:
Procedure
- Open the Apps view, and beside the published app whose report you wish to schedule, select More > Report. The Report Viewer tab opens.
- Select the Schedules tab.
-
From the Schedules tab, perform one of the following tasks:
Task Procedure Schedule a New Report - Select the New Schedule button to open the Schedule Report form.
- In the Name field, enter a name for the schedule.
- Select in the following dropdown fields: Name, Environment, App Version, Form, and Report.
- Set the Schedule Pattern and
select Next.
- Frequency: Specify how frequent SOTI Snap generates the report.
- Recur Every: Visible for weekly or monthly frequencies to set a recurrence interval.
- Recur On: Visible for weekly or monthly frequencies to set a day or days within the interval.
- Custom Day: Visible for monthly frequencies to set a day not included in the Recur On dropdown.
- Time (in EST timezone): Specify the time range within which SOTI Snap creates the report.
- Range of Recurrence: Specify the date range within which the schedule is active.
- In the Reports section of Assign Users, select and type the names of the users who will receive scheduled reports via email. When complete, select Done.
- In the Alerts section of
Assign Users, select and type the
names of the users who will receive error or warning
alerts via email. When complete, select
Done.Note: SOTI Snap forwards alerts to these users in cases where SOTI Snap can not send the scheduled report to the assigned users. Alerts contain error and warning messages related to the failure.
- Select Next.
- In Compose Email, define the
Subject and
Message of the email that
will deliver the report or alert. Use the
 macro dropdown to insert
report properties.
macro dropdown to insert
report properties. - Select Save & Activate.
Result: Congratulations, the new report schedule is active.
Viewing Sent Reports To view a scheduled report that SOTI Snap has sent: - Select
View Sent Reports. The
Sent Report Details window
opens.
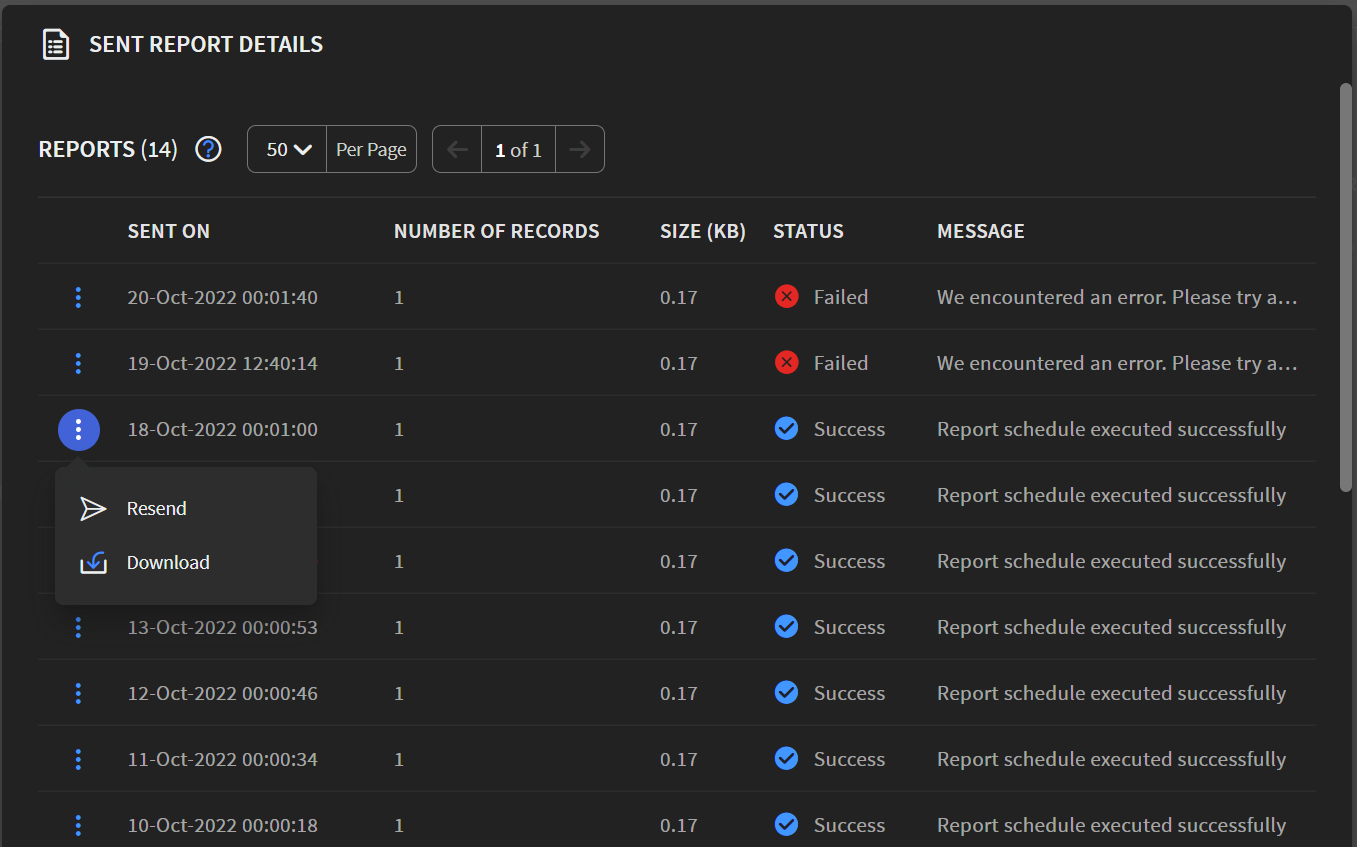
- Select
More. In the pop-up, select
one of the following options:
- Resend (via email as configured in the schedule)
- Download
- Retry (available only if Status is Failed)
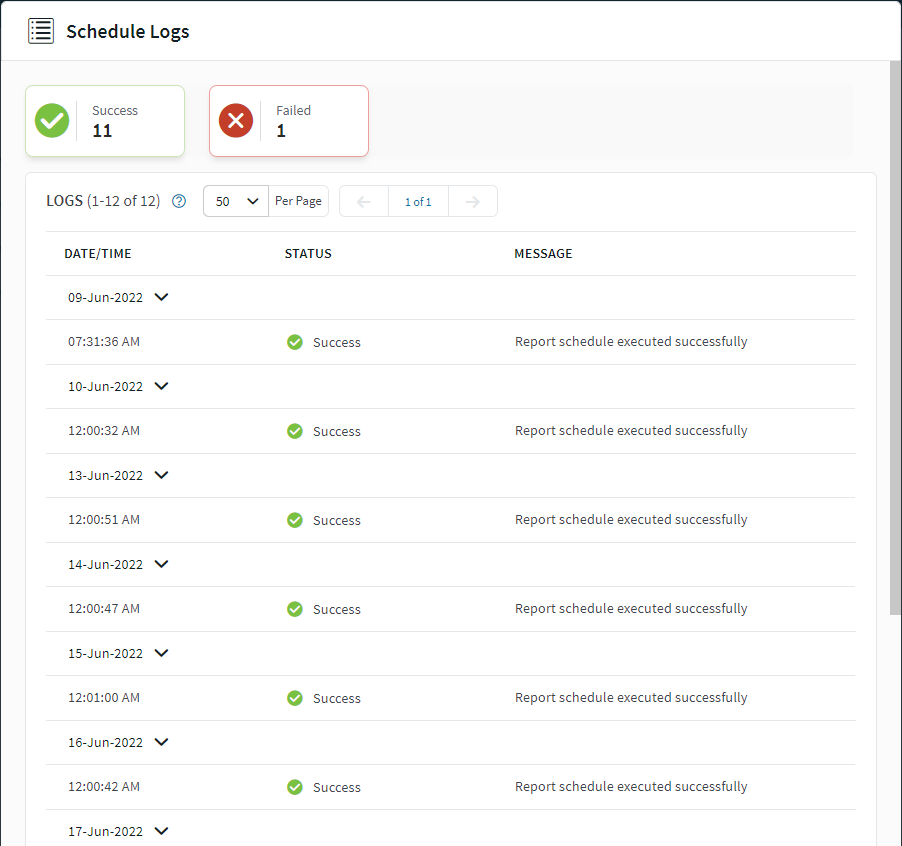
Viewing Schedule Report Logs To view schedule report logs: - select View Logs.
Result: Log details appear as shown below and indicate the date and time of execution, success status, and completion messages.