Using Report Viewer
Procedure
- Open the Apps view and beside the published app whose records you want to see, select More > Report. The Report Viewer tab opens.
- Optional: Select options from the Environment, Form, and Version dropdown to filter information in the report with those specific parameters.
-
From the Report Viewer tab, perform one of the following tasks:
Task Procedure Viewing App Reports To view app records:
Select a report from the Report dropdown to apply the custom features of the saved report. The Default Report option is always an available option and has no custom features.
Saving App Reports To save a new app report: - Configure the display of the report.
- Filter the displayed information with the Search Report field.
- In the Reports Viewer tab, select .
- Enter a name for the report.
- Select whether the report applies to the latest
published version. Note: With this option enabled, the saved report is applicable in newer versions of the same environment. Errors may occur if fields used in the filter no longer exist in the newer version of the environment.
- Select whether the report applies across all
applicable environments. Note: With this option enabled, the saved report is applicable in newer versions of other environments. Errors may occur if fields used in the filter no longer exist in the newer version of the environment.
- Select Save.
Editing App Reports To edit an existing app report: - In the Reports Viewer tab, select the Reports dropdown.
- Next to the report you wish to edit, select More > Edit.
- Edit the report attributes as needed.
- Select Update.
Duplicating App Reports To duplicate an app report: - In the Reports Viewer tab, select the Reports dropdown.
- Next to the report you wish to edit, select More > Duplicate.
- Enter a name for the new report.
- Select Duplicate.
Deleting App Reports To delete an app report:Restriction: You can only delete custom app reports.- In the Reports Viewer tab, select the Reports dropdown.
- Next to the report you wish to edit, select More > Delete.
- Select Delete to confirm.
Configuring App Reports Note: You can configure the display of custom reports. You cannot make changes to the Default Report option.- Toggle the Records or
Charts buttons to choose
which one to display.
 Restriction: You can only hide one of either Records or Charts at a time.
 - Reorganize how you want to display charts by dragging and dropping them.
- Reorganize how you want to display order columns by dragging and dropping them.
- Optional: Save your customization. Choose
from:
- To save changes to an existing report, select
- To save a new custom report, select .
Filtering App Report Results You can search and filter fields in app reports using operators. To search app reports:
- Select in the Search Reports
search bar.

- Select the app field to filter results for. You can search available options by typing the keyword or property you wish to use. Default options always include:
- Created By
- Created On
- Last Modified
- Last Synced
- Modified By
- For fields with time-based content, select the time
frame by which to filter the results. You can search
available options by typing keyword or property you
wish to use. Options are:
- By Days
- By Weeks
- By Months
- By Years
- Custom
Note: These options are only available if you selected Created On, Last Modified, or Last Synced. - Select the parameter by which to filter the results.
You can search available options by typing keyword
or property you wish to use. Options are:
- Equal: Shows only results that have the exact provided string or date range
- Not equal: Shows results that do not have the exact provided string or date range
- Between: Shows results that fall between the provided date range
- Not between: Shows results that do not fall between the provided date range
- Begin with: Shows results that begin the app field with the provided string
- Doesn't begin with: Shows results that do not begin the app field with the provided string
- Contains: Shows app field results contain provided string
- Doesn't contain: Shows app field results that do not contain the provided string
- Ends with: Shows results that end the app field with the provided string
- Doesn't end with: Shows results that end the app field with the provided string
- Is empty: Shows only results with no content
- Is not empty: Shows only results with content
- Optional: Save your customization. Choose
from:
- To save changes to an existing report, select
- To save a new custom report, select .
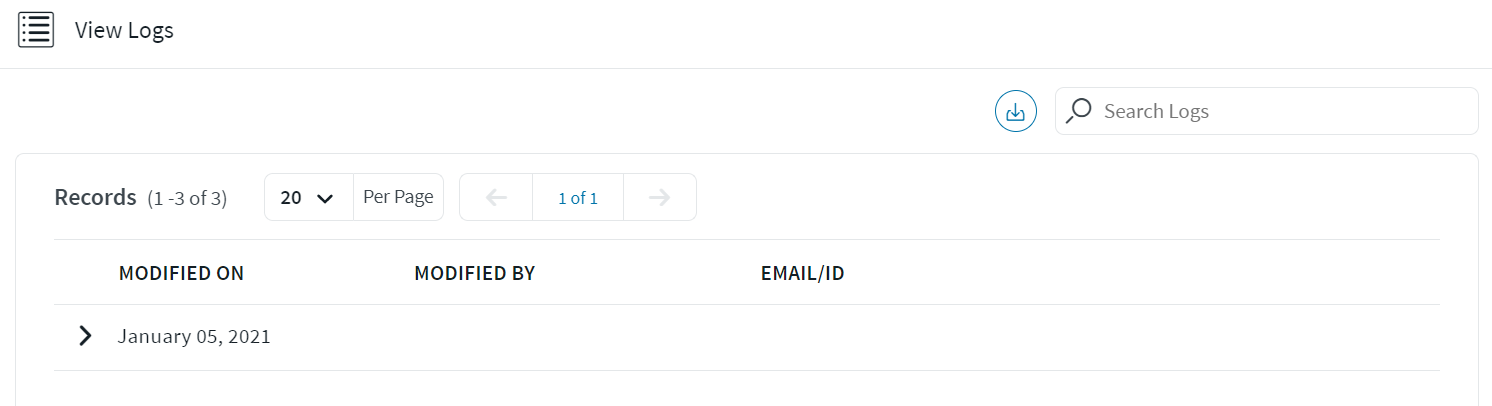
Viewing Report Event Logs To view event logs of app records: - In the Reports Viewer tab, select the record you want to view the history of and then select View Event Logs.
 Result: The View Logs dialog
appears. From here, you can view the history of the selected
record, search for specific terms, or download the log.
Result: The View Logs dialog
appears. From here, you can view the history of the selected
record, search for specific terms, or download the log.