Creating a SOTI Snap Link Connection
About this task
Create a new SOTI Snap Link connection as part of creating a SOTI Snap Link data export process.
Procedure
- From the left side navigation panel, select tab, then select New Connection to add a SOTI Snap Link account to SOTI Snap.
-
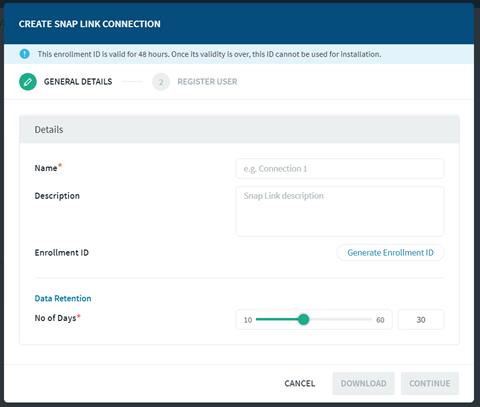
Enter a name for the SOTI Snap Link account. You can also
add an optional description.
-
Select Generate Enrollment ID to create an enrollment
ID. Select Copy Enrollment ID to copy the enrollment ID
to your clipboard.
Each enrollment ID is unique to a SOTI Snap Link account. You have another chance to save the enrollment ID later, and you can retrieve it at any point by opening the details for the SOTI Snap Link connection.
If you want to export data from more than one app (or different forms within the same app), choose the same SOTI Snap Link account each time you create a new SOTI Snap Link data export.
- Use the No. of Days slider to select the length of time to retain data in the SOTI Snap Link database.
- Select Continue.
-
Enter a username and password.
Warning: Each SOTI Snap Link connection can have only one registered user. If you lose your login information, you need to create anotherSOTI Snap Link connection.
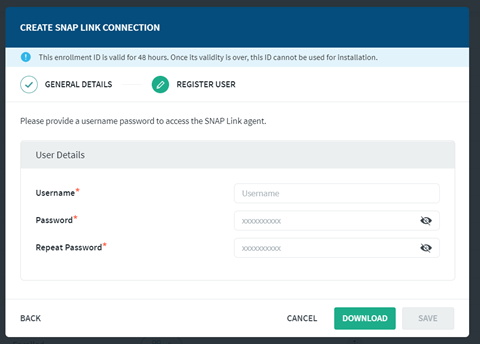
- If you're satisfied, select Download to save the SOTI Snap Link installer to your computer. Otherwise, select Back to return to the earlier screen and make edits.
- Select Save.
Results
The SOTI Snap Link tab adds a row for the new SOTI Snap Link connection. The row's status value is Pending Enrollment.
What to do next
Install SOTI Snap Link and activate it on your computer.
Important: The enrollment ID expires after 48 hours, so install and activate
SOTI Snap Link as soon as possible.
Once a SOTI Snap Link account is active, you can use the same account for other apps.
Restriction: You cannot publish your app until the SOTI Snap Link account is active.