Setting up the SOTI Snap Data Access Controller
To set up the SOTI Snap Data Access Controller (DAC), you must download the setup wizard, install the SOTI Snap DAC, and then access it from your local machine using a web browser.
Step 1: Download the SOTI Snap Data Access Controller Setup Wizard
About this task
To download the SOTI Snap DAC setup wizard, do the following:
Procedure
-
Log into SOTI Snap and do one of the
following:
- From the left toolbar, select Settings. Then, from the Settings view, select the SOTI Snap DAC tab.
- In the upper-right corner of the SOTI Snap console, select the drop-down beside your name and select Download Data Access Controller.
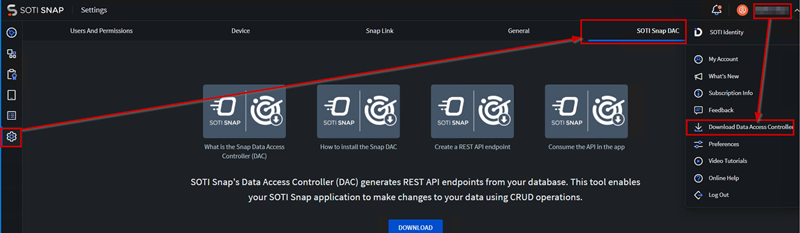
- Optional: Select the instructional videos to learn more about the SOTI Snap DAC.
- Select Download.
Results
What to do next
Step 2: Install SOTI Snap Data Access Controller on a Database Server
Before you begin
- The SOTI Snap DAC is only supported on Windows.
- You must have administrator privileges to install the SOTI Snap DAC.
- You must install SOTI Snap DAC on the same drive as the Windows operating system (C:\)
- To install the SOTI Snap DAC on a virtual machine, you
must satisfy the following minimum requirements:
- Operating System: Windows Server 2019 / Windows 10 or later
- RAM: 4 GB
- Disk: 1 GB of free space
- CPU: 2 Cores
About this task
To install the SOTI Snap DAC on the server:
Procedure
-
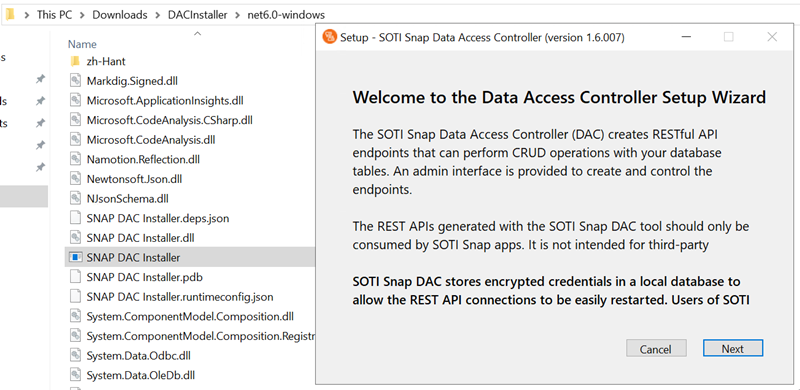
Run the SnapDACInstaller.msi and select
Next.
- Read the End User License Agreement. Accept the license agreement and select Next.
-
Accept the default installation location, or select
Browse and choose a folder to install the SOTI Snap DAC. Select
Next.
Note: The default installation folder is C:\Program Files\SOTI\DAC.Remember: You must install SOTI Snap DAC on the same drive as the Windows operating system (C:\)
-
Enter a port number for the DAC Console Port and the
DAC Server Port then select
Next.
Restriction:
- These two port numbers must be different from each other.
- These two port numbers must be within the range of 1024—65535.
- The ports must not currently be in use.
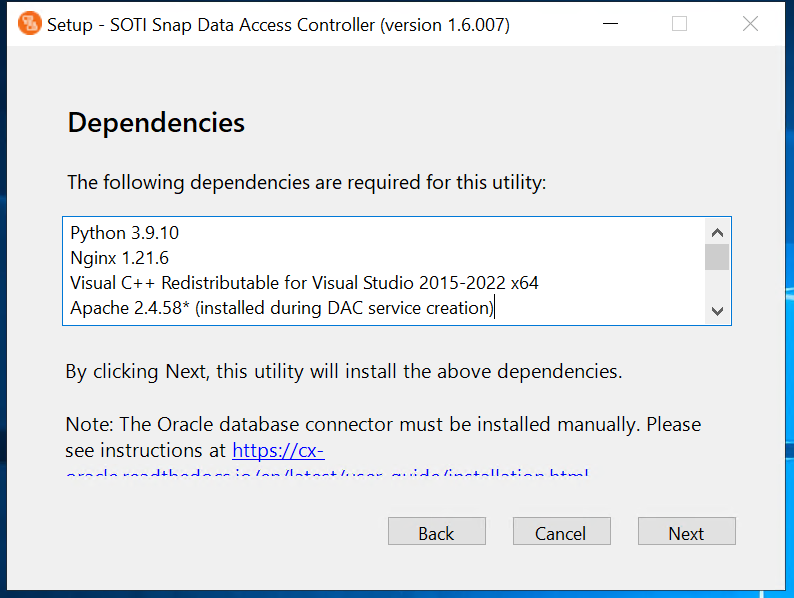
-
View the required Dependencies to use SOTI Snap DAC.
Select Install to automatically install the required
dependencies and SOTI Snap DAC.
-
When the installation completes, copy the SOTI Snap Data Access Controller URL. Then, select Finish.
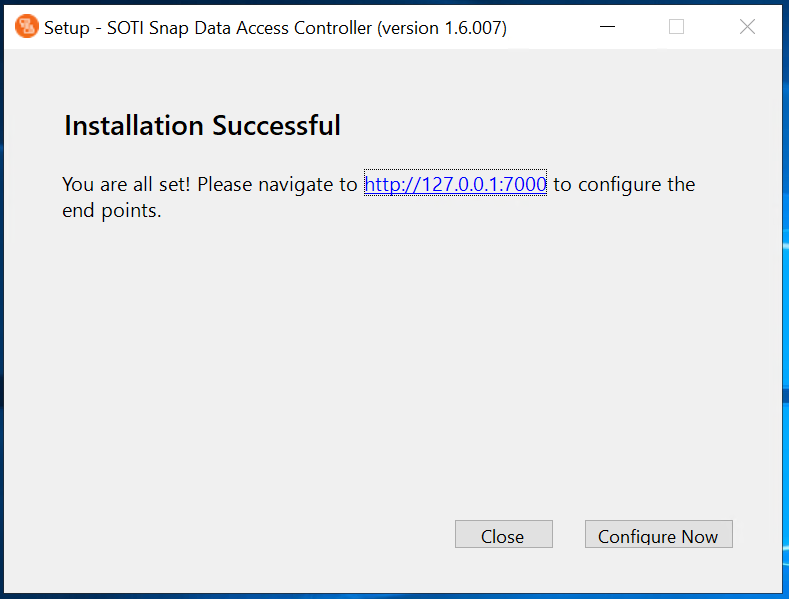 Note: The SOTI Snap DAC is accessible at
http://127.0.0.1:#####,where#####is the DAC Port entered earlier.
Step 3: Access the SOTI Snap Data Access Controller Web Console
About this task
To access the SOTI Snap DAC web console:
Procedure
-
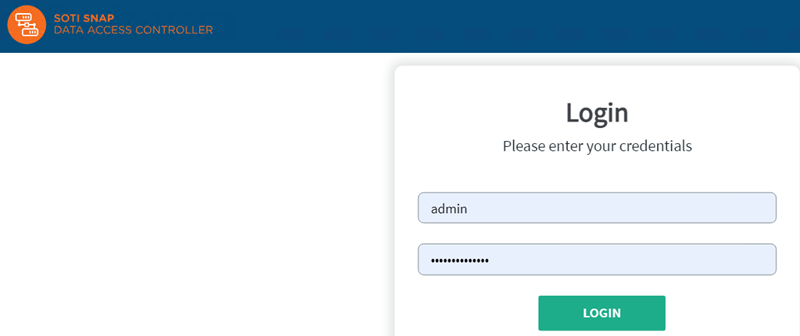
Open a web browser from the server machine where you installed the SOTI Snap DAC. In the URL bar, paste the SOTI Snap Data Access Controller URL. The Account
Creation panel displays.
Restriction: You cannot access the SOTI Snap Data Access Controller URL from any other machine.

-
Enter the following:
- Password
- Confirm Password
- Select Create & Login to log into the SOTI Snap DAC web console.
- Optional: Select Take Me There to configure HTTPS (see Importing an SSL Certificate for SOTI Snap Data Access Controller).
- Select I Understand The Risk.
Results
What to do next
- Username:
admin. - Password: The password you entered in the Account Creation panel.