Creating a Webhook
Before you begin
- You must sign in to the SOTI MobiControl web console as a user with Manage Webhooks permissions.
- You must have an endpoint URL (where to send the webhook message) with the required sign in credentials.
About this task
Procedure
The steps below describe how to create a webhook.
- Select
-
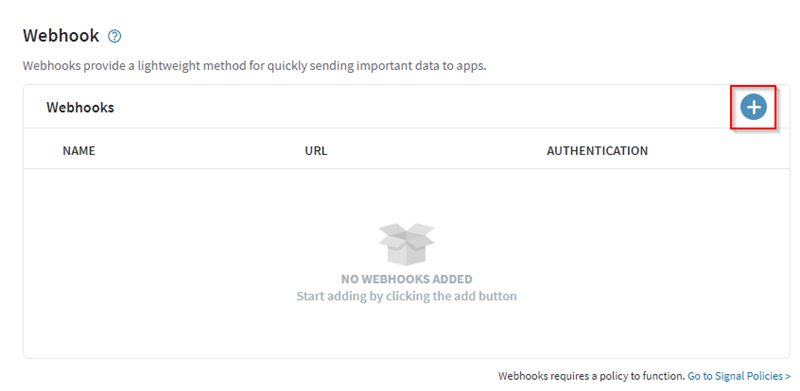
In the Webhook panel, select the
Add icon .
Enter the webhook name and endpoint URL
-
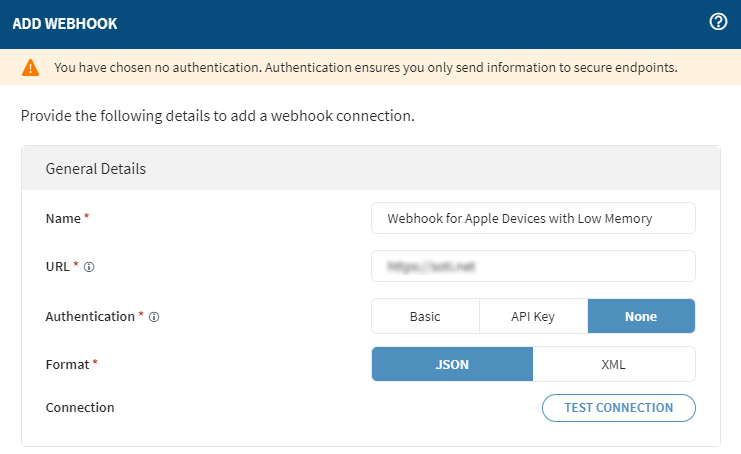
In the Add Webhook panel, enter a
Name for the webhook and the endpoint
URL, (the URL to send the webhook message to). If
authentication is not needed, select None as the
authentication option.
Configure the authentication type
-
To use Basic authentication, enter the
Username and Password
credentials for the endpoint URL.

-
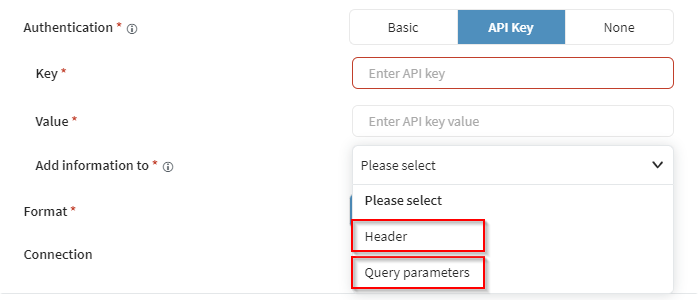
To use API Key authentication, enter an API key and
value pair. Select whether to add the authentication information to the message
header or the query parameters.
Define the message format and test the connection
-
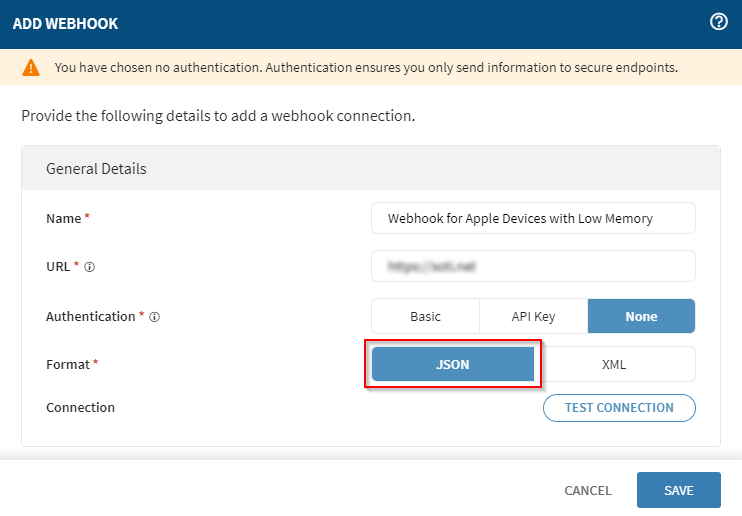
Select either JSON or XML for the
webhook message format.
-
Select Test Connection to verify the endpoint URL is
reachable based on the webhook connection information you have provided. You can
test the connection with any of the authentication options.
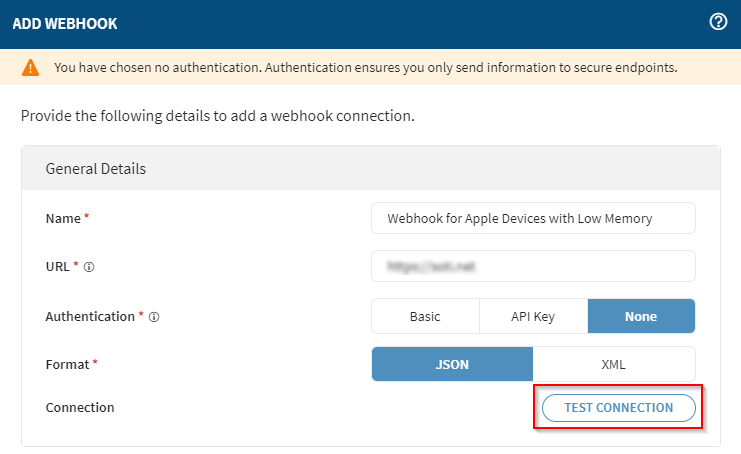 A success notification displays if the test succeeds.
-
Select Save to complete the process of adding the
webhook. The newly created webhook appears in the Webhook
panel.
 Note: To add a signal policy to trigger the webhook, select Go to Signal Policies in the blue box.