Creating an iOS Device Policy
Before you begin
Important: If enrolling an iOS device using a trusted third-party
certificate, bind the certificate to Deployment Server Extensions and Web
Console and iOS Profile Signing in the
SOTI MobiControl
Administration Utility. Then, turn off the Require Trust
Profile During Enrollment setting.
About this task
Procedure
- From the main menu, select —the Enrollment Policies view displays.
-
Select New Enrollment Policy. The Enrollment
Policy wizard launches.
- Below the Apple icon, select the iOS. The General view displays.
- On the General view, enter a name and description for the policy. Make the name brief but descriptive, especially if you plan to create many enrollment policies. Select Next.
-
On the Enrollment Type view, choose an enrollment
type:
- Device: Use where you prefer to have full control over the device.
- User: Use in Bring Your Own Device (BYOD) environments. Only supported on devices running iOS 13.1 or later.
See iOS Enrollment Types for more information. - Optional:
For User enrollment only: Select the type of Managed Apple IDs
authorized to enroll using this policy.
Federated Accounts Select this option to use a Microsoft Entra ID connection to federate your Managed Apple IDs. Local Accounts Select this option to add local Managed Apple ID accounts. You can add up to 1,000 accounts. Accounts must conform to a valid email address format, such as user@domainoruser@domain.topleveldomain.Tip: Select Import to upload a .csv file containing Managed Apple IDs. This file should be a list of Managed Apple IDs without a header. -
Select Next. On the Groups view,
select if you require authentication for enrollment. No authentication means
that devices skips user verification for enrollment. If you require
authenticaton, select one of the following options if authentication:
Option Description Password Type a single password for use across all devices that enroll with this policy. Once you have set a password, select a device group destination. Directory Select  to add directory groups. Choose a directory service from the
dropdown and use the Search Groups field to find
a group. You can add a new directory service connection by selecting
Manage Services. From the dropdown menu,
choose Directory, Identity Provider, or SOTI Identity.
See Identity Management
for more information.Tip: Users must configure OpenID Connect (OIDC) in Microsoft Entra ID to make the configured directory visible in an enrollment policy. Additionally, the server URI for the SOTI MobiControl server on Microsoft Entra ID must be in this format:Once you add the directory group, select a device group destination and applicable terms and conditions.
to add directory groups. Choose a directory service from the
dropdown and use the Search Groups field to find
a group. You can add a new directory service connection by selecting
Manage Services. From the dropdown menu,
choose Directory, Identity Provider, or SOTI Identity.
See Identity Management
for more information.Tip: Users must configure OpenID Connect (OIDC) in Microsoft Entra ID to make the configured directory visible in an enrollment policy. Additionally, the server URI for the SOTI MobiControl server on Microsoft Entra ID must be in this format:Once you add the directory group, select a device group destination and applicable terms and conditions.https://{server name}/mc/duas/oauth/2.0/azure/handleAuthCode
{server name}with the name of your SOTI MobiControl server.Important: You can add many directory groups to the enrollment policy. However, SOTI MobiControl assigns the authenticated device to the first listed directory group of which the user is a member. Use the up/down arrow buttons to arrange the list in an appropriate order. - Select Next. The Auto Enroll view displays.
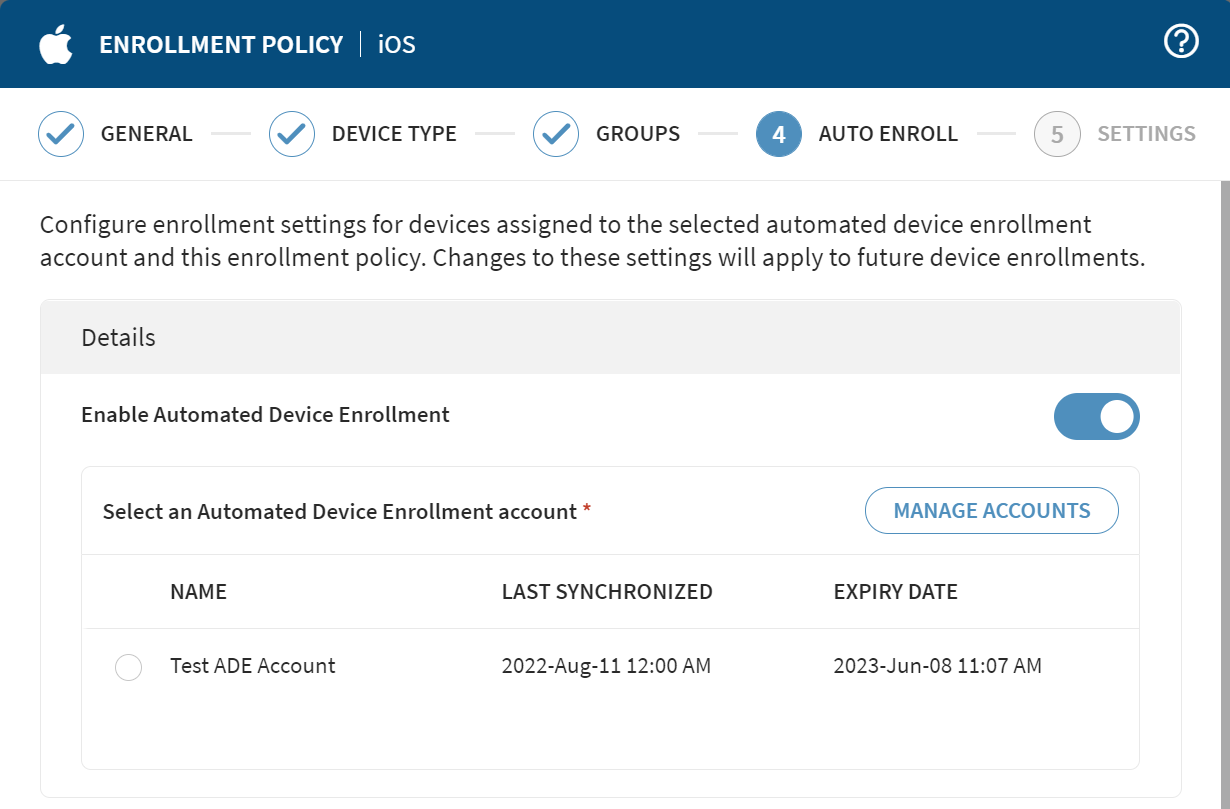
- Optional:
Select Enable Automated Device Enrollment to configure
device settings for future enrollments. Set the following:
- Under Select an Automated Device Enrollment
account, select the account to perform Automated Device
Enrollment.Tip: To add a new Automated Device Enrollment account, select Manage Accounts and follow the steps in Creating ADE Accounts.
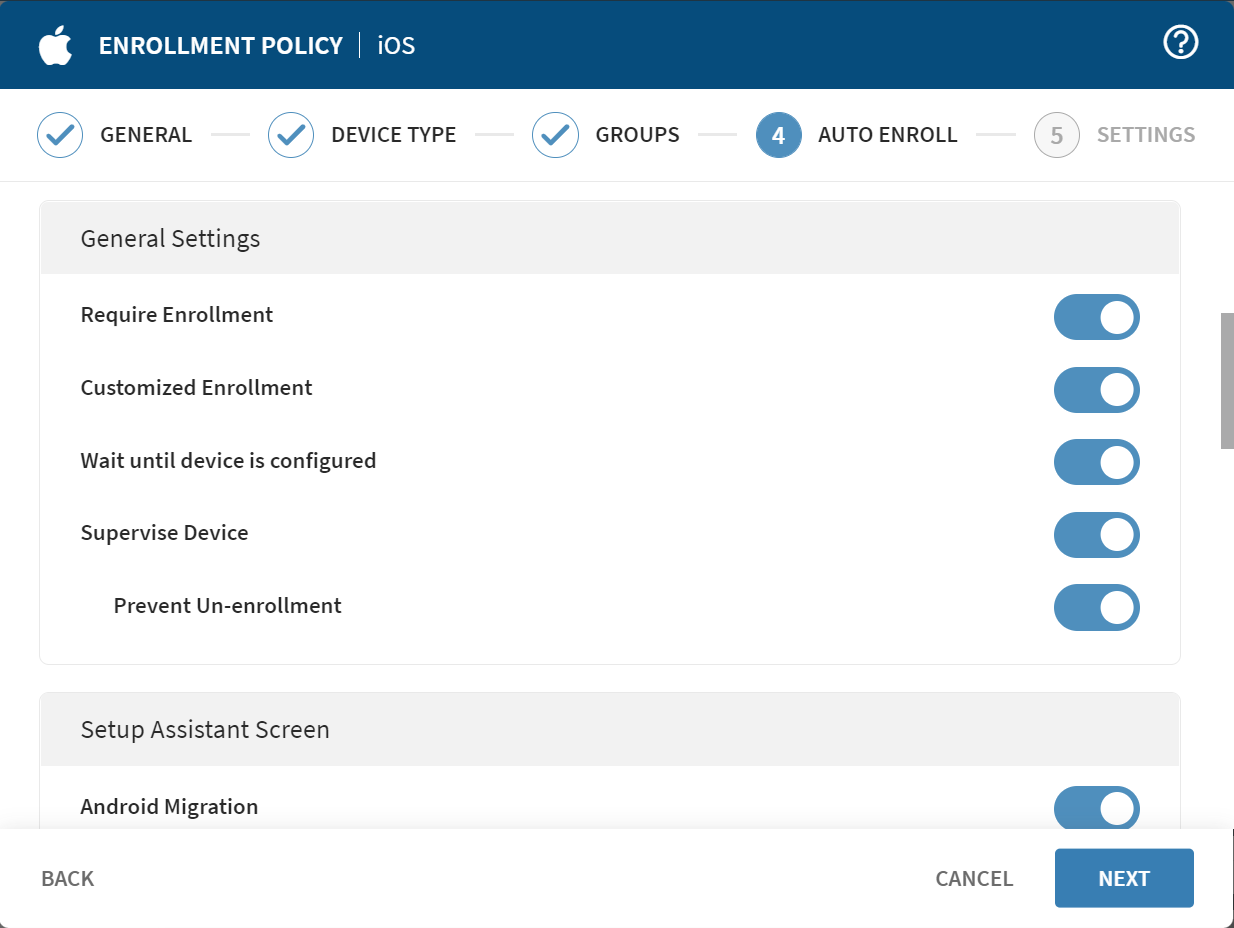
- Scroll down to select from the available settings.
- Under Select an Automated Device Enrollment
account, select the account to perform Automated Device
Enrollment.
- Select Next. The Settings view displays.
- Select from the available settings, and then select Finish.
-
The SOTI MobiControl creates the new enrollment policy, and
the Enrollment Policy Info page displays. This page lists
policy details and device enrollment options:
- Select
 . Select Manage Emails to email the
enrollment URL to a recipient.
. Select Manage Emails to email the
enrollment URL to a recipient. - Select iOS Agent Enrollment ID to reveal and copy the ID.
- Select Enrollment URL to view or copy the enrollment URL directly.
- Select Enrollment QR Code to view or download for device enrollment. Scanning the QR code leads to the aforementioned enrollment URL.
- Select
- Select OK to complete the process.