Connecting the Source MS to a Migrated Microsoft SQL Server Database
Before you begin
This procedure requires that the Microsoft SQL Server has already been migrated. Although migration of SQL databases is not a built-in feature of SOTI Connect, you can migrate them yourself.
Note: Ensure that all the databases (SotiConnectDeviceStateHistory,
SotiConnectDeviceTypeDefinition, SotiConnectFileStoreService,
SotiConnectLoggingService, and SotiConnectManagementServer) are migrated to the
same server. Do not rename them.
About this task
Use the following procedure to connect the source management service to a migrated Microsoft SQL server database.
| Abbreviation | Term |
|---|---|
| FS | File store service |
| LS | Logging service |
| MQTT | MQ telemetry transport |
| MS | Management service |
| PA | Protocol adapter |
| REST | Representational state transfer |
| SQL | Refers to the structured query language database environment |
| VM | Virtual machine |
| Device | System Detail |
|---|---|
| cluster88.internal.soti.net |
|
| db-primary5e.internal.soti.net |
|
| RIL-PerfMon28.sotidev.com |
|
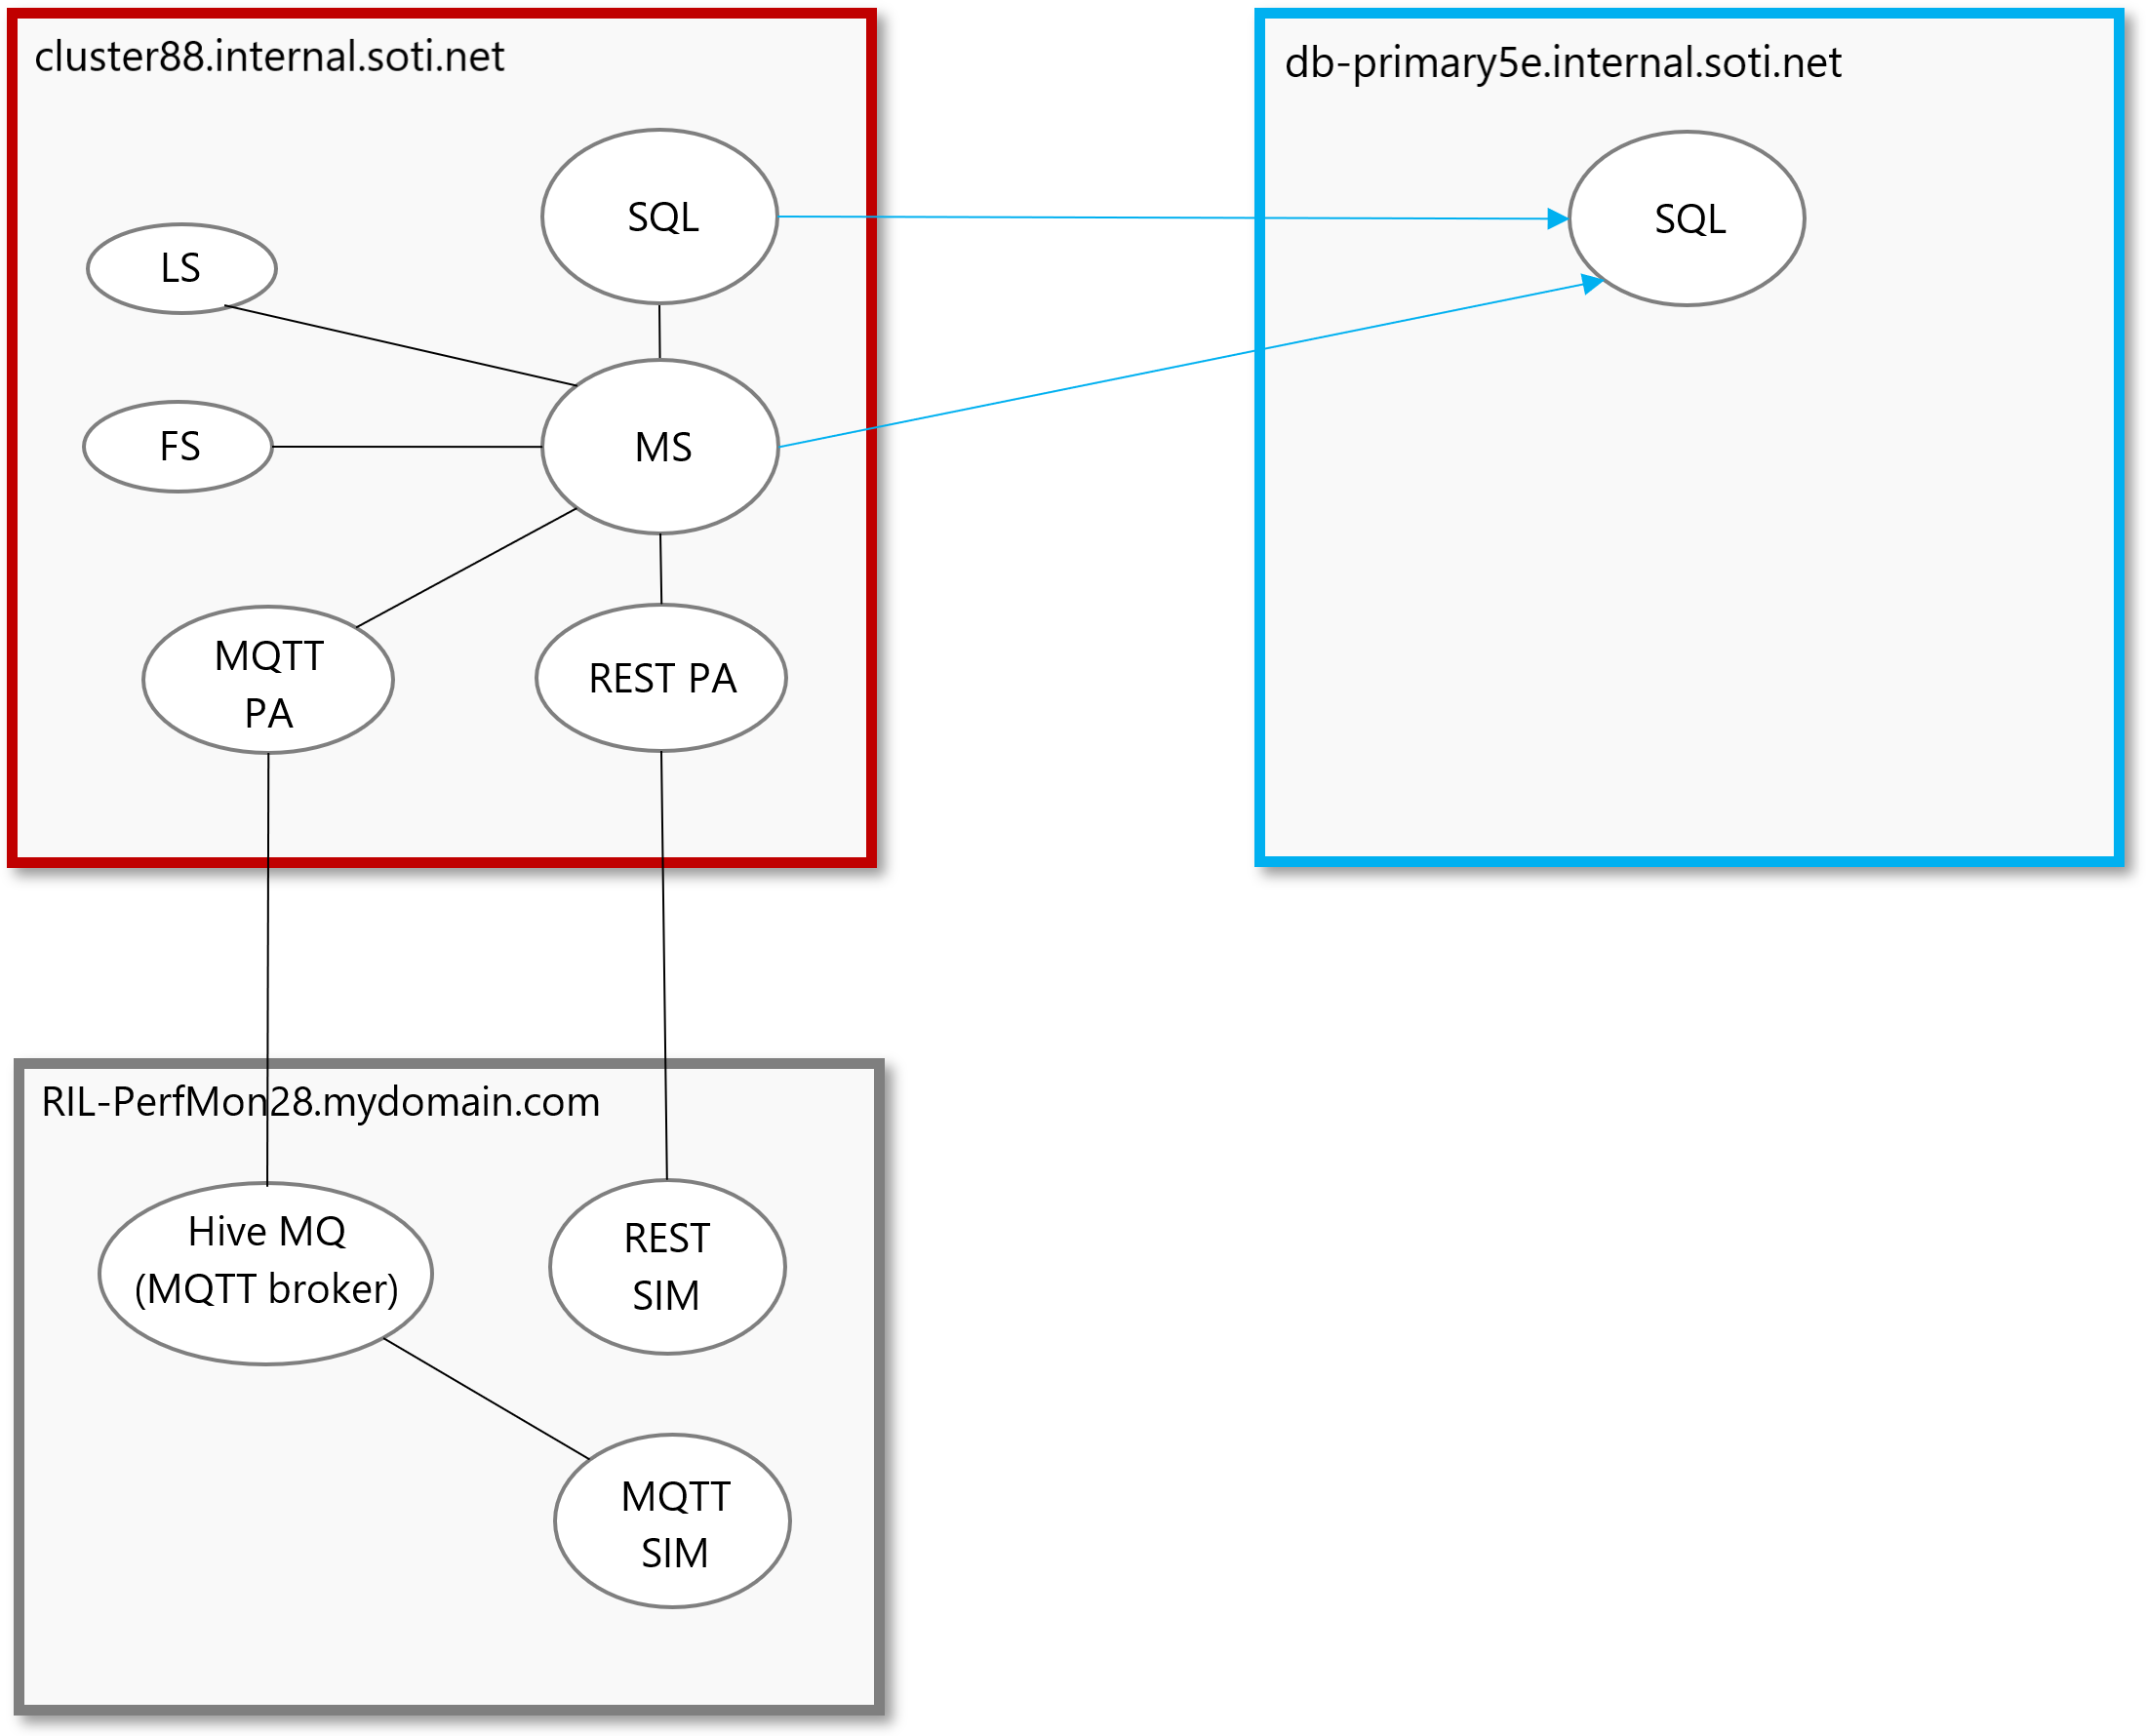
The following diagram illustrates the initial setup of a typical SOTI Connect migration.
In this illustration, the SQL database is migrated to the target VM. 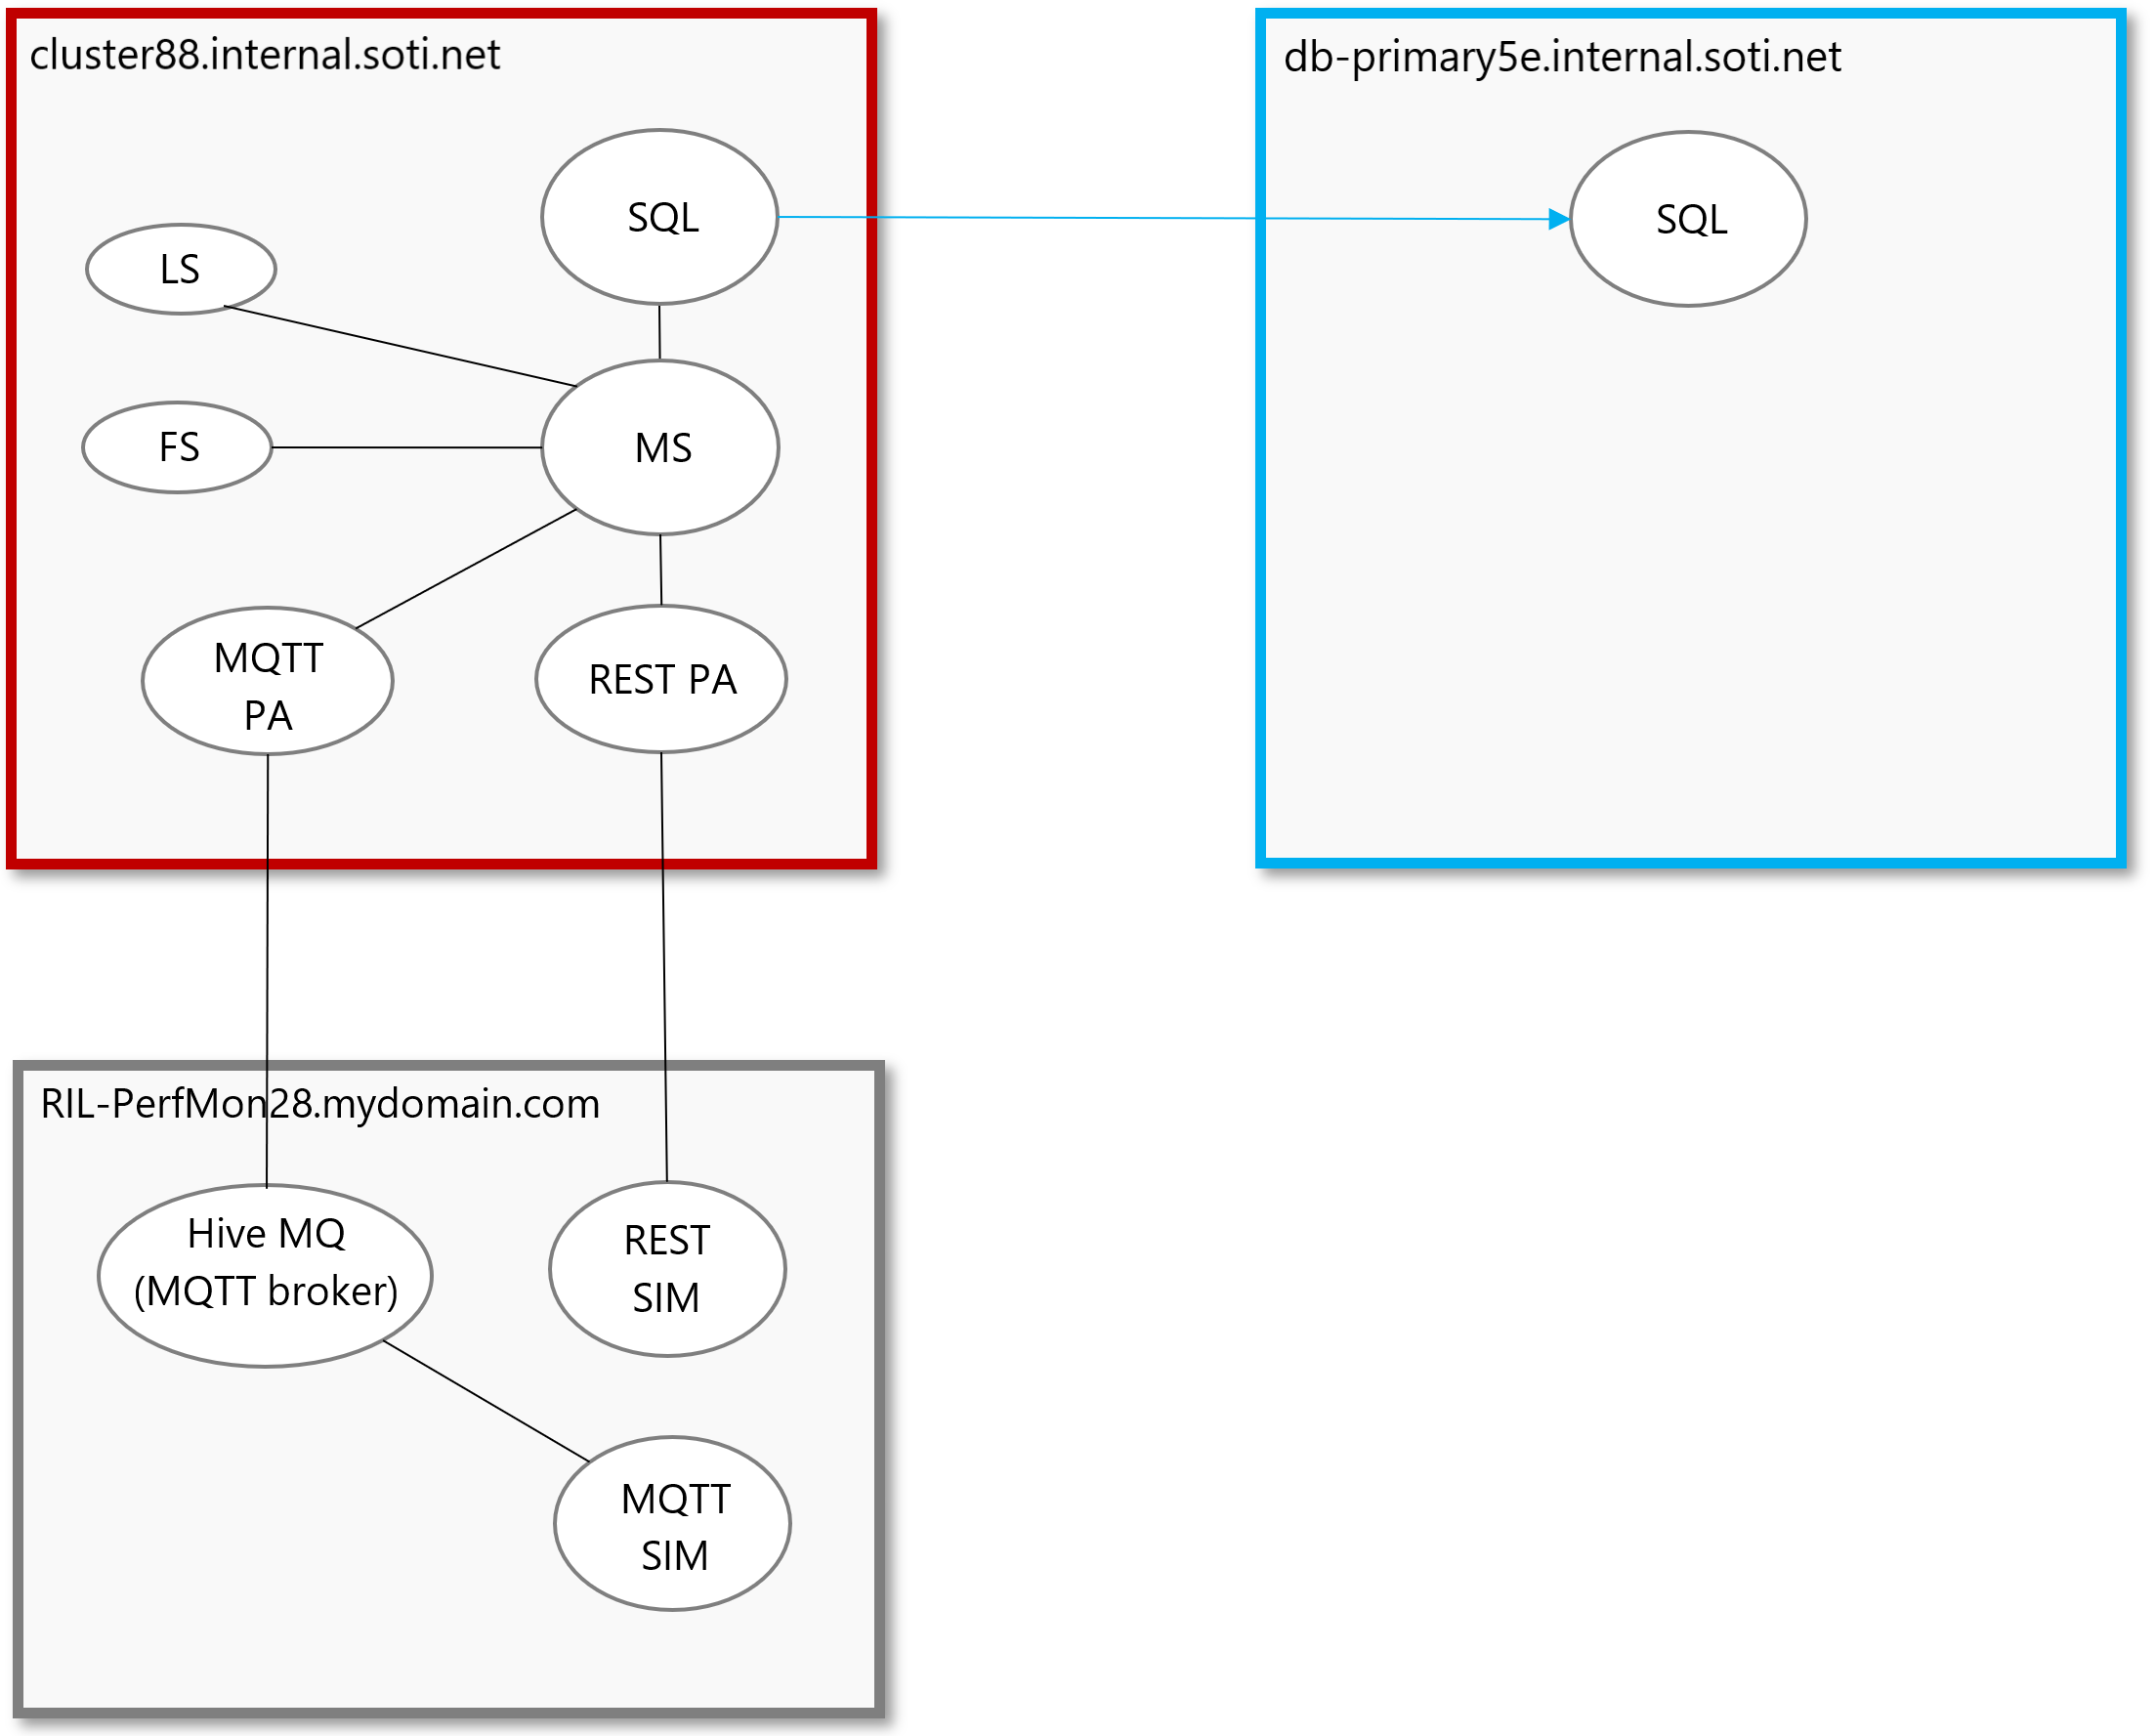
Procedure
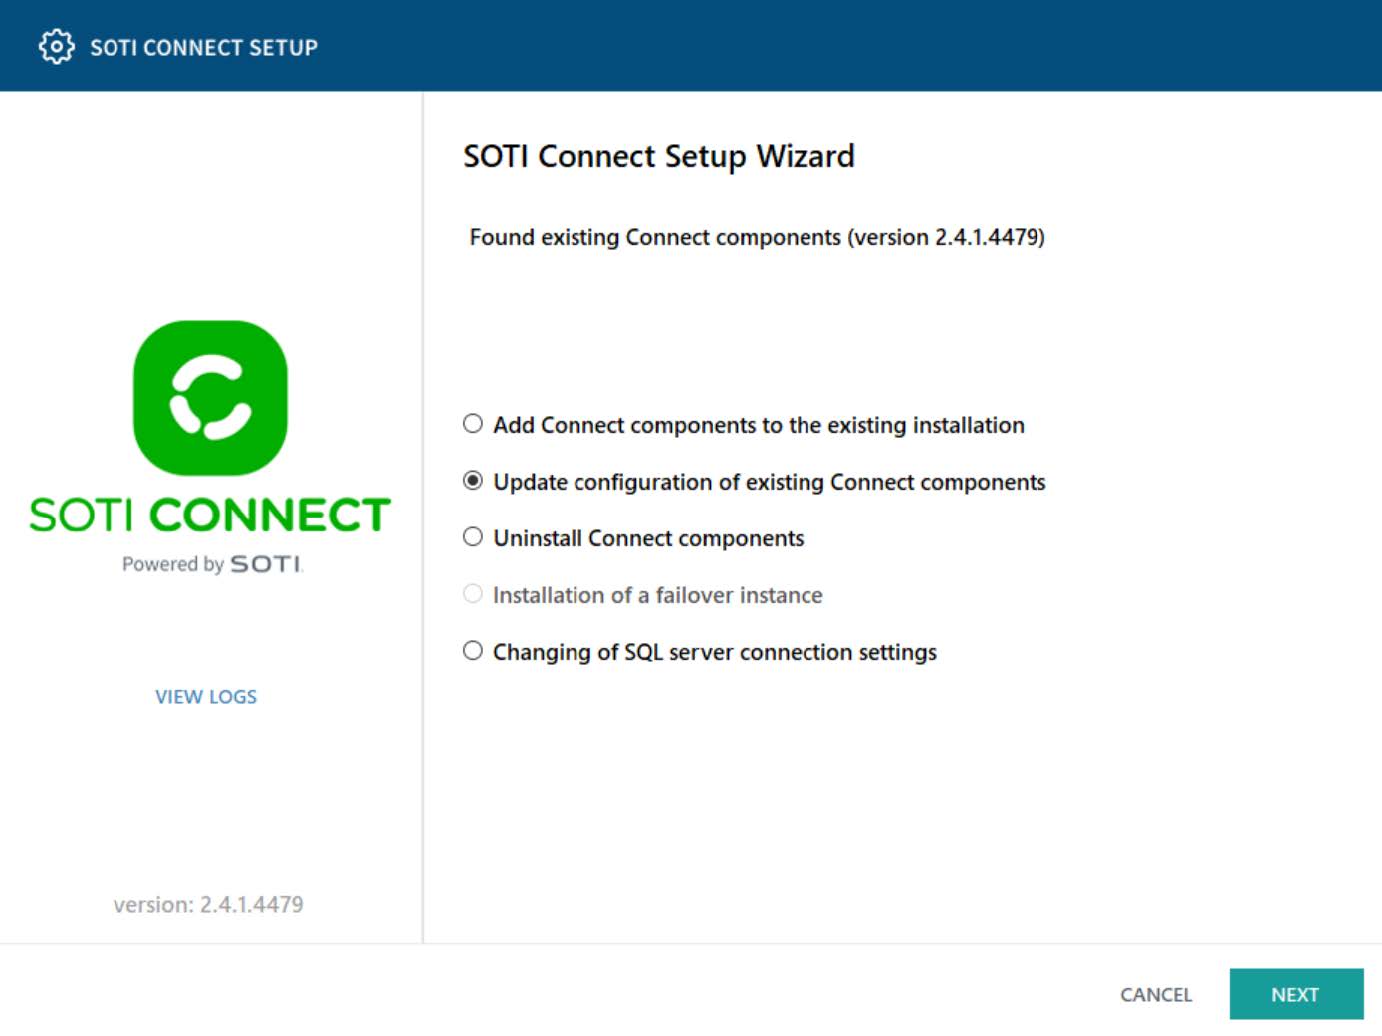
- Run the SOTI Connect installer executable (SOTI Connect Installer.exe). The SOTI Connect Setup Wizard is displayed.
-
Select Update configuration of existing Connect
components. Select Next.
- On the Select Components screen, select the required components to update the configuration.
-
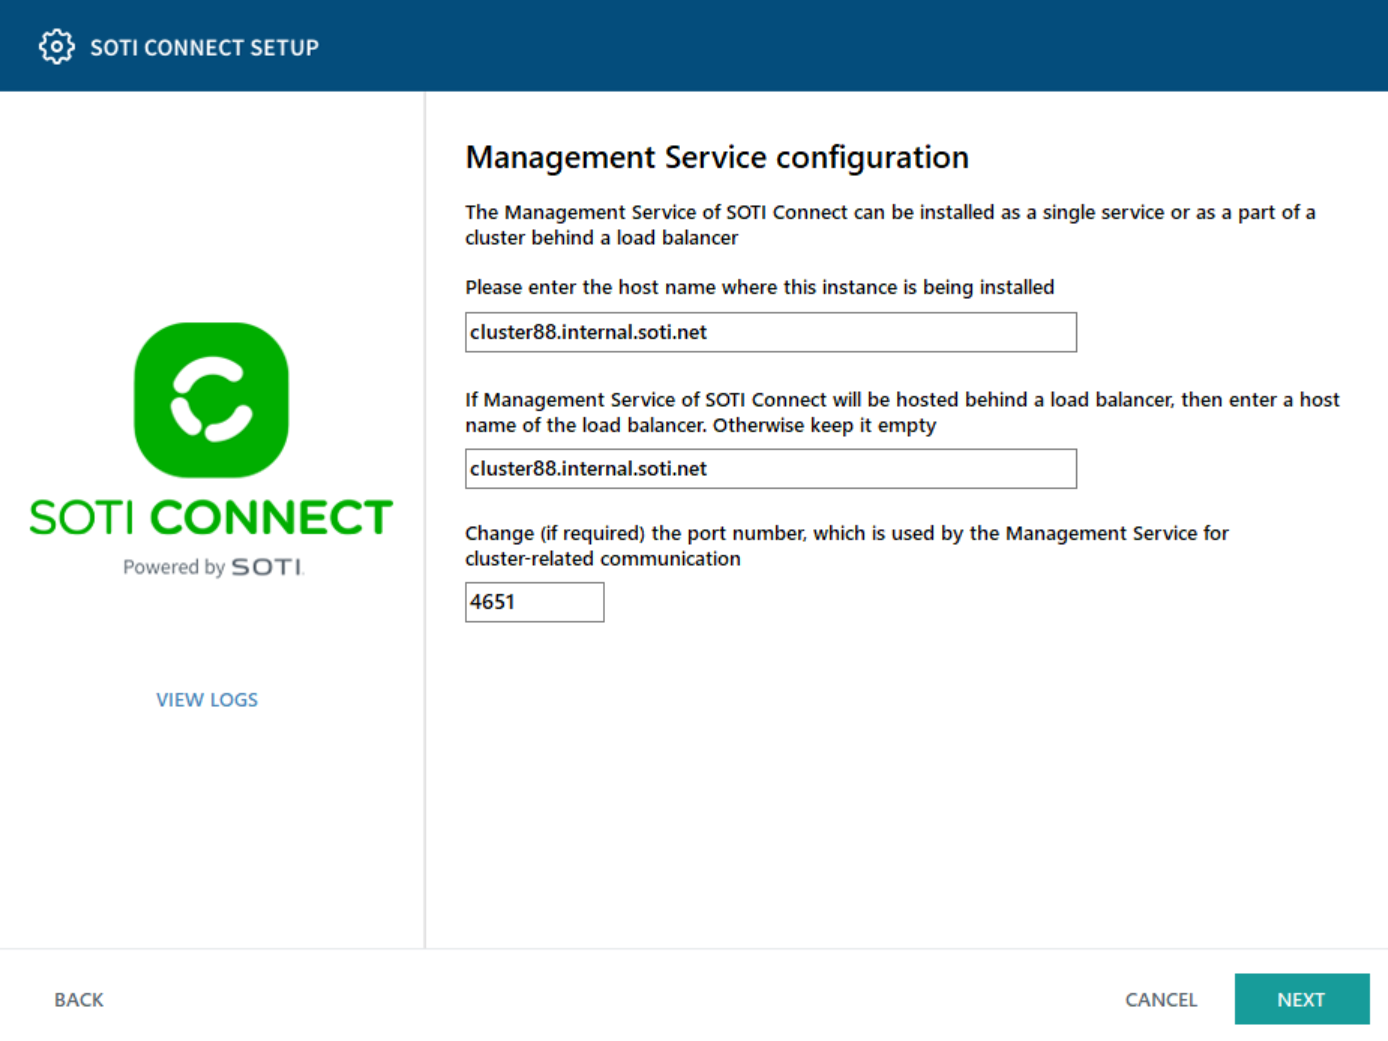
Enter the hostname where the source SOTI Connect instance
is installed on the source VM. Select Next.
Note: Do not use 'localhost' for FQDN\host names of an MS on a source VM. If you do this, you will not be able to install a failover MS instance on the target VM. The server address is also used to generate the HTTPS network certificate. The best practice is to enter names that 'external' connections can use.
-
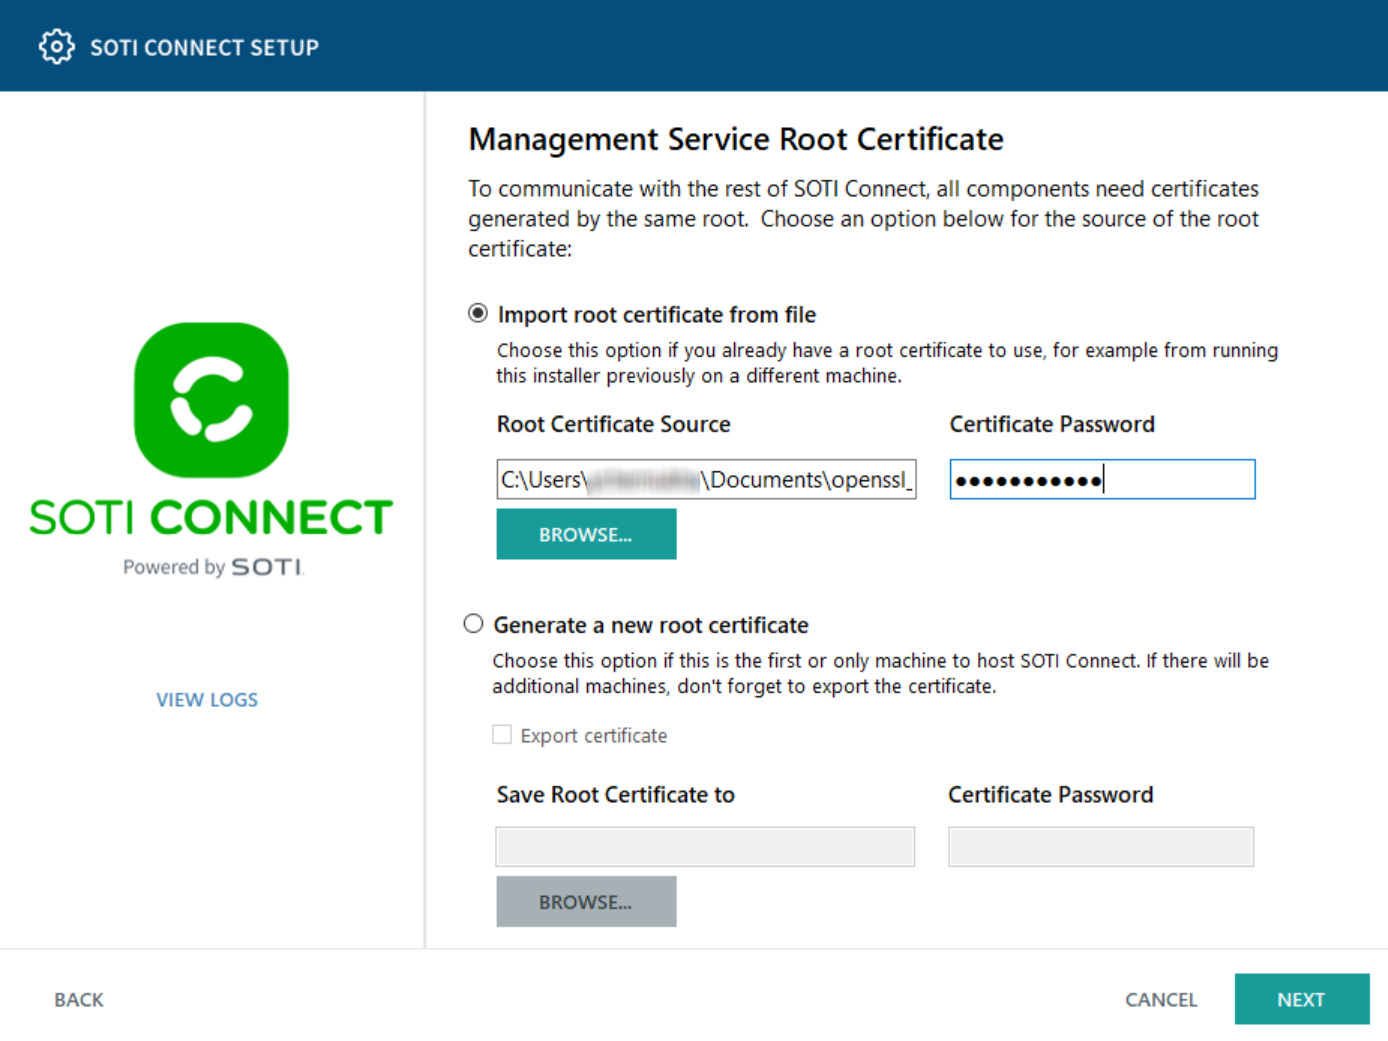
Select the source of the root certificate to apply. You may choose to import
from an available file or generate a new certificate. Enter the
Certificate Password and select
Next.
-
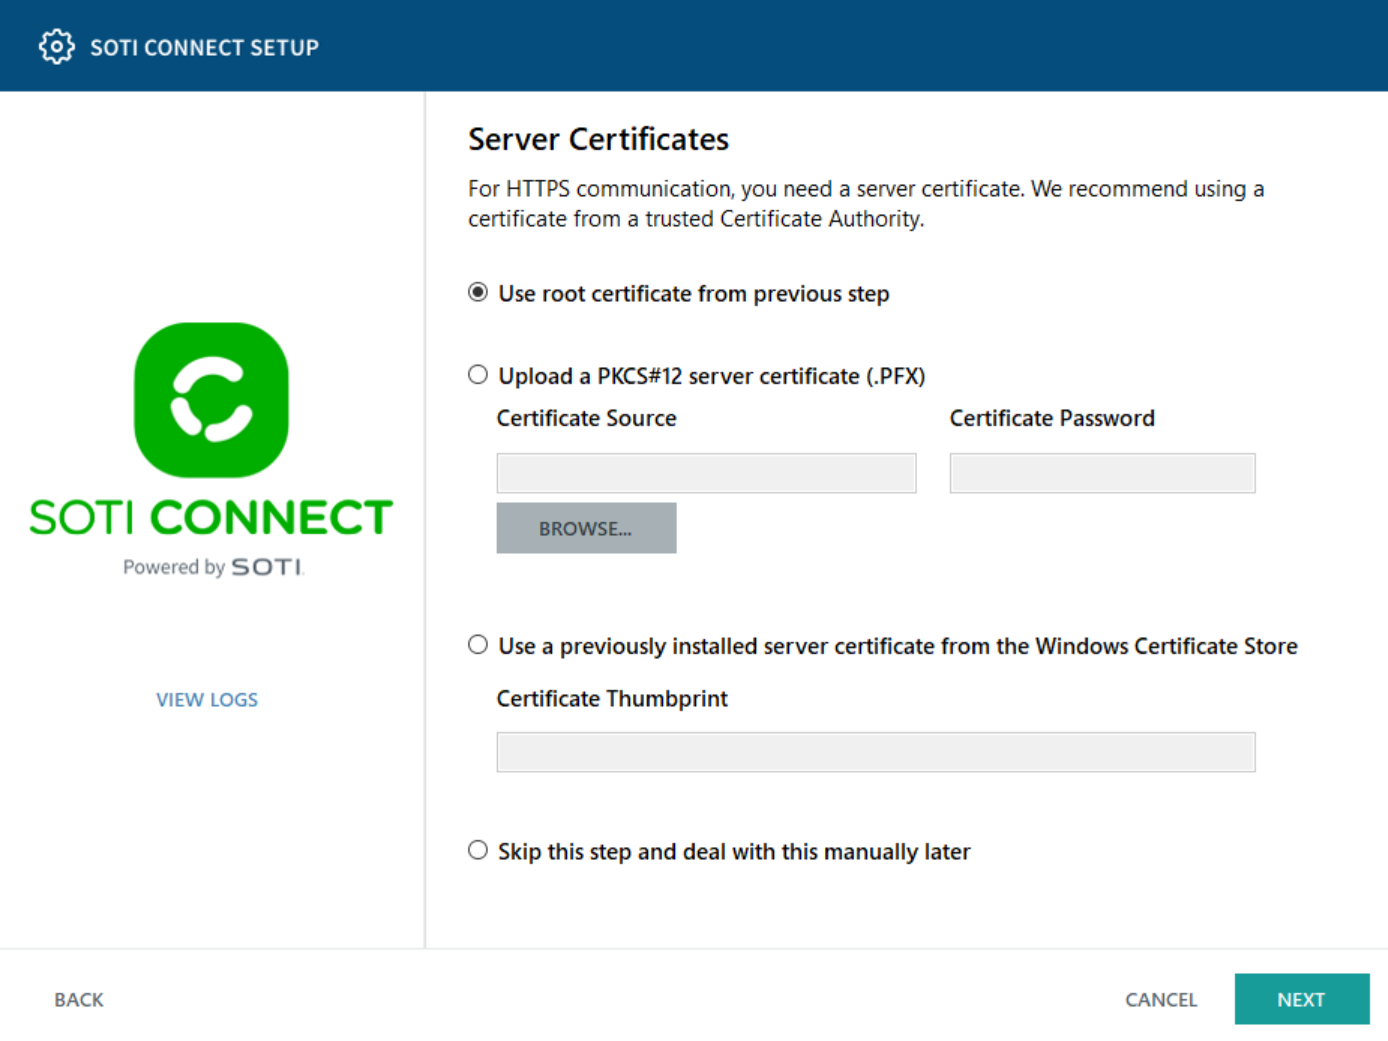
Select the server certificate for HTTPS communication.
Note: If a non-SOTI Connect HTTPS certificate is defined, the certificate will not automatically bind to port 443. The final step in the MS migration will be to bind the port manually (see Migrating a Management Service).
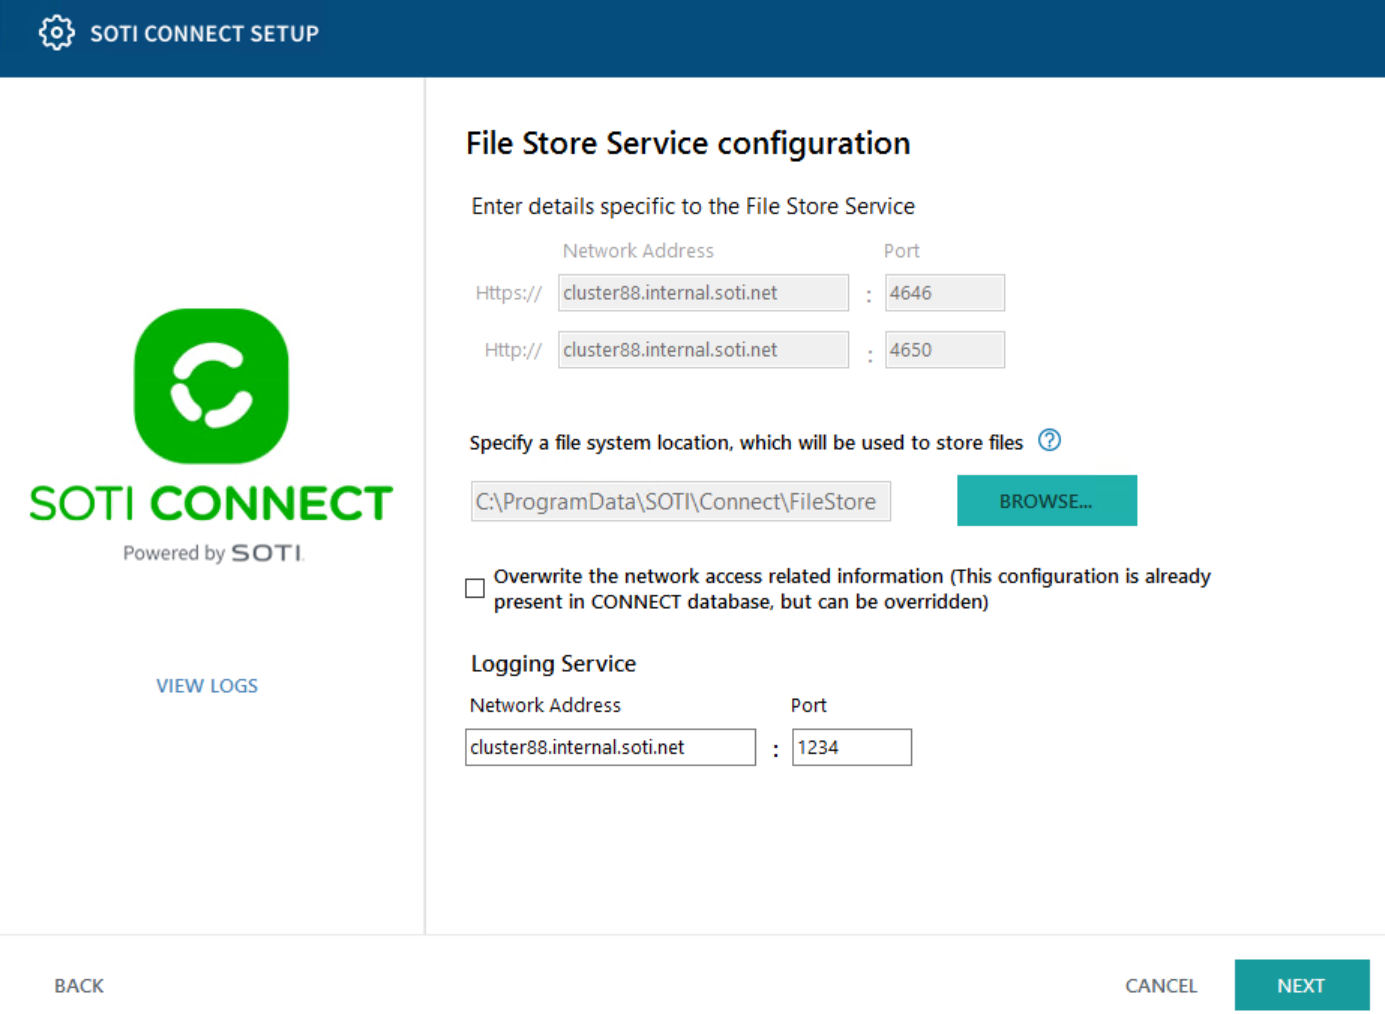
- On the File Store Service configuration screen, the FS hostnames and their port numbers are prefilled with the host used for MS. Select Overwrite the network access related information to overwrite the existing FS network access-related information in the SOTI Connect database. Select Next.
-
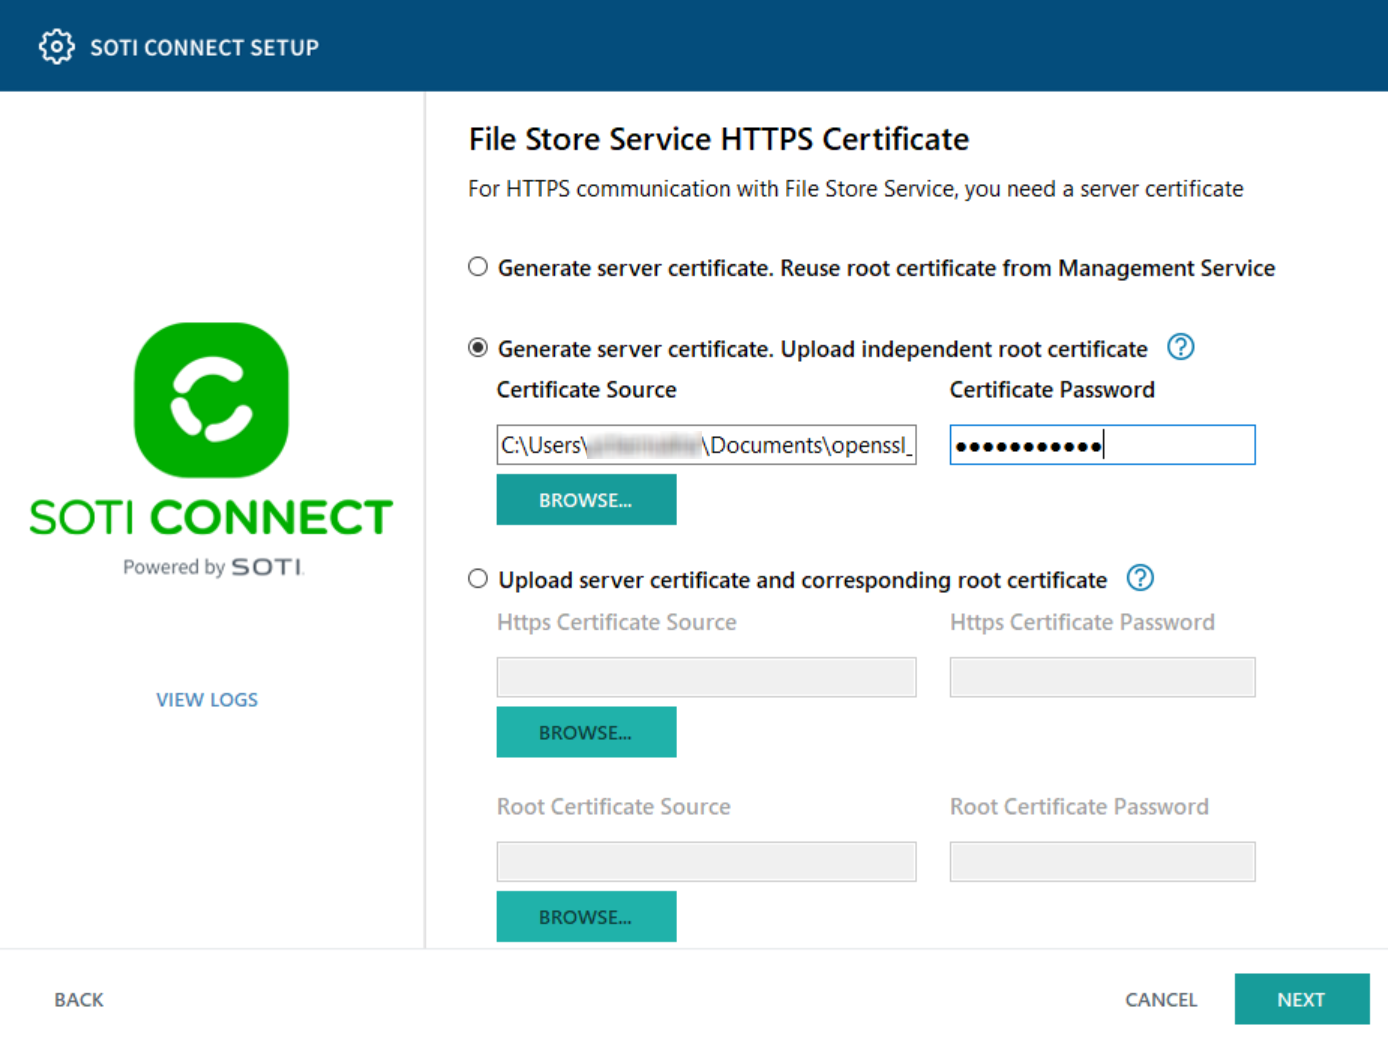
On the File Store Service HTTPS Certificate screen,
provide the appropriate HTTP server and HTTP root certificate information as
follows, then select Next.
- Select Generate server certificate. Reuse root certificate from Management Service if FS is installed along with MS. In this case, the HTTP certificate is generated from the MS root certificate (either custom or auto-generated) and is used as the FS HTTP root certificate.
- Select Generate server certificate. Upload independent root
certificate to upload a custom root HTTP certificate
that will be used for server HTTP certificate generation and later, for
its validation.Note: If you have used a custom root certificate for MS installation, use the same for FS. If you have a custom HTTP certificate for FS, select it. If you are using the auto-generated MS root certificate (default), you can export it from the installer during the MS installation or you can export it by navigating to .
- Select Upload server certificate and corresponding root certificate to upload both the HTTP root certificate and HTTP server certificate. Use this option only if your certificate is provided by a trusted certificate authority.
To update HTTPS certificates, see File Store Service (FS).
-
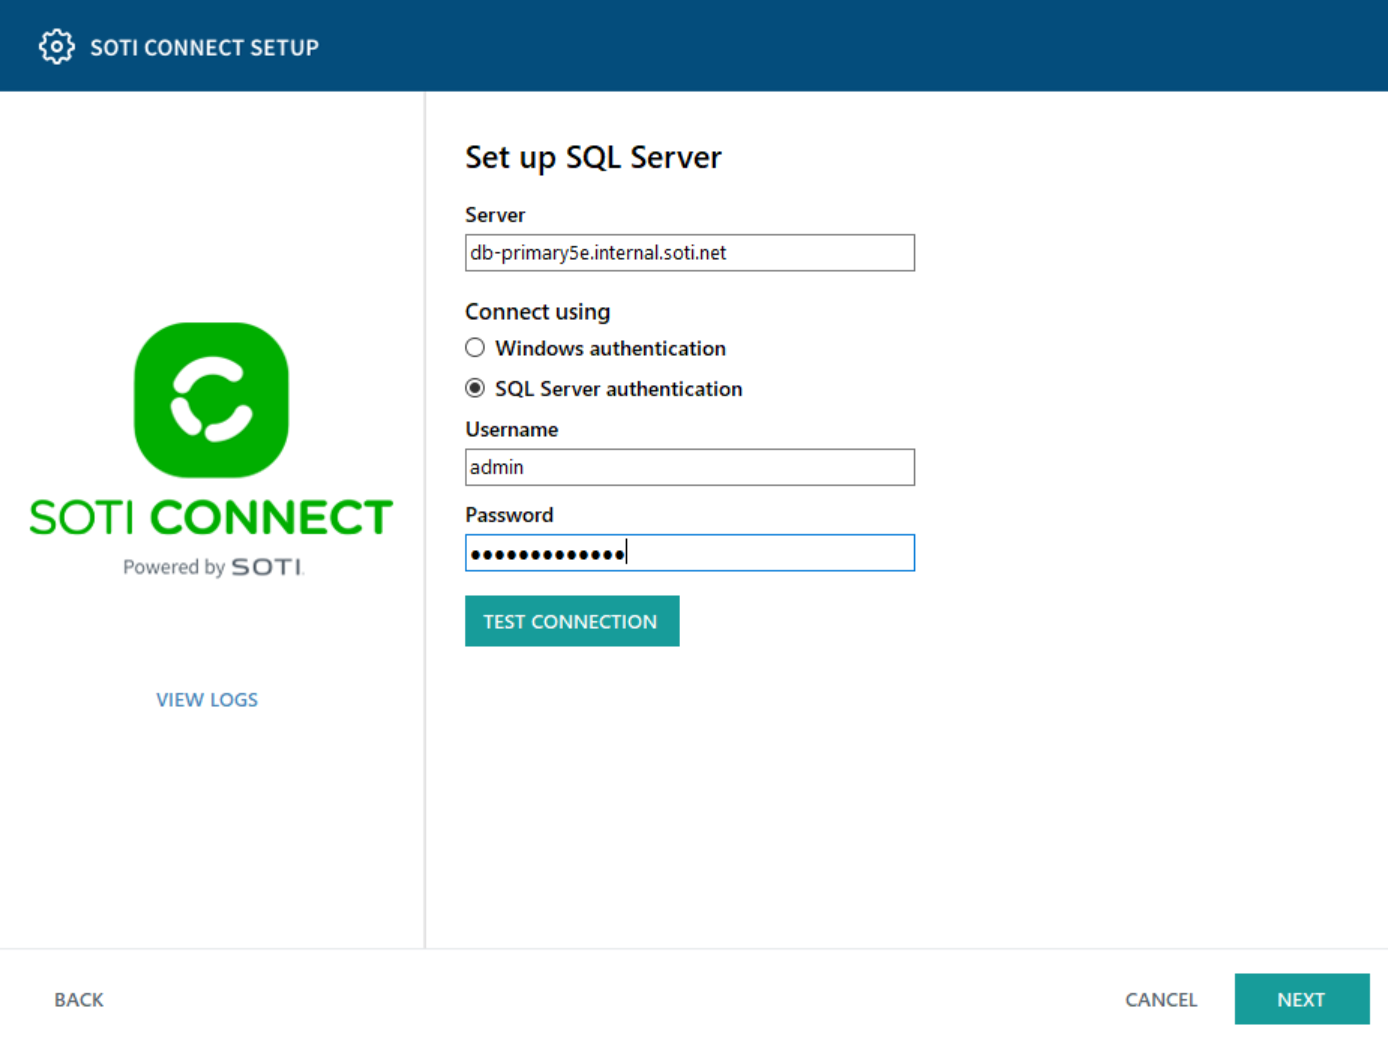
Enter the name of the migrated SQL Server (on the target VM). Enter the
username and password, then select Next.
-
Select Accept to accept the EULA after the update. You
may need to sign off and on again.
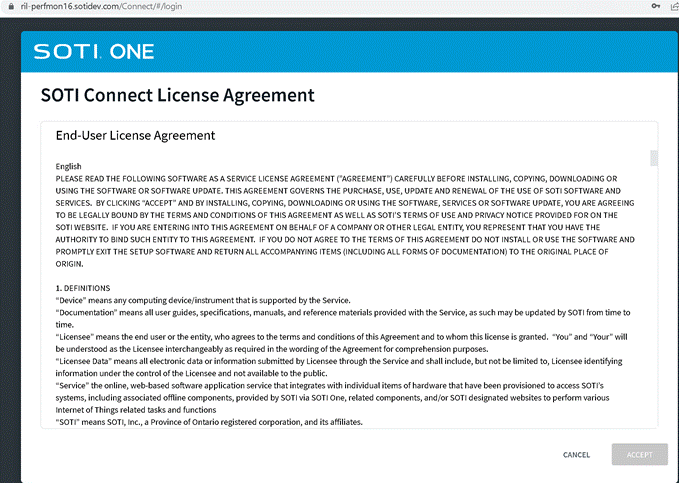 Note: A user with Administrator privileges must accept the End-User License Agreement (EULA), and must do so whether using a local account or an IDP.
 - Using Windows Services, restart the MS.
Results
The environment will be configured as shown below.
