Adding a Data Provider
Before you begin
About this task
Procedure
The following steps describe how to perform the initial configuration steps
to add a data provider.
-
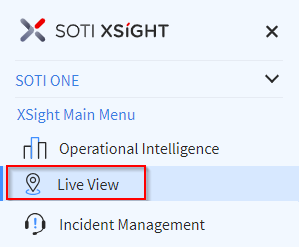
Select Live View from the main menu.
-
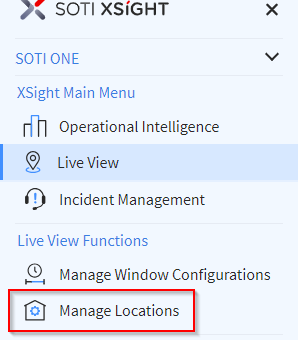
Select Manage Locations from the main menu.
-
In the Manage Locations panel, select Data
Providers (red box below).
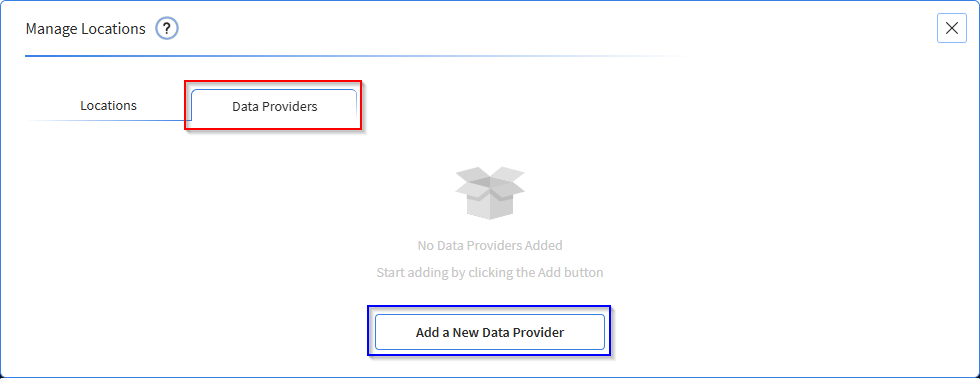
- Select the Add a New Data Provider button. (blue box above).
-
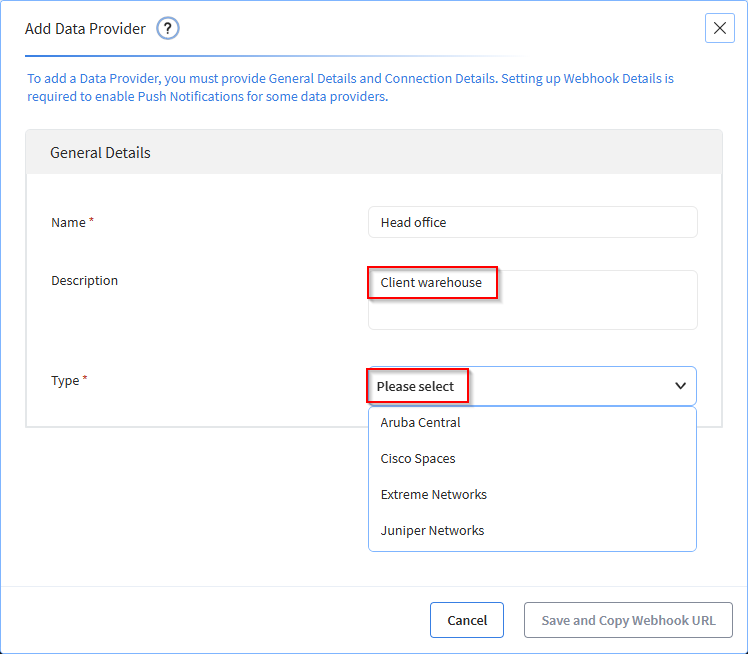
Enter a data provider Name and
Description.
Note: The data provider name must be unique.
-
From the Type dropdown menu, select one of the following
Wi-Fi network provider device types and then follow the steps in the
corresponding section below.
- Aruba Central
- Cisco Spaces
- Extreme Network
- Juniper Networks
Adding an Aruba Central Wi-Fi Network Provider
Procedure
The following steps describe how to configure an Aruba Central Wi-Fi
network provider.
-
Select Aruba Central from the Type dropdown menu. This
opens the Connection Details panel.
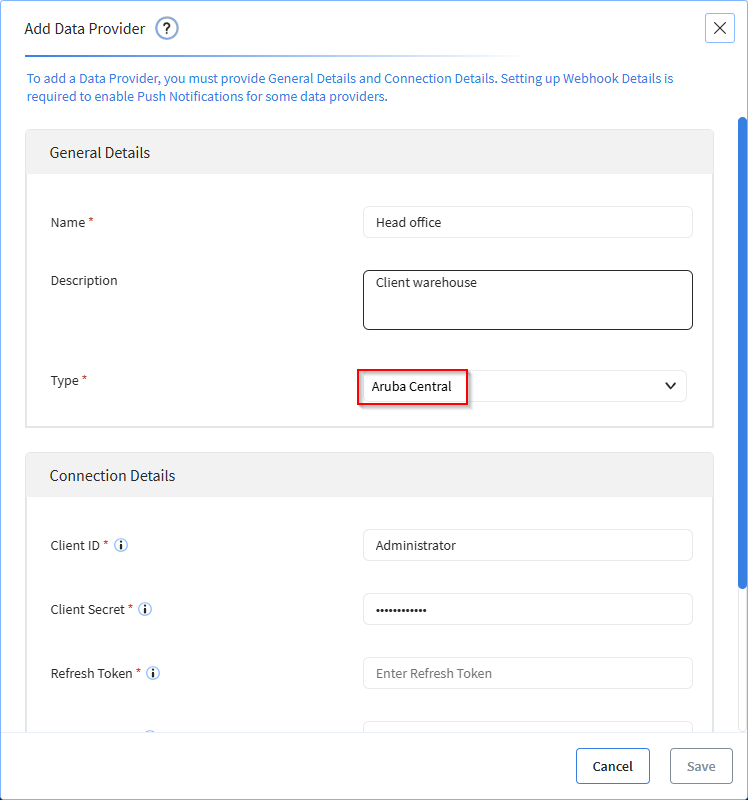
- Enter the Client ID, Client Secret, Refresh Token, REST API URL, Streaming API Key, Streaming URL.
-
Select Save.
Note: Navigate to Aruba Central > Organization > Platform Integration to create tokens and copy over the connection details. The table below lists instructions on where to find the connection details.
Connection Details Instructions Client ID Copy and paste the Client ID from the System Apps and Tokens Dashboard table in your Aruba Central > Organization > Platform Integration > REST API Dashboard. 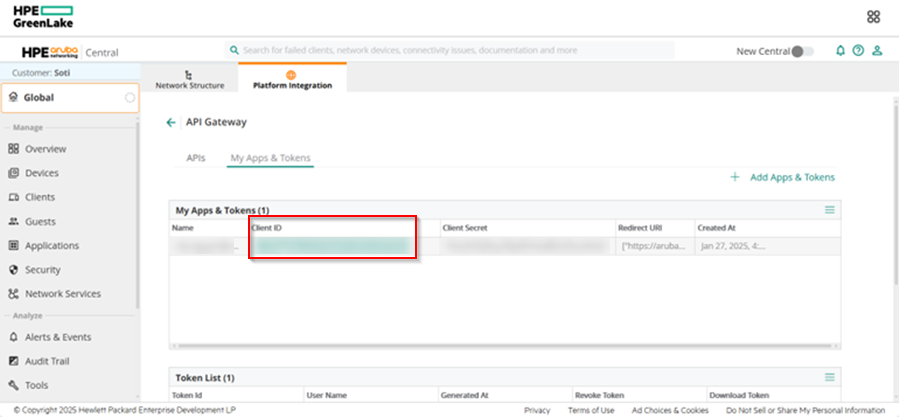
Client Secret Copy and paste the Client Secret from the System Apps and Tokens Dashboard table in your Aruba Central > Organization > Platform Integration > REST API Dashboard. 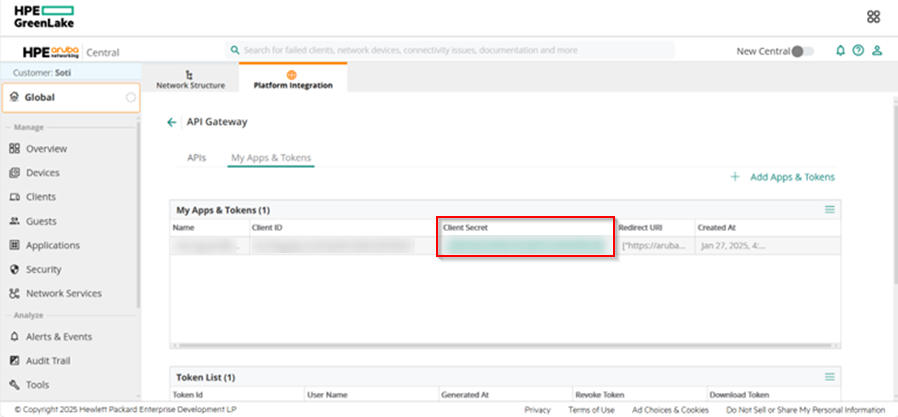
Refresh Token In your Aruba Central > Organization > Platform Integration > REST API > System Apps and Tokens, select ‘Download Token’, and copy the Refresh Token: 
REST API URL Insert the REST API URL from from your Aruba Central > Organization > Platform Integration > REST API. For example, https://apigw-eucentral2.central.arubanetworks.com/ Note: The URL varies, depending on your region.Note: In the Aruba REST API Dashboard, only copy the base URL, without the parameters ‘swagger/apps/nms’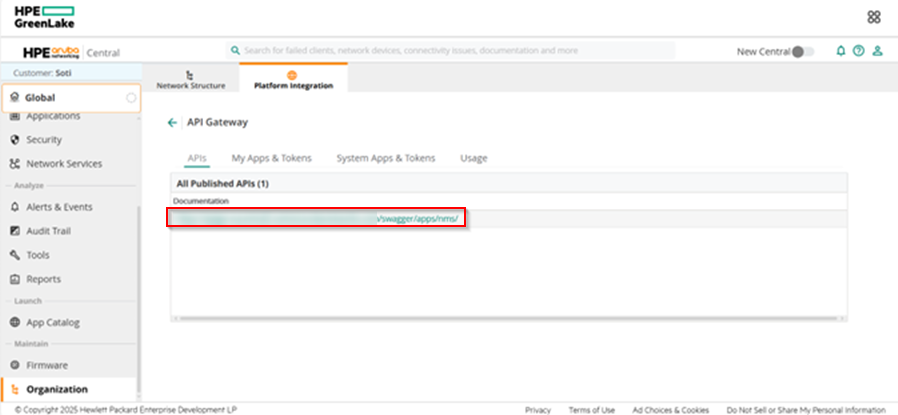
Streaming API Key Copy and paste the Streaming API Key from your Aruba Central > Organization > Platform Integration > Streaming. 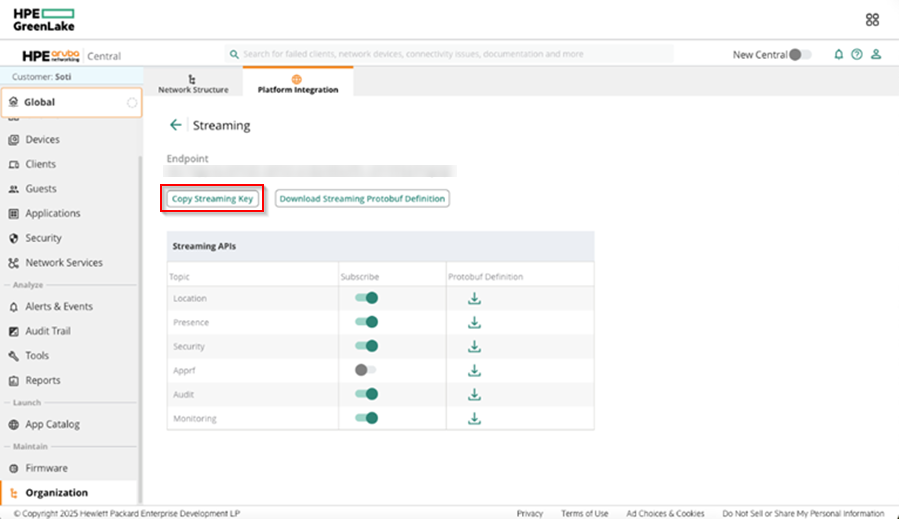
Streaming URL Copy and paste the Streaming URL from your Aruba Central > Organization > Platform Integration > Streaming. For example, wss://app-eucentral2.central.arubanetworks.com/streaming/api. Note: The URL varies, depending on your region.
Adding a Cisco Spaces Wi-Fi Network Provider
Procedure
The following steps describe how to configure a Cisco Spaces Wi-Fi
network provider.
- Select Cisco Spaces from the Type dropdown menu. This opens the Connection Details panel.
-
Enter the API Key.
Note: To obtain the API Key, go to your Cisco Spaces web console and select and then paste it into the API Key field.
-
In the URL field, enter
https://dnaspaces.io.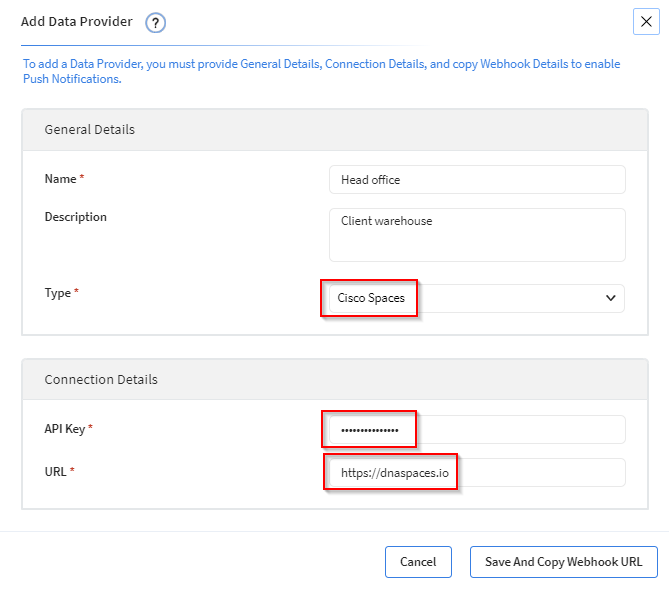
- Select Save And Copy Webhook URL. The Webhook Details panel displays.
-
Copy the webhook details:
- Navigate to .
-
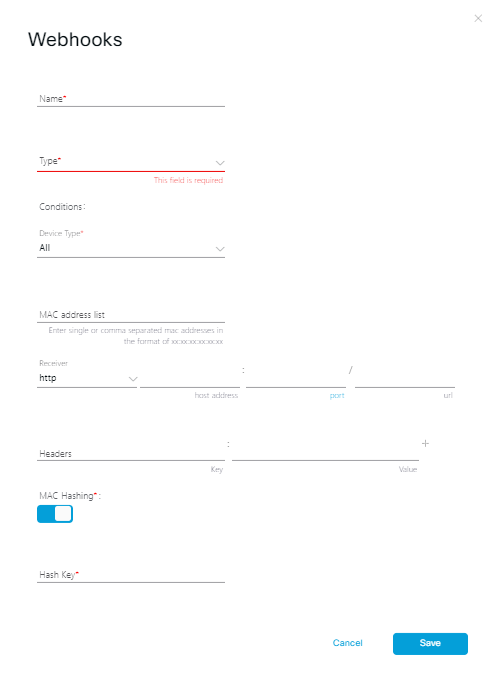
Note: You must create two webhooks, one with Type LocationUpdate, and one with Type In/Out. All values of the two webhooks must be identical, with only their Types being different.
- Device Type, Status: Select ‘All’
- Assigned Site: Select ‘All’ or select your floor(s)
- MAC address list: leave empty
- Receiver: Paste the URL copied from the Webhook Details popup in SOTI XSight (fill in the host address and port separately)
- Header Key and Header Value: Paste the Header Key and Header Value from the Webhook Details popup in SOTI XSight
- MAC Hashing: Toggle Off
Adding an Extreme Networks Wi-Fi Network Provider
Procedure
The following steps describe how configure an Extreme Networks
Wi-Fi network provider.
- Select Extreme Networks from the Type dropdown menu. This opens the Connection Details panel.
- Enter your login Username for Extreme Cloud IQ.
- Enter your login Password for Extreme Cloud IQ.
-
Enter
https://api.extremecloudiq.com/into the URL field.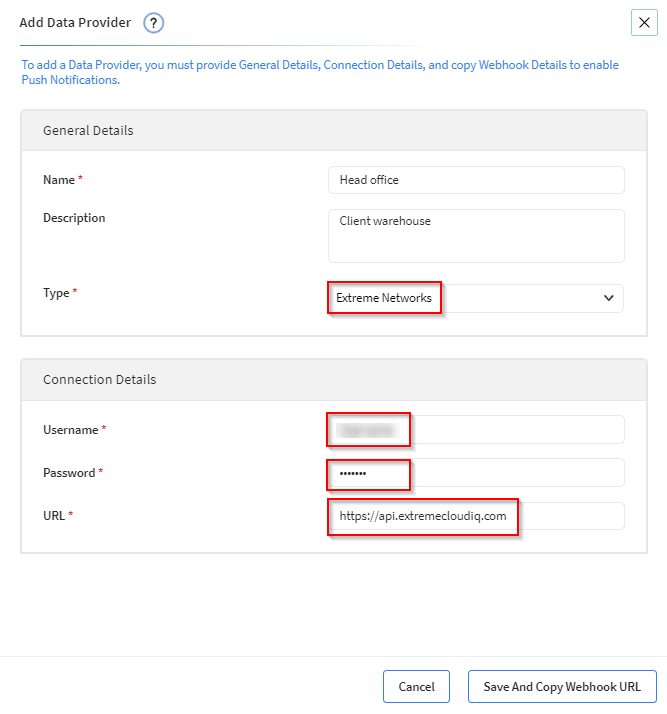
- Select Save And Copy Webhook URL. The Webhook Details panel displays.
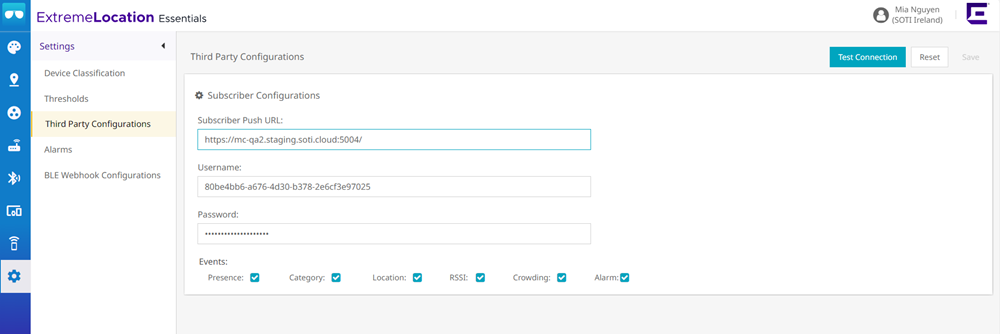
-
Copy the webhook details:
- Navigate to
- Enter the information from the Webhook Details panel:
- Subscriber Push URL
- Username
- Password
Adding a Juniper Networks Wi-Fi Network Provider
Procedure
The following steps describe how to configure a Juniper Networks Wi-Fi
network provider.
- Select Juniper Networks from the Type dropdown menu. This opens the Connection Details panel.
-
Enter the API Key.
Note: To obtain the API Key, go to your Mist Dashboard, and from the Organization tab, create a new API token. Copy the API Token and paste it into the API Key field.
-
Enter
https://api.ac2.mist.com/api/v1into the URL field.
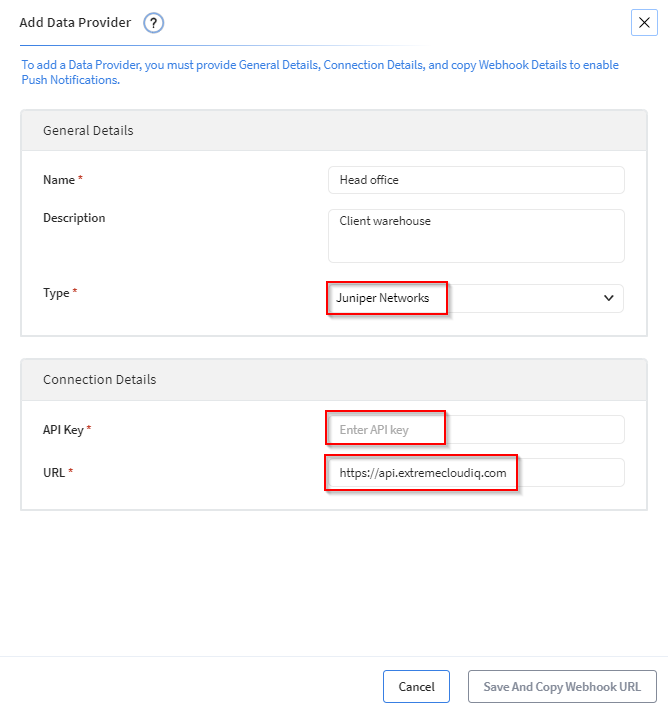
- Select Save And Copy Webhook URL. The Webhook Details panel displays.
-
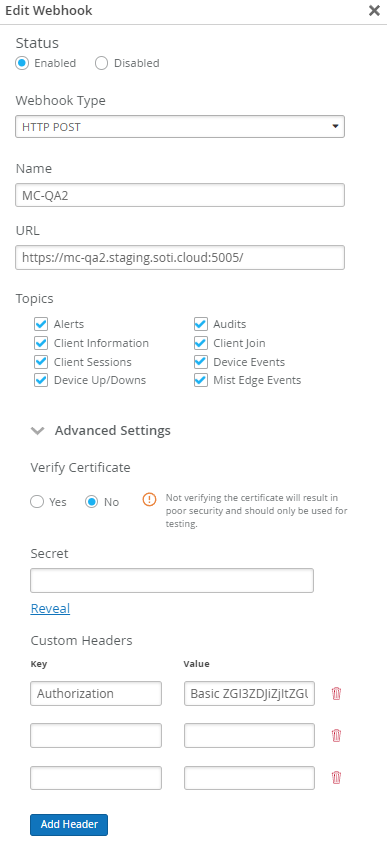
Enter the Webhook details for Juniper Mist.
- Navigate to
- Fill in the following details:
- Name
- Topics (select all)
- Paste in the information from Webhook Details panel:
- URL
- Header Key
- Header Value