Installing SOTI Connect
Before you begin
- Download the SOTI Connect Installer package.
- Install Microsoft SQL Server (or SQL Server Express) and note the connection string. See Installing and Setting Up Microsoft SQL Server Express for details.
- Note the Fully Qualified Domain Name (FQDN) of the machine where SOTI Connect will be installed.
- Close any running Windows Services and Task Manager applications.
About this task
This procedure installs a new SOTI Connect instance. For a guided walkthrough, refer to the SOTI Connect Deployment Guide [VIDEO].
Procedure
- Extract the SOTI Connect installation package (.zip file) to a temporary folder.
- Double-click SOTI Connect Installer.exe and allow it to make system changes when prompted.
-
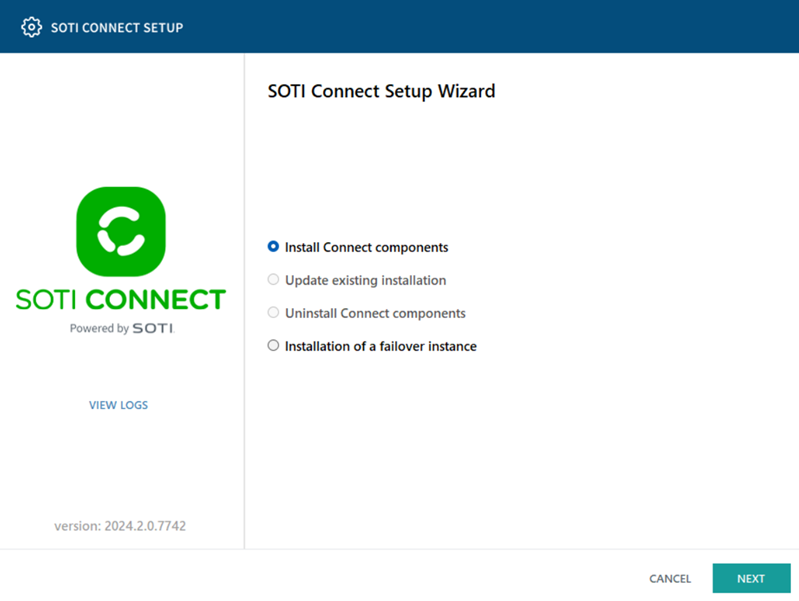
In the installer, choose Install Connect Components, then select
Next.
-
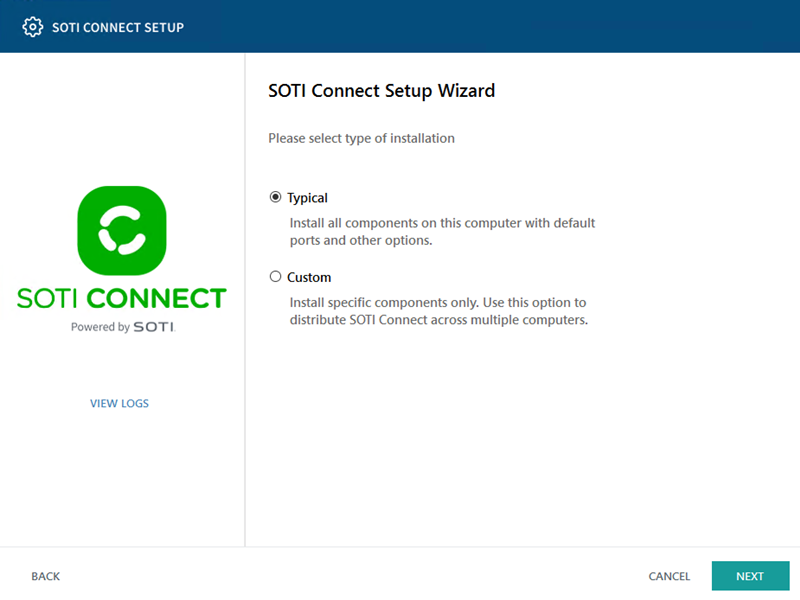
For the installation type, choose Typical, then select
Next.
-
On the Management Service Configuration screen, enter the FQDN of the
server.
 Tip: To find the FQDN, right-click Computer in File Explorer and select Properties. The FQDN is the full device name.
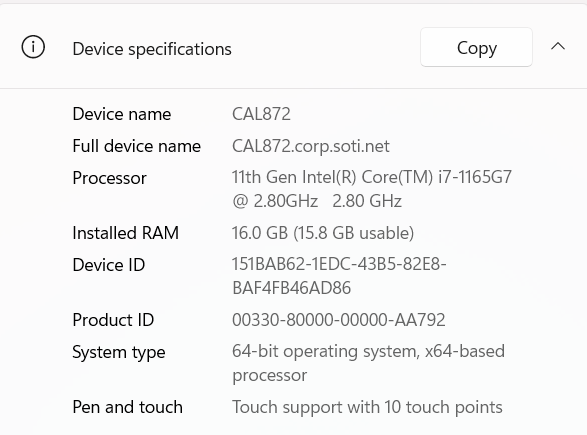
-
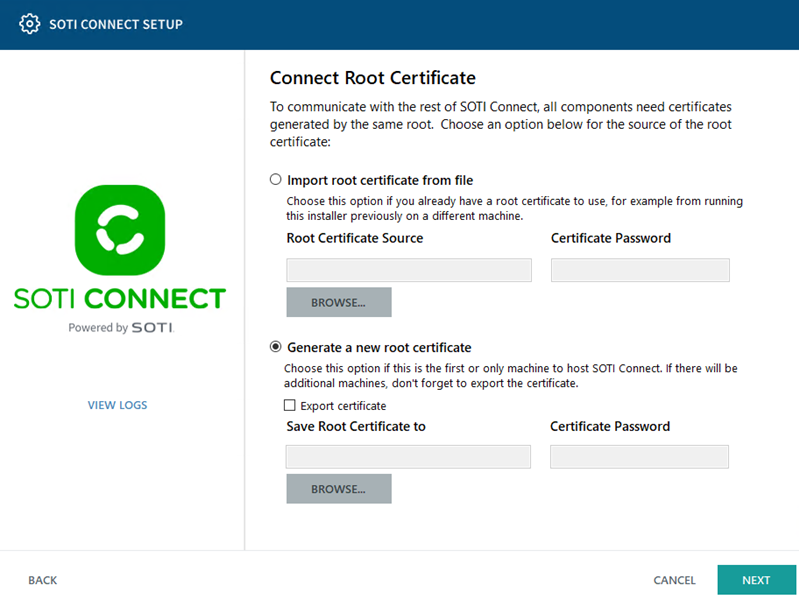
Select whether to import a root certificate from an existing file or generate a
new one, then select Next.
Note: Select Export Certificate to save the generated root certificate for reuse when installing additional Management Service instances.
-
Configure HTTPS server certificates:
Generate Server Certificate From Connect Root Certificate Create another certificate from the same root certificate used in Step 6. Upload a PKCS#12 Server Certificate (.PFX) Use a certificate file (for example, one purchased from a trusted certificate authority). Use a Previously Installed Server Certificate From the Windows Certificate Store Select this option if the certificate is already installed in the Windows trusted store and you know its thumbprint. 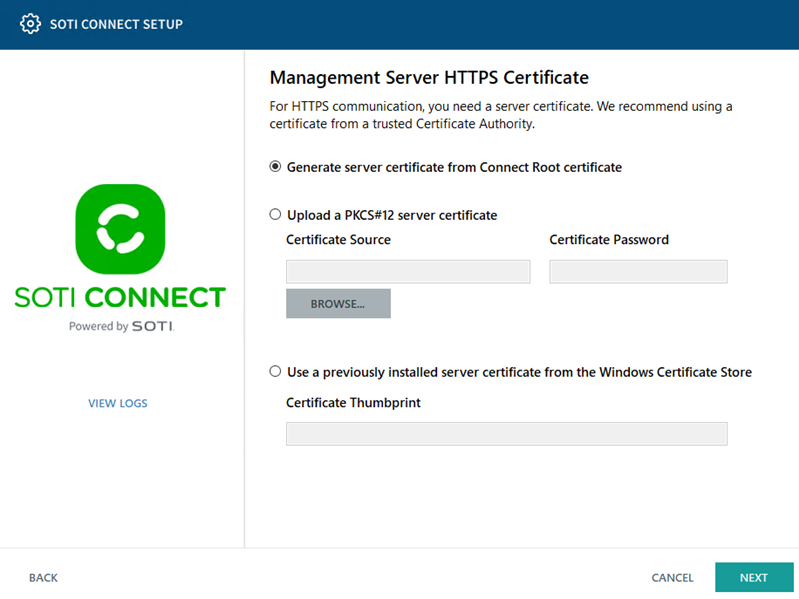
-
On the File Store Service Configuration screen, enter the File Store (FS)
hostname, Logging Service network address and port numbers. To change the FS
file system location, select Browse and provide either a local path or a
shared network location. See Setting Up a Shared Network Location for
details.
Note: For all-in-one installations, FS details are auto-filled.

-
Configure the File Store Service HTTPS Certificate:
Generate Server Certificate from Connect Root Certificate Use the MS root certificate (custom or auto-generated) to generate the FS HTTPS certificate. This option is available only on setups with both FS and MS installed.
Generate Server Certificate from Uploaded Root Certificate File Upload a custom root HTTP certificate. Upload Server Certificate and Corresponding Root Certificate as Files Upload both certificates if issued by a trusted authority. Use this option if your certificate is from a trusted certificate authority.
Load Server Certificate and Corresponding Root Certificate from the Trust Store Select this option if the certificates are already installed in the Windows trusted store and you know their thumbprints See File Store Service (FS) for details on updating the HTTPS certificates.

-
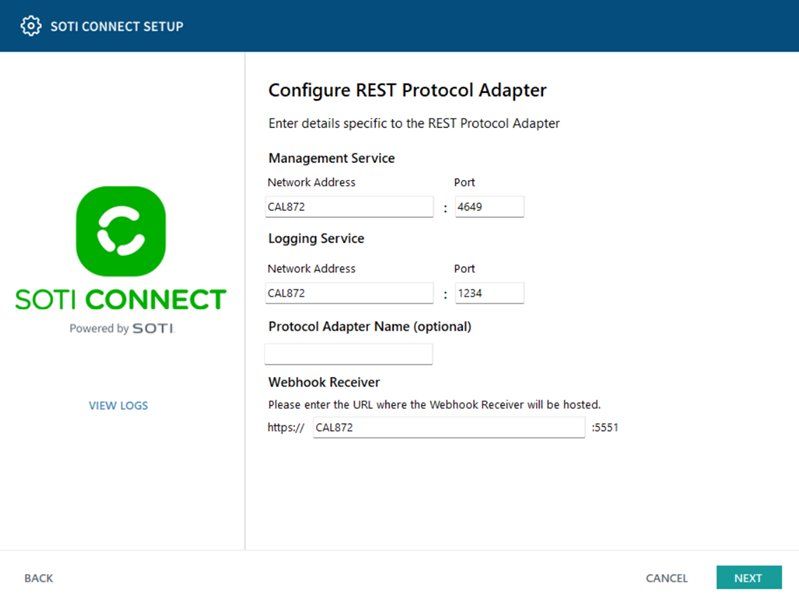
Enter REST Protocol Adapter and Webhook Receiver details, then
select Next.
-
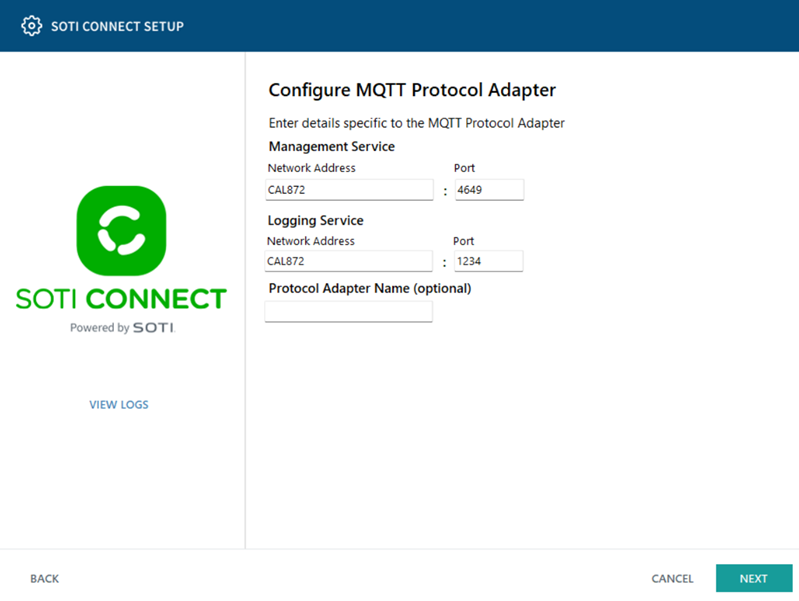
On the MQTT Protocol Adapter screen, confirm the management and logging service
network addresses and ports, then select Next. The connection addresses
and ports in this panel must match the network addresses and ports where these
services are listening.
-
Enter the MQTT RPC Protocol Adapter details, then select Next.

-
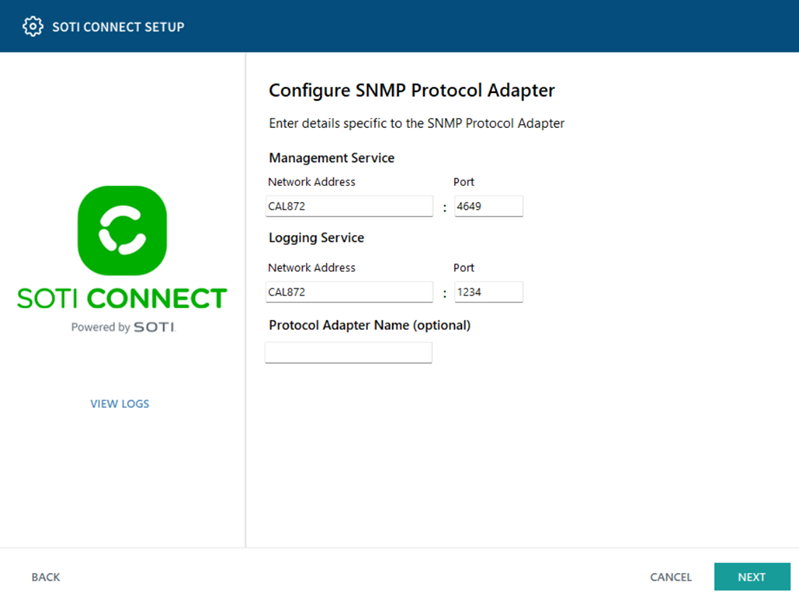
Enter the SNMP Protocol Adapter details, then select Next.
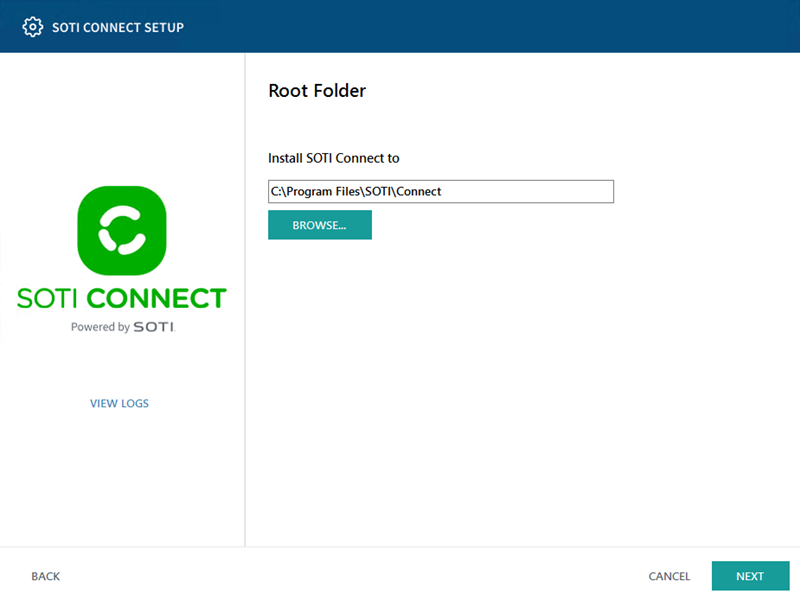
-
Enter the root installation folder, or accept the default location, then select
Next.
-
Enter the SQL Server database connection information, including the FQDN name
in the Server field, then select Next.
Note:
- If you have more than one instance of SQL Server or SQL Server Express running on your machine, be sure to select the right one. The connection string in the Server field can vary.
- Select Windows Authentication if that is how you prefer to
connect to the SQL Server database. Note that the SOTI Connect service using the database runs as the
LOCAL SYSTEMaccount. If you select Windows Authentication, make sure that the account running the Management Service (the defaultLOCAL SYSTEM) has the required privileges in SQL Server. - Database mirroring is not supported.
- Do not use "
." as the SQL server name as the installation or upgrade may fail.
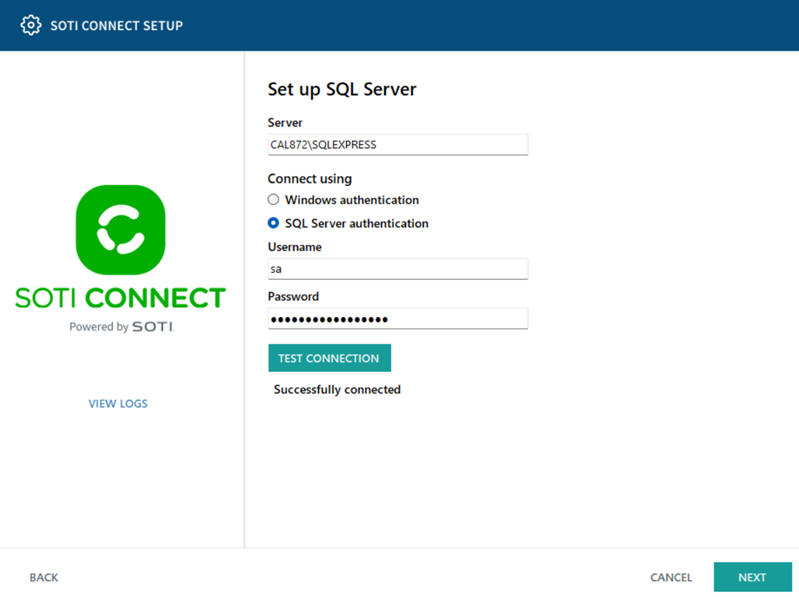
- Select Test Connection to verify the credentials.
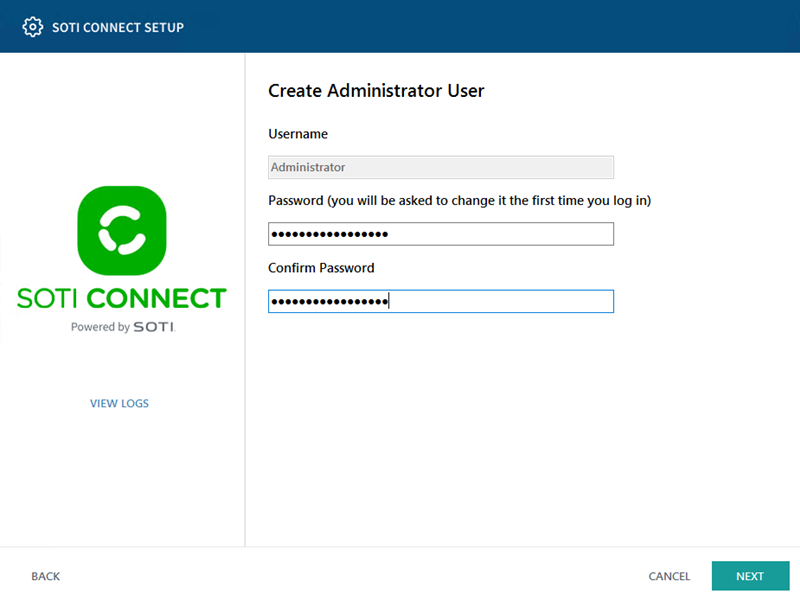
-
Enter the temporary administrator password (you must change this password when
you log in for the first time.) Select Next.
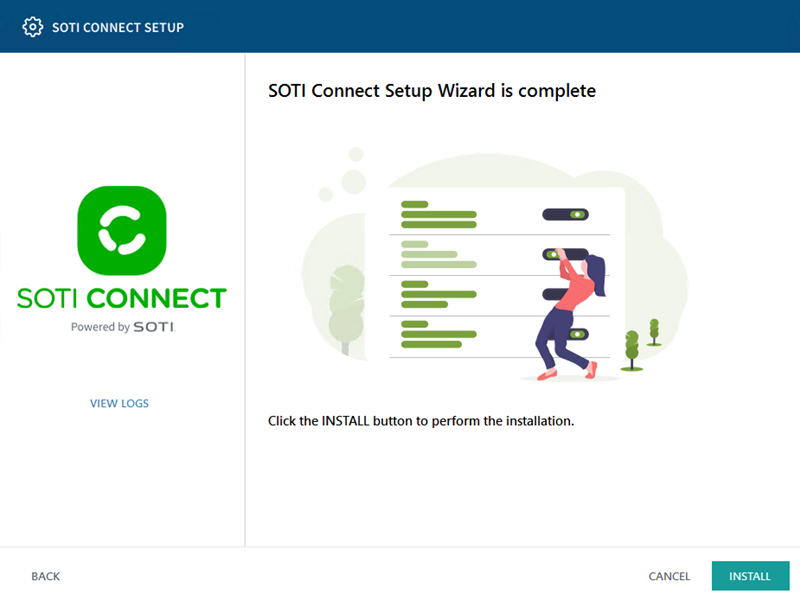
-
Select Install to begin the installation.
-
When complete, select Finish to exit the installer.
Important: After the installation (or upgrade) is complete, fully exit the installer before continuing.
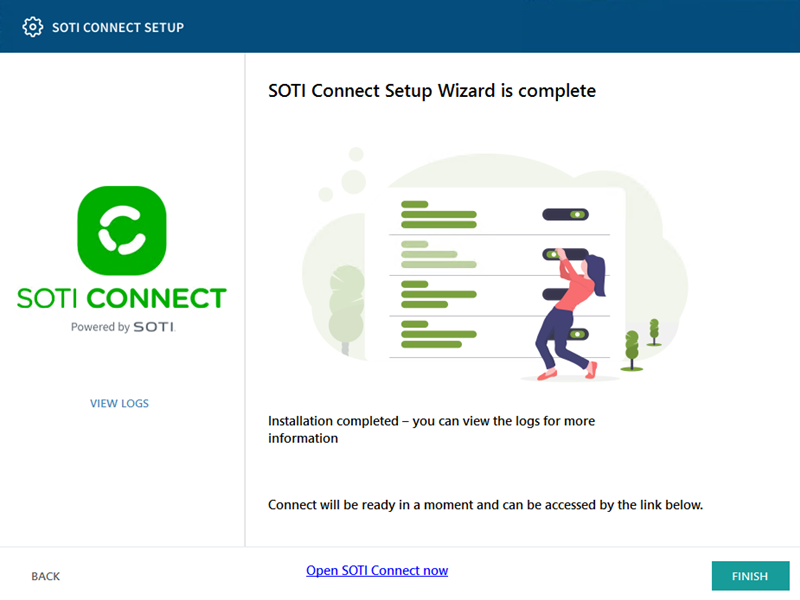
- Select Open SOTI Connect now at the bottom of the page to open the SOTI Connect console.
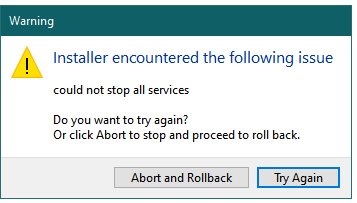
- Optional:
If the installer encounters any issues, choose from:
- Abort and Rollback
- Try Again
Results
SOTI Connect is successfully installed. You can now access the SOTI Connect console using the administrator account.
Troubleshooting:
- If any problems occur during installation, check the logs. To view the logs, navigate to the installation folder and open the InstallerUI.log file.
- If an error occurs (for example, a service cannot start), stop any antivirus applications and re-run the installation.
What to do next
- Log in to the SOTI Connect console with the temporary administrator password, accept the License Agreement, and set a new password.
- Use the Watchdog utility (installed with SOTI Connect) to check that SOTI Connect services are running. You must run the utility as an administrator. You can access it from the same directory where you installed SOTI Connect (\Program Files\SOTI\Connect\Soti.IoT.Watchdog\lib\Release\net472\Soti.IoT.Watchdog.exe). See Restarting the Management Server for details.