Uninstalling SOTI Connect
Before you begin
About this task
Note: For detailed instructions specific to your
deployment, see:
Procedure
-
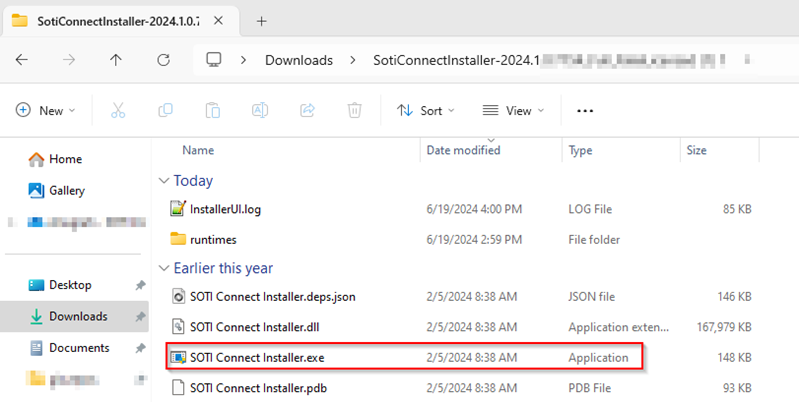
Locate the folder where you extracted the SOTI Connect
installation package, and then double-click the installer (SOTI Connect Installer.exe). When prompted,
grant the installer permissions to make changes to your system.
-
In the SOTI Connect setup wizard, select Uninstall
Connect Components, then select Next.

-
Keep the component selection boxes checked if you want to uninstall all
SOTI Connect components, then select
Next.
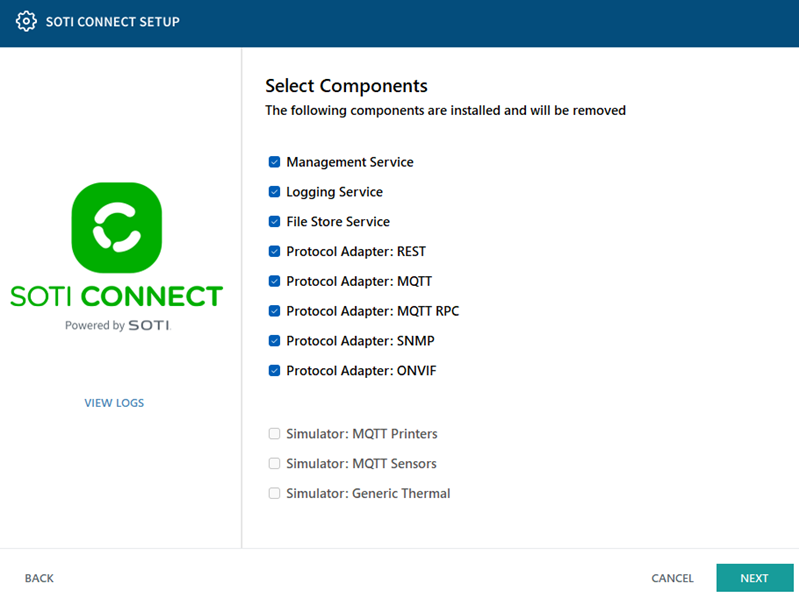 Note:
Note:- To retain a specific SOTI Connect component, clear the component selection box.
- In a multi-server setup where the Management Service (MS) and File Store Service (FS) are installed on different machines, the FS cannot be reused if MS is uninstalled while FS remains.
-
Enter the information required to connect to your SQL Server database.
- If this is the last Management Service (MS) instance, select Delete SOTI Connect data from SQL Server.
- Clear this option if this is one MS instance in a cluster and you want to retain other MS instances.
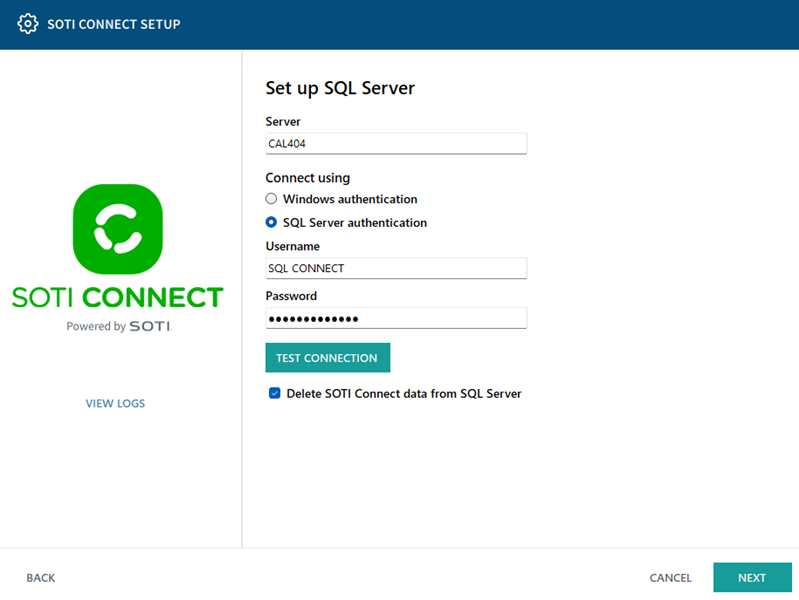
- Select Next.
-
On the Set up additional clean up options screen, select Delete files from
File Store if this is the last File Store (FS) instance. Doing so
removes all the FS files from the database.
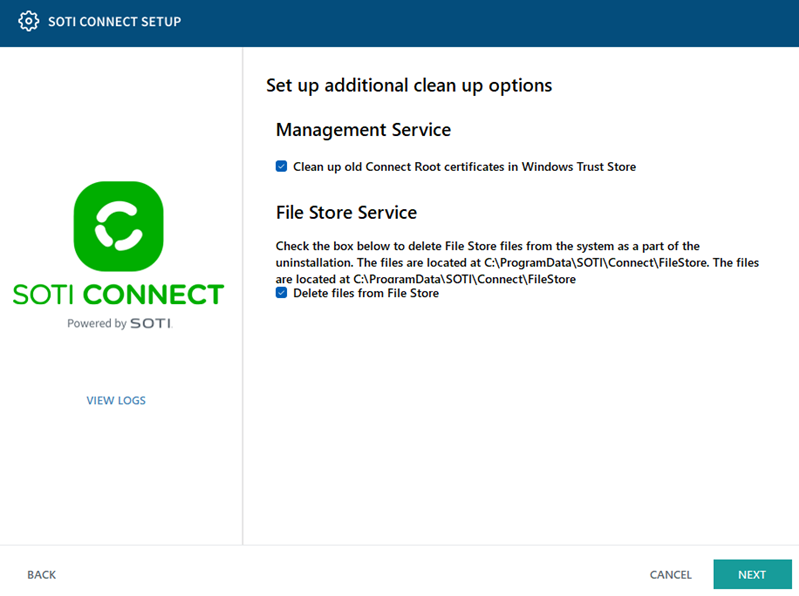 Note: Clearing this option removes the File Store (FS) instance but retains the FS files and database for future FS installations.
 - Select Next to start uninstalling SOTI Connect. This may take a few minutes.
-
When the uninstallation process completes, select Finish.
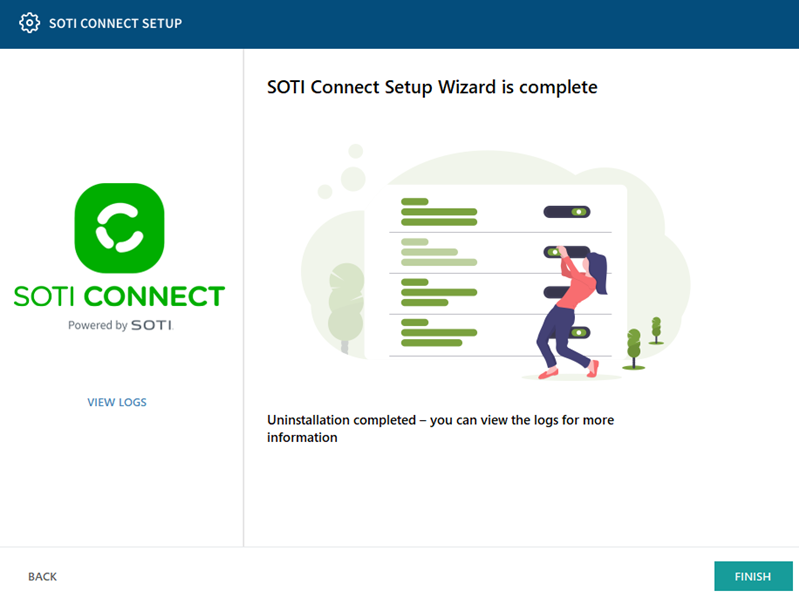
Results
SOTI Connect has been uninstalled from your system.