Windows Image Deployment for Non-managed Devices
This task provides instructions for deploying a Windows OS image and enabling automatic enrollment for non-managed Windows Modern devices in SOTI MobiControl.
Before you begin
- Make sure the prerequisites are met. See Prerequisites for OS Image Configuration for details.
-
You must also have the following permissions:
- View OS Images
- Manage OS Images
- View Windows Devices Staging
- Manage Windows Devices Staging
About this task
Procedure
-
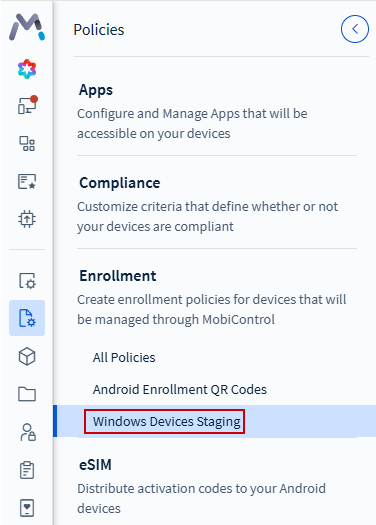
From the SOTI MobiControl main menu, navigate to , and select Windows Devices Staging.
-
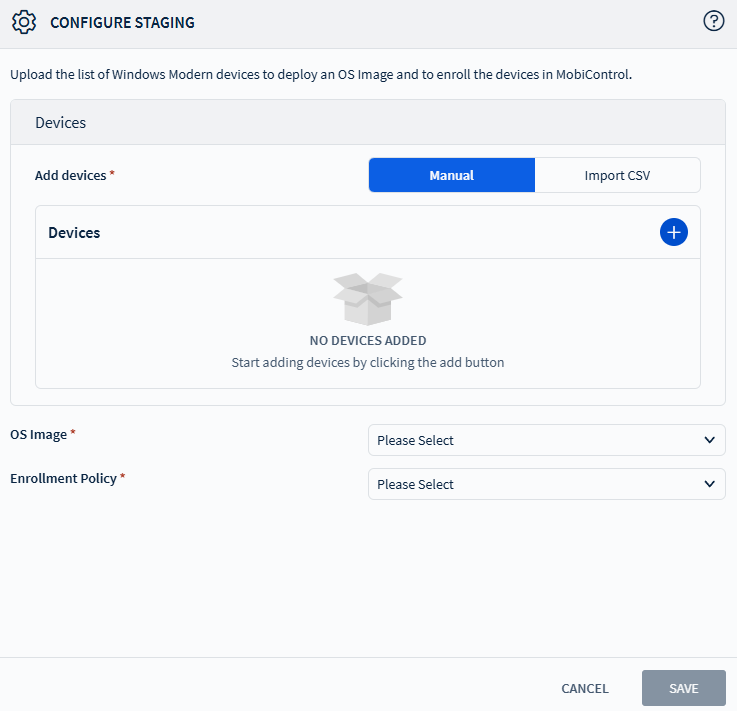
Select Configure Staging. The Configure Staging window
appears.
-
Choose how to add devices for image deployment and enrollment:
- Manual: Select to manually add the device's hardware hash.
- Import CSV: Select Browse File to upload a .csv file (maximum size: 20MB) containing the hardware hashes.
Note: Duplicate hardware hashes are not allowed.Tip: Use the following PowerShell script to extract a device's hardware hash into a .csv file:Install-Script -Name Get-WindowsAutoPilotInfo -Force Get-WindowsAutoPilotInfo.ps1 -OutputFile C:\AutoPilotHWID.csv
-
Choose the OS Image to deploy from the list. The pre-populated image is
created using the Create OS Image device action.
Note: Make sure the OS image is compatible with the following parameters:
- Device manufacturer
- Hard disk partition: MBR or GPT
- System type: 32-bit or 64-bit
- Disk size
- BIOS mode: UEFI or Legacy
- Select the Enrollment Policy from the list of active provisioning package (PPKG) Windows enrollment policies to enroll the device after the OS image is deployed.
- Select Save.
Results
Note:
- Administrator can update the configurations for a staged device, when the device is in “Draft” state, including OS image and enrollment policy.
- Once a device’s status progressed to "In Progress", details cannot be updated.
- To delete a staged device, select and choose Delete. When deleted, the device will not remain staged, and image deployment and auto-enrollment will not occur.
- You can view and delete the images from the Image Manager window.
What to do next
F12 on the device to begin
deployment. Once the deployment begins, the device's "Assignment Status" changes to "In
Progress." After the OS image is deployed and enrollment is complete, the device is
moved from the Windows Devices Staging panel to the Devices
view.