LDAP (Declarative)
Configure LDAP settings to access company contacts.
Before you begin
- View Profiles
- Manage Profiles
About this task
Note: This configuration does not
enable LDAP authentication for unlocking devices. It only provides access to company
directory contacts.
Note: Cloud Link Agent is not compatible with this LDAP
profile on iOS.
Procedure
- From the main menu, navigate to Profiles. The Profiles view opens.
- Select Add Profile to create a new profile.
-
Choose the applicable Apple platform and select Declarative Profile. The
Create Profile window appears.
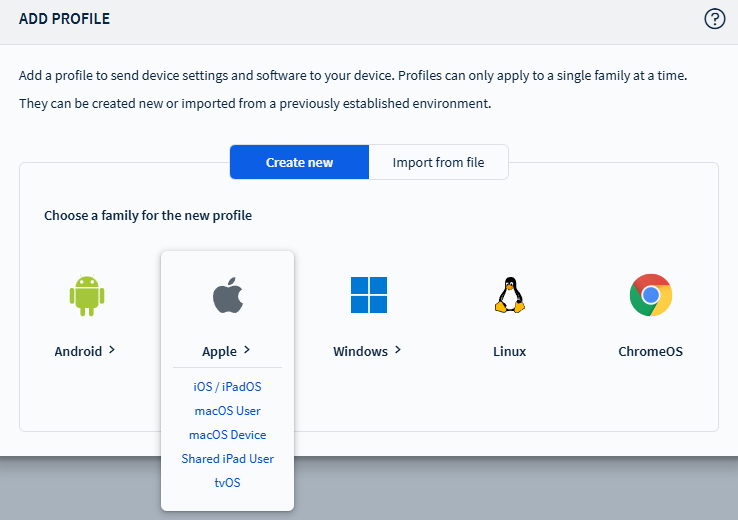
- In the General tab, enter a Name and Description for the app policy. Navigate to the Configurations tab.
-
Select and choose LDAP under
the Email, Contacts & Calendar section.

-
Configure the LDAP settings:
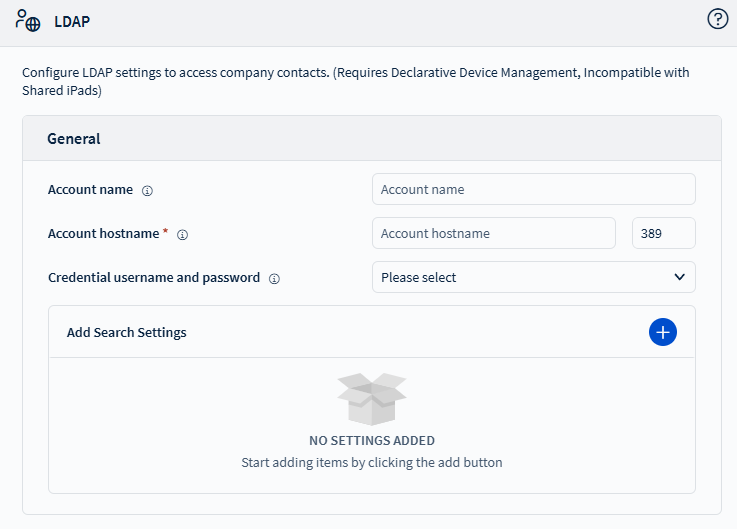
- Account Name: Enter the name of your LDAP configuration.
- Account Username: Enter the account name used
to query the LDAP server.Note: You can use any email address for LDAP access. Macros are not required.
- Account Password: Enter the password for the LDAP query account.
- Account Hostname: Specify the location of the LDAP server.Tip: Supports both Fully Qualified Domain Name (FQDN) and IP addresses.
- Credential Username and Password: Select the asset declaration that provides credentials for the account.
- Use SSL: Enable this to use SSL encryption for LDAP communication.
- Add Search Settings: This enables you to search specific directories, including child directories in LDAP. Select the button to enter the search settings.
- Select Save.