Creating an Android Classic Enrollment Policy
Create an Android Classic enrollment policy.
About this task
Android Classic enrollment supports a wide variety of Android devices built by
different manufacturers. Original Equipment Manufacturers (OEMs) may prioritize
different features or implementations, which leads to a broad range of functionality
across devices. Rather than limiting management to a one-size-fits-all model,
Android Classic enrollment provides customized feature sets based on each OEMs
capabilities.
Important: As of SOTI MobiControl v14.4, all fresh installations of SOTI MobiControl default to Android Enterprise as the Android Plus
management style. To continue with this procedure, you must confirm that OEM
Specific for All Android Devices or OEM Specific for Android 6.0 and
Below is selected instead. See Choosing an Android Deployment Type for more
information.
Use the following procedure to create an Android Classic
enrollment policy:Procedure
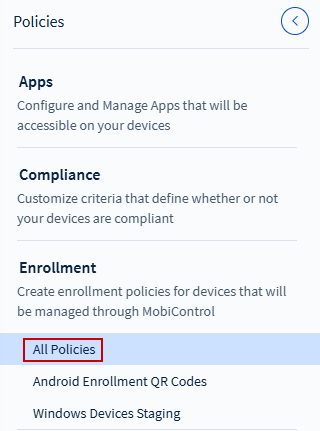
- From the SOTI MobiControl main menu, select .
-
Choose All Policies, then select
Add Enrollment Policy.
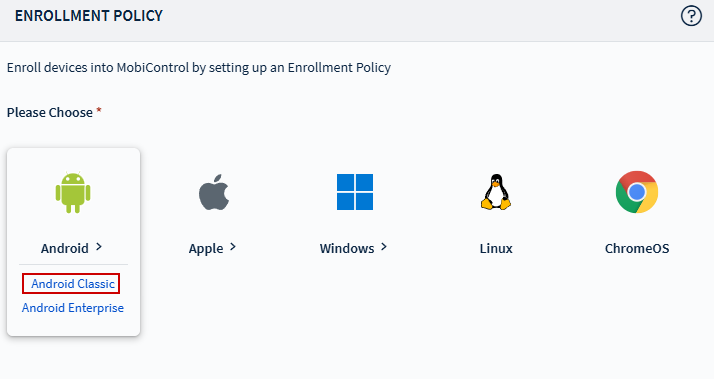
-
Select . The Enrollment Policies view opens.
- In the General tab, enter a name and description for the policy. Enter a brief but descriptive name, especially if you plan to create more than one enrollment policy. Select Next.
-
In the Groups tab, configure enrollment authentication:
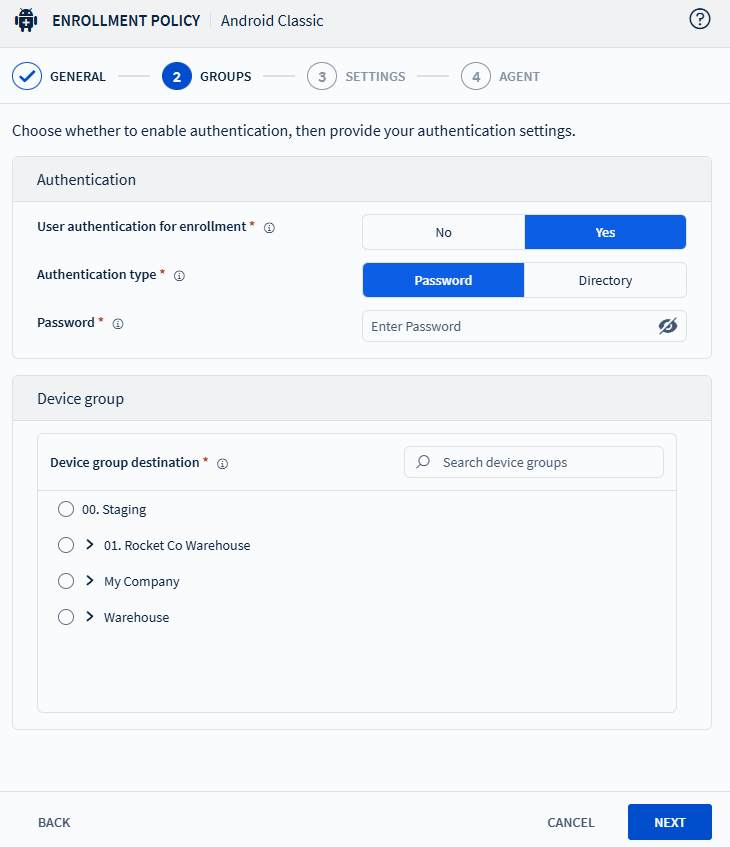
- No: Enrolling devices skip user verification.
- Yes: Configure authentication for device enrollment:
Password Enter a single password for use across all devices enrolled with this policy. Directory Select to add directory groups. Choose directory service from the dropdown list and use the Search Groups field to find a group.
To add a new directory service connection, select Manage Services. From the dropdown menu, choose Directory, Identity Provider or SOTI Identity (see Identity Management).After adding the directory group, select a device group destination and applicable terms and conditions.
- Choose the target group, then select Next.
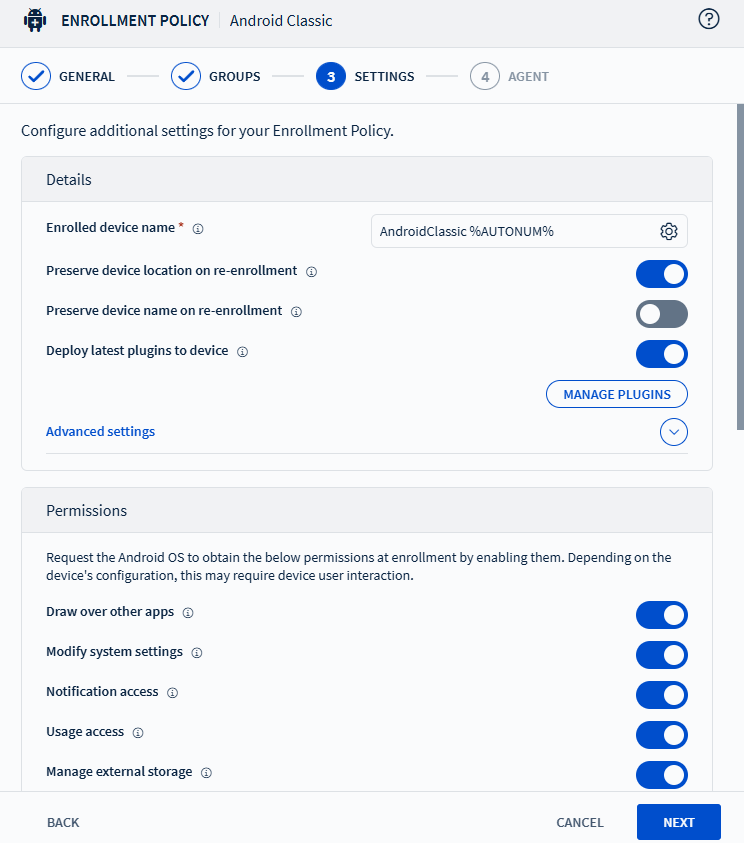
-
In the Settings tab, configure the available enrollment settings, then select Next.
-
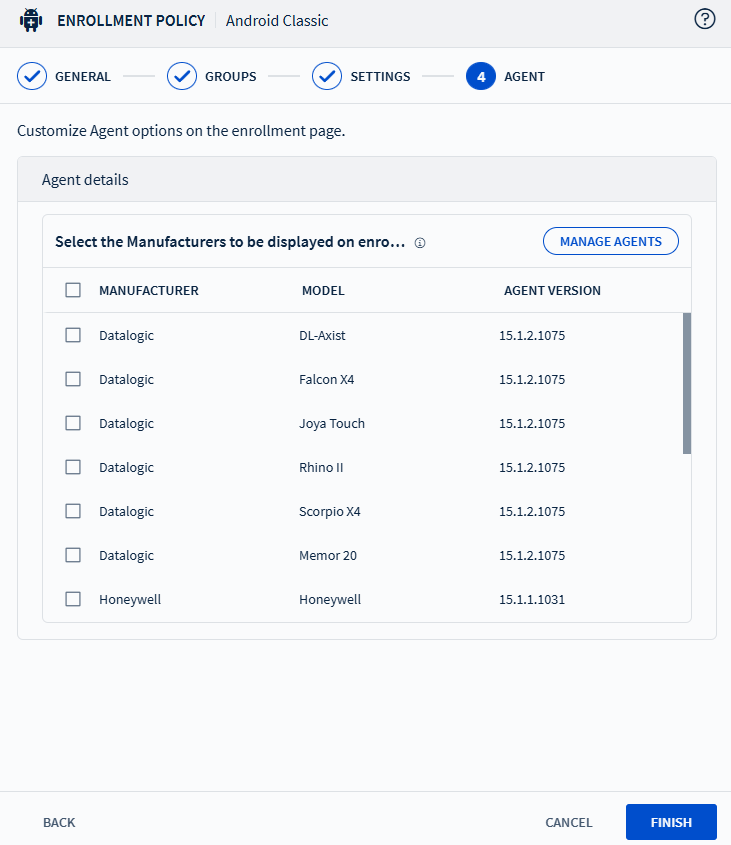
In the Agent tab, select the manufacturers to display during enrollment. Select
Manage Agents to add new device agents to the list.
-
Select Finish to create the enrollment policy. The Enrollment Policy
Info page displays, listing policy details and device enrollment options. You
can also add
*.apkand*.inifiles from this page.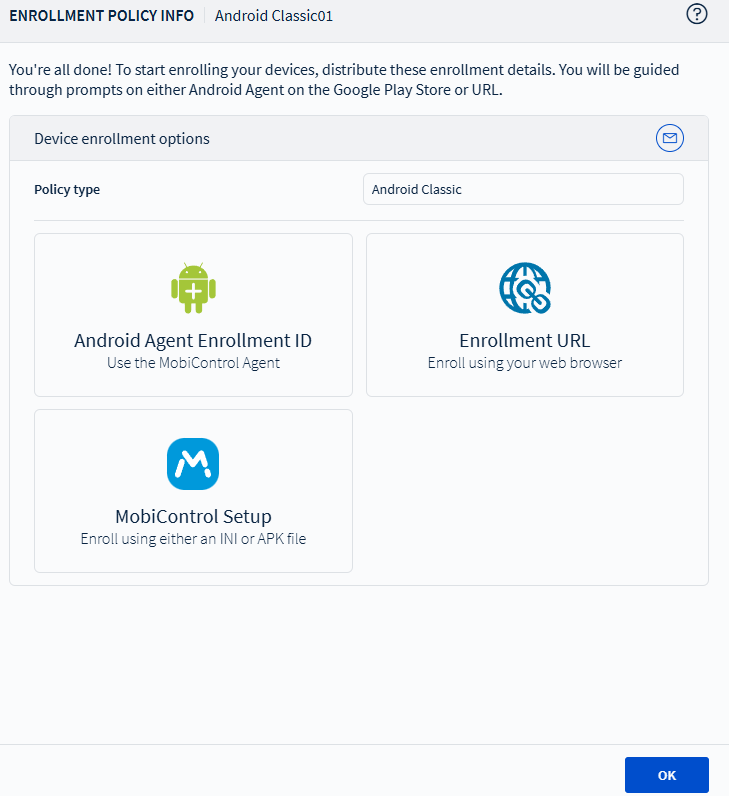
- Select OK to complete the process.