Creating a ChromeOS Enrollment Policy
About this task
Procedure
- From the main menu, select . This action displays the Enrollment Policies view.
- Select New Enrollment Policy to launch the Enrollment Policy wizard.
-
Below the Google platform icon, select the
ChromeOS platform. This opens the
General view.
-
In the General view, provide a brief and descriptive name
for the policy. This is especially important if you intend to create multiple
enrollment policies. Select Next.
Troubleshooting: If the Admin Email is unavailale, verify that a Chrome Enterprise Binding is configured. See Adding a Chrome Enterprise Binding to SOTI MobiControl for more details.
-
In the Groups tab, select
 to configure an acceptable IP address range.
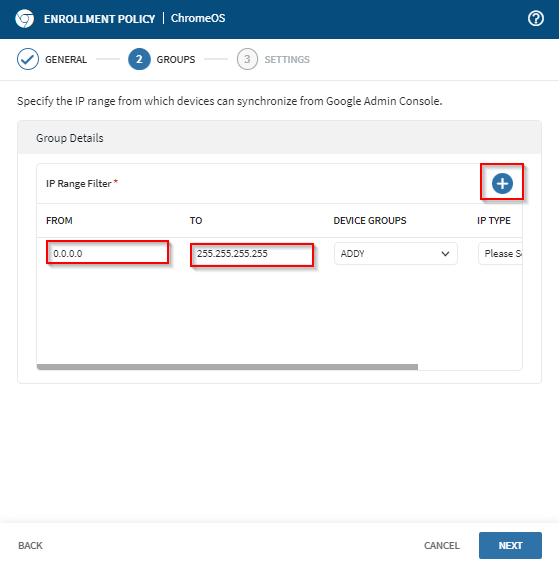 Troubleshooting: In case you come across an error related to overlapping IP ranges, make sure to verify that there are no conflicting enrollment policies that use the same IP address range.
 -
From the Device Groups
dropdown
menu, select the destination device group.
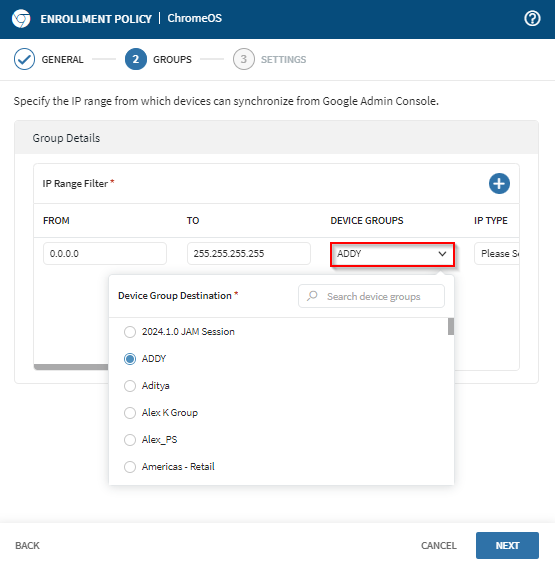
- Select an IP address type (Internal or External), from the IP Type dropdown menu.
- Select Next to proceed to the Settings view.
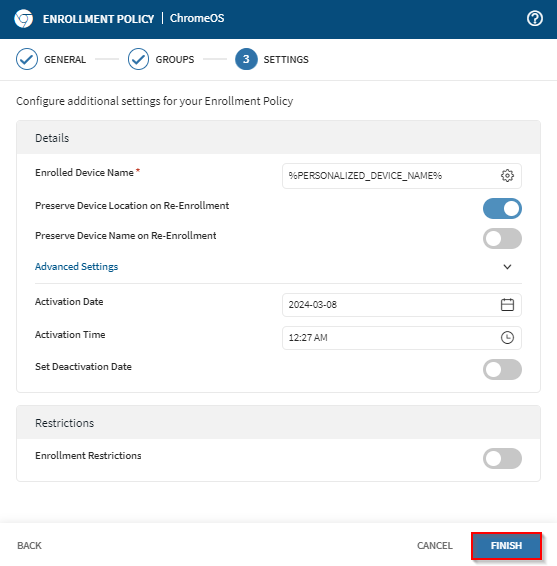
-
Select from the available settings, then select Finish.
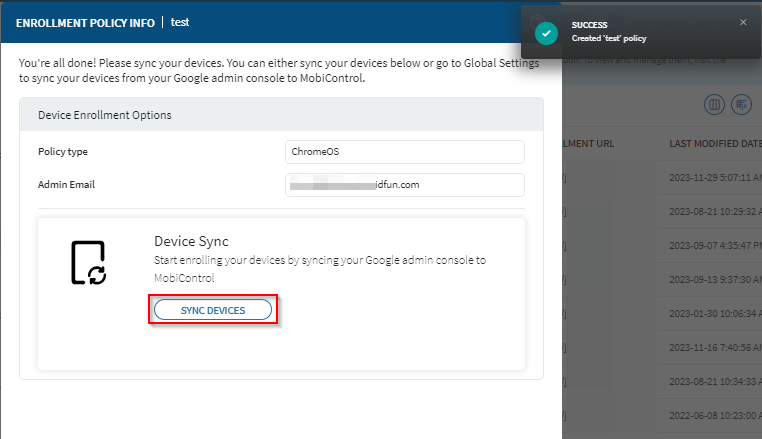
- The system creates the new enrollment policy and displays the Enrollment Policy Info page.
-
Select Sync Devices to initate enrollment.