Creating and Configuring the On-Premises Application in Microsoft Entra ID
Before you begin
Note: You
must disable Microsoft Intune to prevent interference with your SOTI MobiControl On-Premise application.
About this task
Procedure
- In Microsoft Entra ID (formerly Azure AD), navigate to Mobility (MDM and MAM).
-
Disable the Microsoft Intune app if it is present under .
-
Set MAM user scope to
None.

-
Set MAM user scope to
None.
- Select Add Application, then Create your own application. Enter a name for your application, then select Add.
- Set MDM user scope to Some or All. If you select Some, you can specify which user groups to include.
-
Update the following fields with the Device Management Address (DMA) of your
SOTI MobiControl instance:
- MDM terms of use URL—https://<DMA>/FederatedEnrollment/TermsOfUse.svc/TermsOfUse
- MDM discovery URL—https://<DMA>/FederatedEnrollment/Discovery.svc
Note: Obtain the DMA address in the SOTI MobiControl Admin Utility's Deployment Server tab.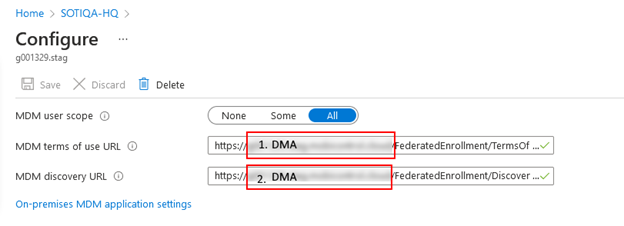
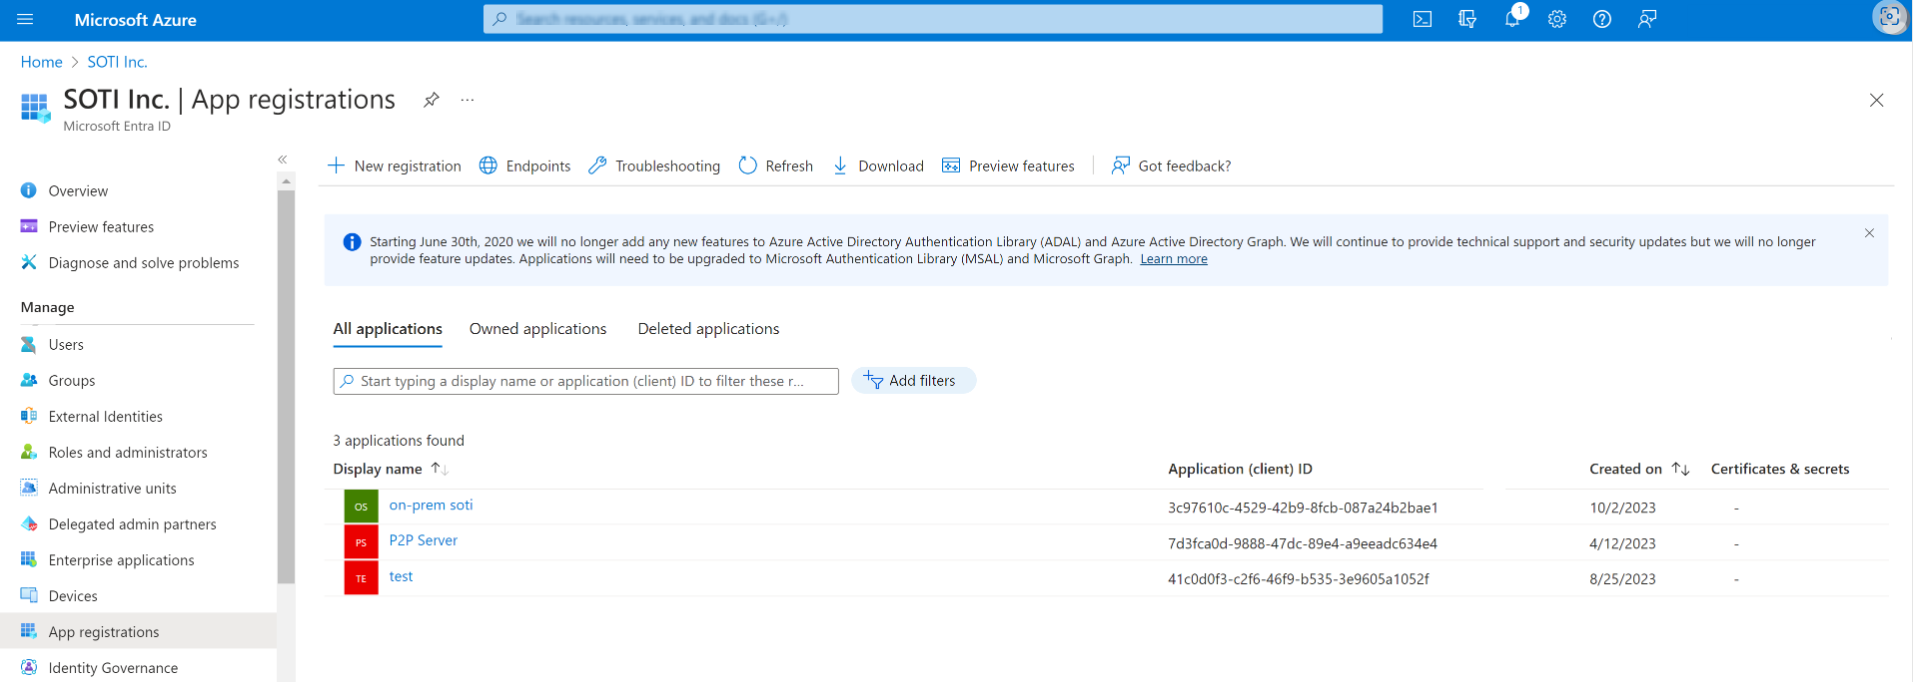
- From Microsoft Entra ID, select App Registrations.
-
Select your newly added on-premises application.
-
Select the Application ID URI and edit the value with
the DMA.
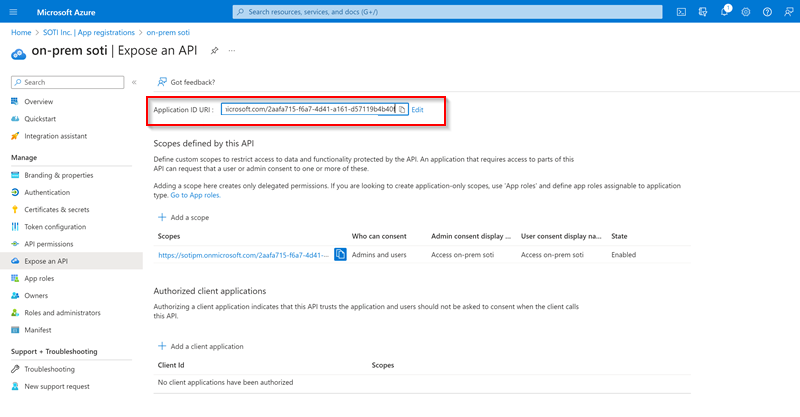
-
Select .
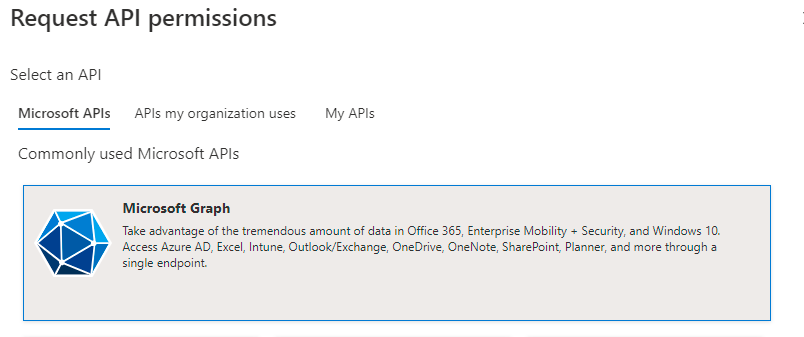
-
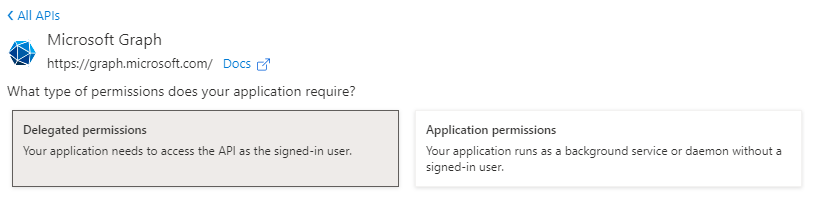
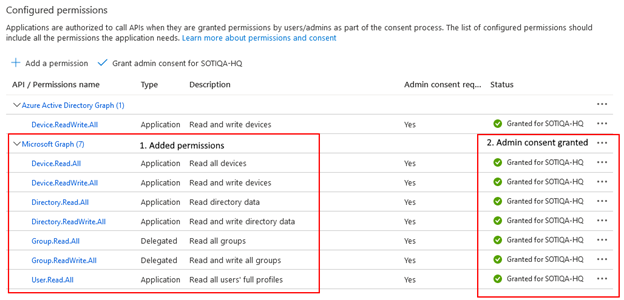
Select Application permissions and add the following
permissions:
-
Select Delegated permissions and add the following
permissions:
-
Select Grant admin consent for <Tenant Name>. The
status for the permissions is Granted for <Tenant
Name>.
- Select Manifest.
-
Make sure that the value for
groupMembershipClaimsis"SecurityGroup". -
Make sure that the
identifierUrisis the value you entered in the Application ID URI from the App Registration step.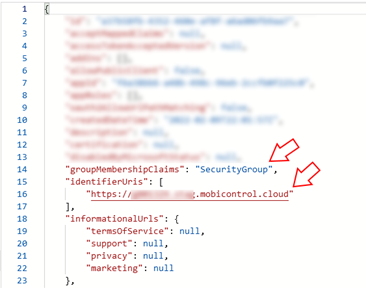 Note: If
groupMembershipClaimsis not"SecurityGroup", verify that the Application ID URI is correct. If set and thegroupMembershipClaimsvalue does not appear as expected, enter the following and select Save:"groupMembershipClaims": "1",Reopen the Manifest and verify
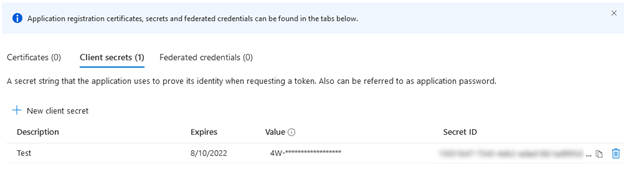
groupMembershipClaimsis"SecurityGroup", as expected. - Select Certificates and Secrets, then select New Client Secret.
- Enter a Description of the secret, set an Expiry, and select Add.
-
Copy the value and save it securely in another text file for future
reference.
Note: The value displays as masked. You cannot reread it.