Enrolling SOTI VPN Servers
About this task
Important: This topic is
specifically for enrolling SOTI Virtual Private Network
(VPN) servers. For instructions on enrolling other device types running Windows, see
Adding Windows Devices.
After configuring the SOTI VPN service settings, you can enroll your VPN
servers for your clients to connect with. In this procedure, you learn how to:Creating a Windows Classic SOTI VPN Server Enrollment Policy
Procedure
- From the main menu, select . This action displays the Enrollment Policies view.
- Select New Enrollment Policy to launch the Enrollment Policy wizard.
-
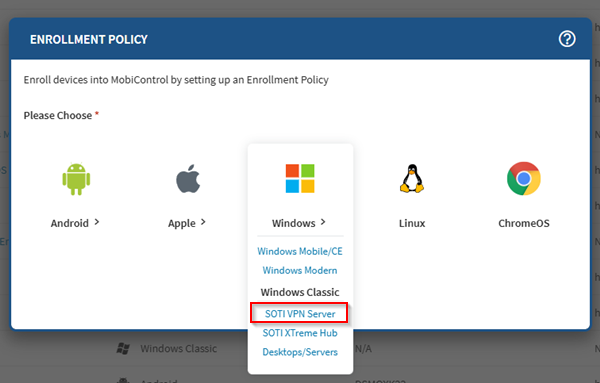
Under the Windows platform icon, select the
SOTI VPN Server
platform. This opens the Enrollment Policy view.
-
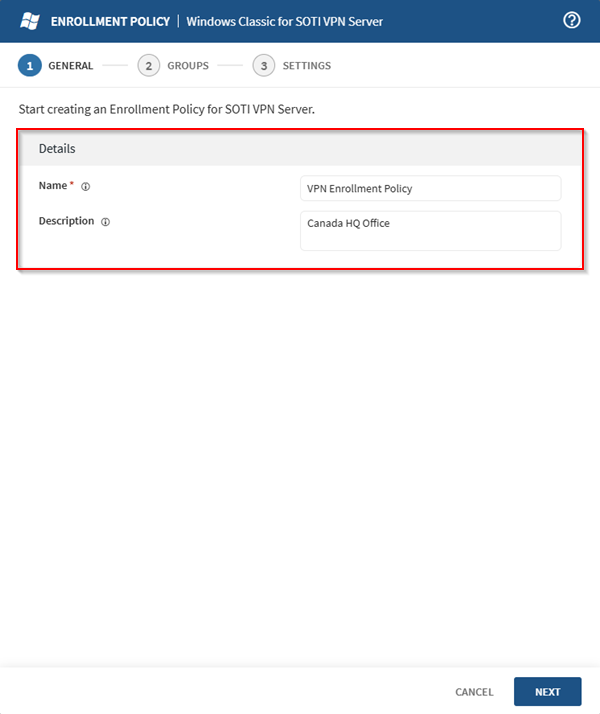
In the Enrollment Policy view, enter a brief and
descriptive name for the policy. This is especially important if you intend
to create more than one enrollment policy. Select
Next.
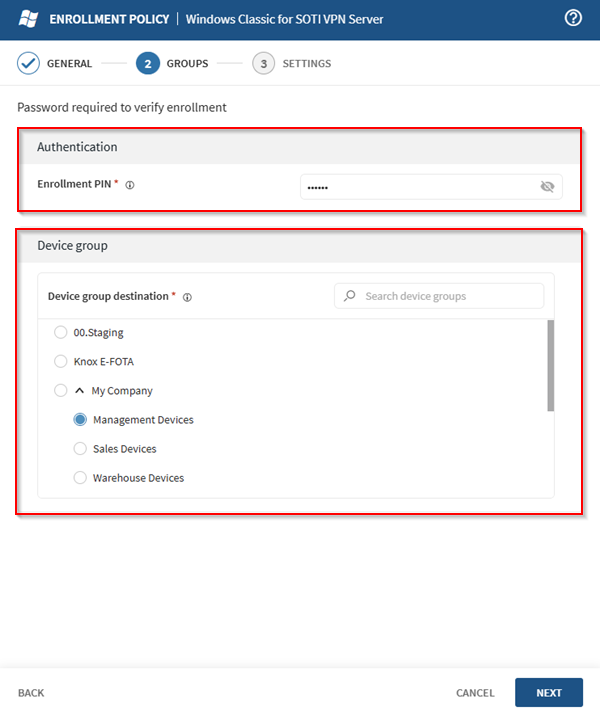
- In the Groups tab, enter a mandatory numeric enrollment PIN in the Authentication section.
-
In the Device Groups section, specify the destination
device group.
- Select Next to proceed to the Settings view.
-
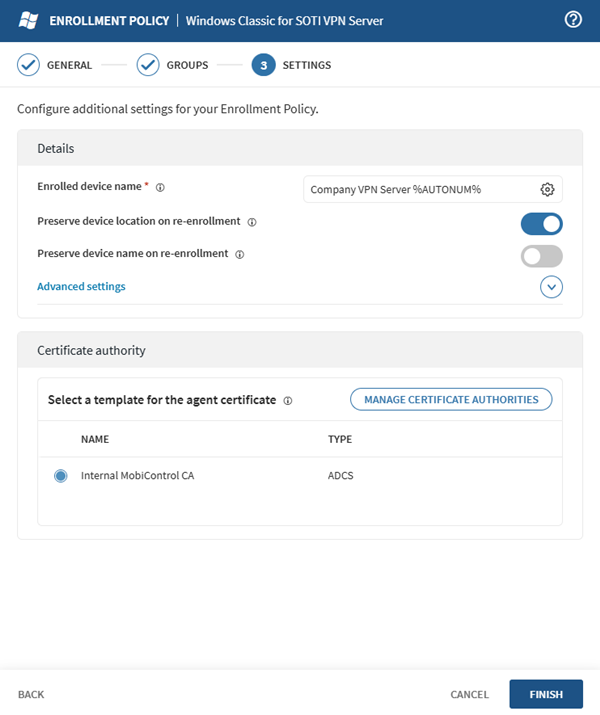
Configure the settings (see the Settings section of the Enrollment Policy Wizard topic).
- Select Finish.
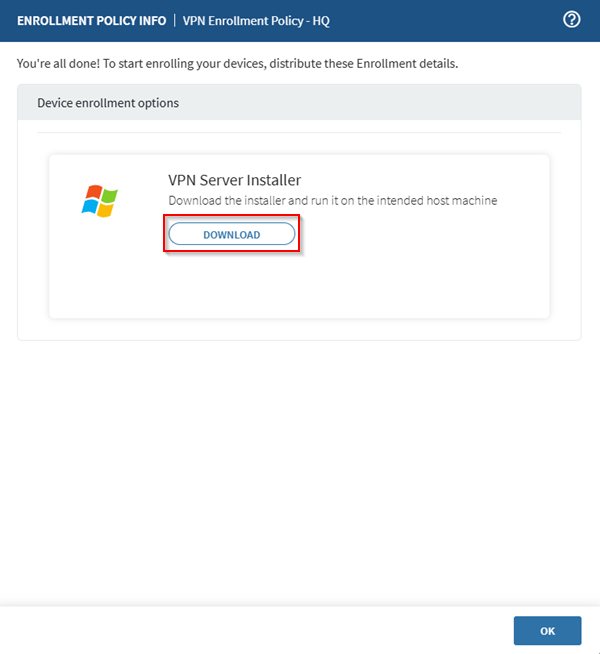
- SOTI MobiControl creates a new enrollment policy and displays the Enrollment Policy Info page.
-
Select Download to download the zipped installer
file for enrollment.
Enrolling a Windows Classic SOTI VPN Server
Before you begin
- The VPN server must be running Windows Server 2016, 2019, or 2022 to enroll as a VPN server and must have access to your enterprise network.
- Enterprise devices must have access to the VPN server on User Datagram Protocol (UDP) port 51820.
- .NET framework 4.8.
- Network Address Translation (NAT) enabled (Hyper V).
Procedure
-
Run the following command in PowerShell as an administrator to enable NAT
on the device.
Enable-WindowsOptionalFeature -Online -FeatureName Microsoft-Hyper-V -All - Place the downloaded zipped installer file on your VPN server.
-
Unzip the archive file to run the executable.
Important: Run the executable with its enrollment PIN as a parameter. For example, if your PIN is
1234, run the following command:MCagent.exe -pin 1234