Configuring Components
Before you begin
Important: The SOTI Connect Installer must be
the same version as the installed version of SOTI Connect.
About this task
The following procedure describes how to configure installed SOTI Connect components.
Procedure
- Extract the SOTI Connect installation package (.zip file) to a temporary folder.
- In the temporary folder, double-click the installer (SOTI Connect Installer.exe). When prompted, confirm that you want the installer to make changes to your system.
-
In the installer, select Update configuration of existing Connect
components. Select Next.
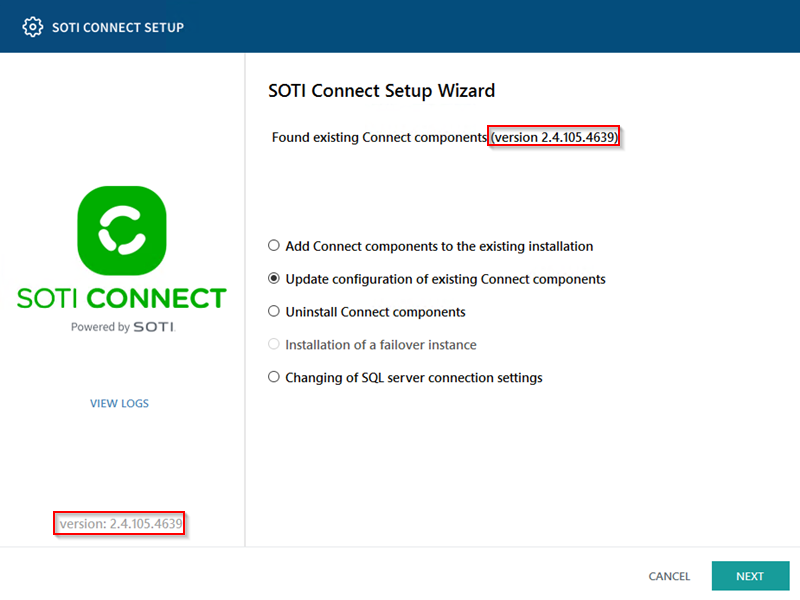 Tip: Check that the SOTI Connect Installer is the same as the installed version of SOTI Connect. In the diagram above, the version number of the SOTI Connect Installer (red box on lower left) matches the installed SOTI Connect version (red box on the upper right).
 -
On the Select Components screen, select the components
whose configuration you wish to update and select
Next.
Note: All installed components are pre-selected. Unselecting components does not uninstall those components. The configuration of unselected components is not changed.
- Follow the instructions in the wizard to complete the process of configuring components.
Results
You have successfully configured the SOTI Connect components of an existing installation.
Tip: If any problems occur during installation, check the logs. To view the
logs, navigate to the installation folder and open the
InstallerUI.log file.