Upgrading SOTI XSight
Before you begin
SOTI MobiControl should be running during the installation and your computer must have access to the SOTI MobiControl database.
About this task
SOTI XSight will automatically create the Default group and retain the incidents that exist in the system. The current SOTI MobiControl integration will remain intact. The current SLAs will migrate over to the new version with the default Working Hours definition called "24/7."
To upgrade SOTI XSight.
Procedure
- On https://docs.soti.net/soti-xsight/downloads, download the SOTI XSight installer and copy it to the server on which you want to upgrade SOTI XSight.
-
Read the SOTI XSight license agreement and accept the
terms to continue with the installation.
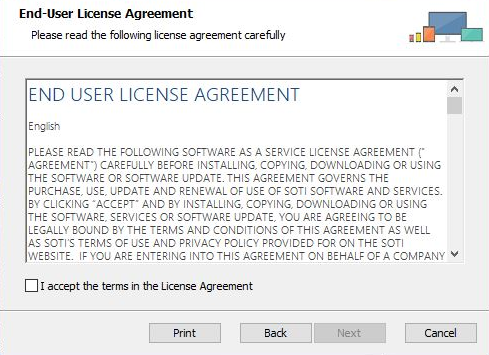
Click Next.
-
Review the SOTI XSight system requirements and ensure
that your system is compliant.
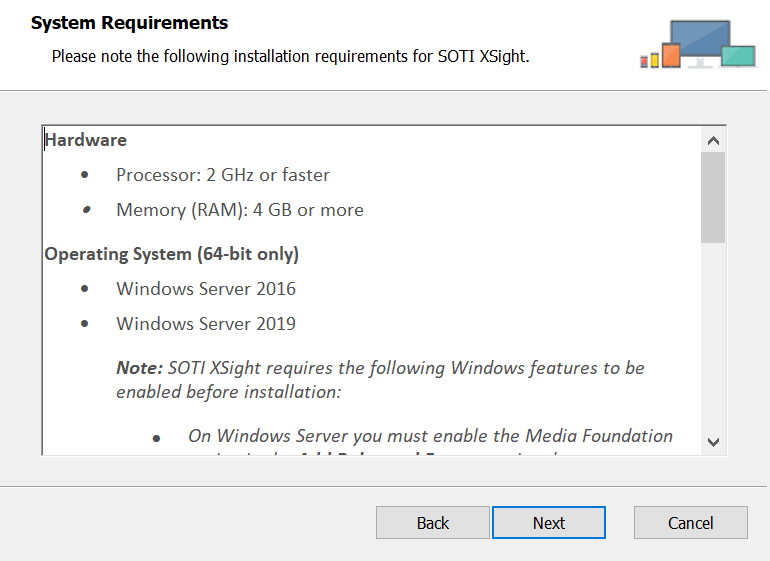
Click Next.
-
Select the features you want to be installed with SOTI XSight.
Note: Include features even if they're already installed. If you deselect an installed feature, the installation wizard will uninstall that feature.
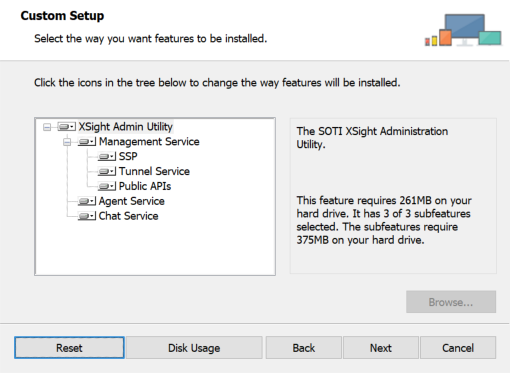
Click Next.
-
Select the destination folder where you want to install SOTI XSight.
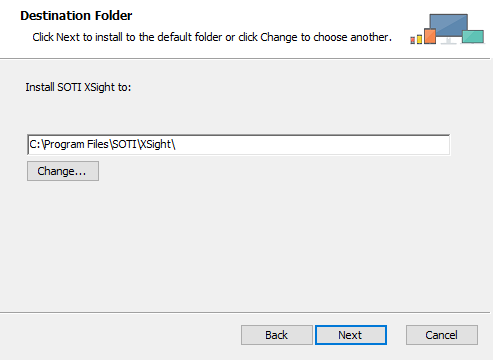
Click Next.
-
Enter information about the SOTI XSight database
server.
Note: The database connection is based on the login properties you provide. Ensure that the login is configured on the database server to include the 'dbcreator' role (or higher)>
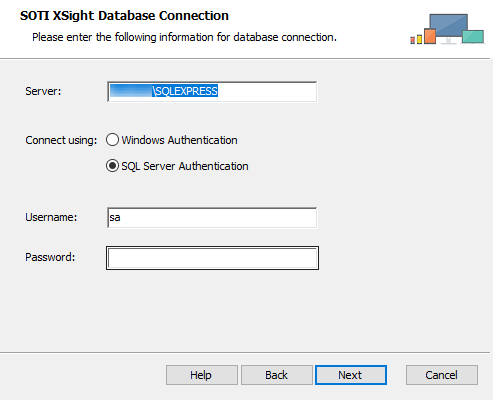
Server Enter the database server. Connect Using Select whether to connect to the database using Windows authentication or SQL Server authentication. If you select SQL Server authentication, enter the corresponding username and password below. Selecting SQL Server authentication enables the SOTI XSight service to be installed under Local System. Username Enter the username used to connect to the database when SQL Server authentication is used. Password Enter the password used to connect to the database when SQL Server authentication is used. Click Next.
-
Specify whether you want SOTI XSight to use a single database or multiple databases, and provide an optional database name prefix.
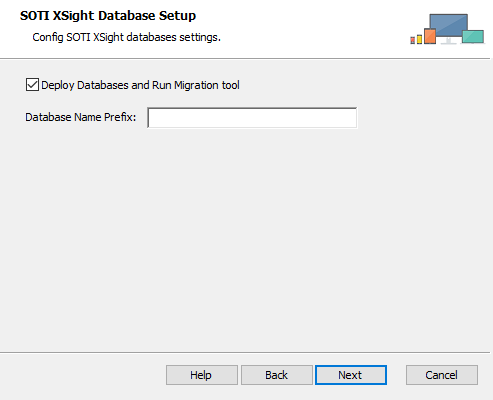
Deploy and run migration tool Select this option to speed up the installation process when deploying servers and when SOTI XSight databases already exist. It's recommended that you leave this option enabled. Database Name Prefix [Optional] Enter a prefix for the default database name or names. This enables you to have multiple SOTI XSight instances use a single instance of SQL Server. If you leave this field empty, each database will be given a default name. If you enter a value in this field, the value is prefixed to the default database name.
Click Next.
-
Select the network account under which you want to run the SOTI XSight service.
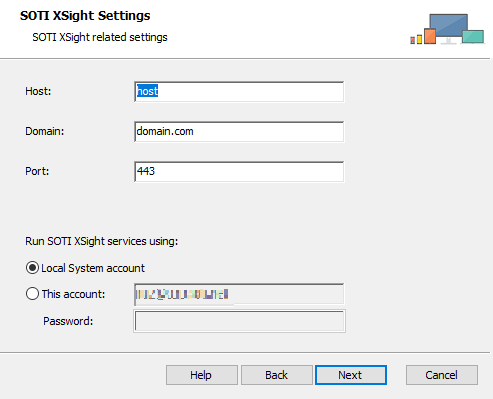
Host Enter the hostname of the SOTI XSight instance. Domain Enter the domain of the SOTI XSight instance. Port Enter the port of the SOTI XSight instance. Local System Account Select this option to run the SOTI XSight service under the Local System account. To enable this option, you must select SQL Server authentication in the SOTI XSight Database Connection panel. This Account Select this option to run the SOTI XSight service under the currently logged-in account. The installer will automatically grant the current user the required 'Log on as a service' right when this option is selected. Password Enter the password required for the above account. Click Next.
-
Verify the SOTI XSight Host and
Public URL settings.
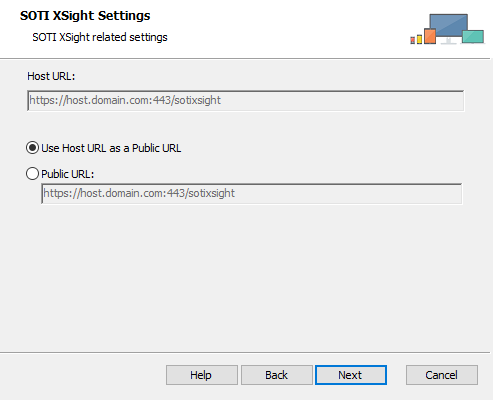
Host URL The host URL for SOTI XSight. This is non-editable. Use Host URL as Public URL Choose this option to automatically use the host URL as the Public URL. Public URL Enter new Public URL if the URL to access SOTI XSight differs from the host URL, as it might in load balanced environments. Be careful editing this value as it can impact access to SOTI XSight.
Click Next.
-
Specify the file storage locations for attachments, downloads, and videos produced by the SOTI XSight instance.
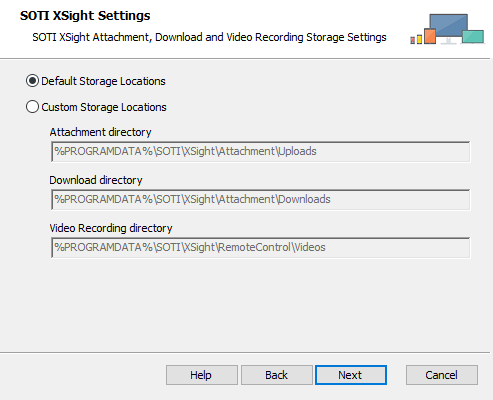
Default Storage Locations Use the default storage locations for attachments, downloads, and video recordings. Custom Storage Locations Enter custom locations to save attachments, downloads and video recordings. In load balanced environments, choose locations that are accessible by all servers.
Click Next.
-
Enter information about the SOTI MobiControl instance with which you are integrating SOTI XSight.
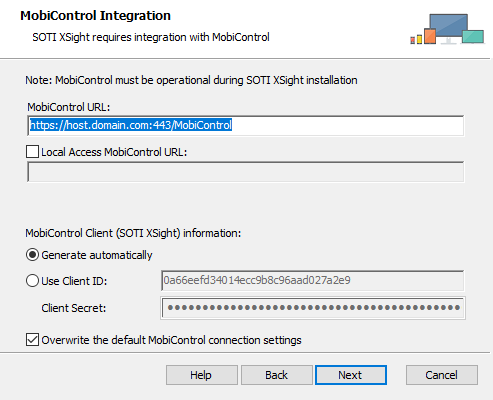
SOTI MobiControl URL Enter the URL of the SOTI MobiControl instance. Local Access SOTI MobiControl URL Enable Local Access SOTI MobiControl URL and enter a URL for a local SOTI MobiControl instance. Use this option to force SOTI XSight to communicate with a specific SOTI MobiControl instance. Recommended in load balanced environments where SOTI XSight and SOTI MobiControl share a server and the public host for the SOTI MobiControl instance cannot be resolved on the computer where SOTI XSight is installed.
Use this option if the public host for the SOTI MobiControl instance cannot be resolved on the computer where SOTI XSight is installed.
SOTI MobiControl Client (SOTI XSight) Information
Generate Automatically Select this option to generate new values for the client ID and client secret. Use Client ID Select this option to reuse the existing values for client ID and client secret that are configured in SOTI MobiControl, and enter the client ID value in this field. Client Secret Enter the existing client secret value configured in SOTI MobiControl. Overwrite the default SOTI MobiControl connection settings When enabled, default SOTI MobiControl connection settings are overwritten by SOTI XSight. Click Next.
-
Enter information about the SOTI MobiControl database server.
Note: The SOTI MobiControl database must be accessible to the SOTI XSight installer.
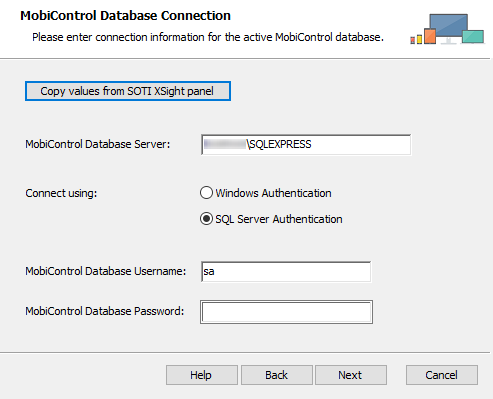
Copy Values from SOTI XSight Panel Click this button to copy the corresponding entries from the SOTI XSight Database Connection panel. SOTI MobiControl Database Server Enter the SOTI MobiControl database server. Connect Using Select whether to connect to the database using Windows authentication or SQL Server authentication. If you select SQL Server authentication, enter the corresponding username and password below. SOTI MobiControl Database Username Enter the username used to connect to the SOTI MobiControl database when SQL Server authentication is used. SOTI MobiControl Database Password Enter the password used to connect to the SOTI MobiControl database when SQL Server authentication is used. Click Next.
-
Select the database being used by SOTI MobiControl.
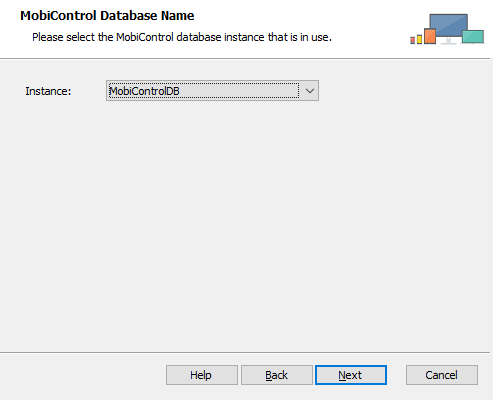
Instance Select the name of the active SOTI MobiControl database from the list. Click Next.
-
This panel reminds you that you will need to manually restart SOTI MobiControl after you have finished installing SOTI XSight.
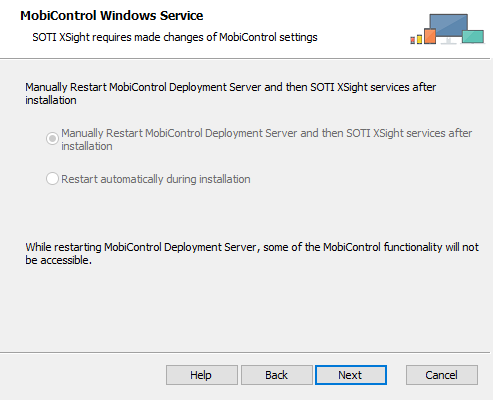
Click Next.
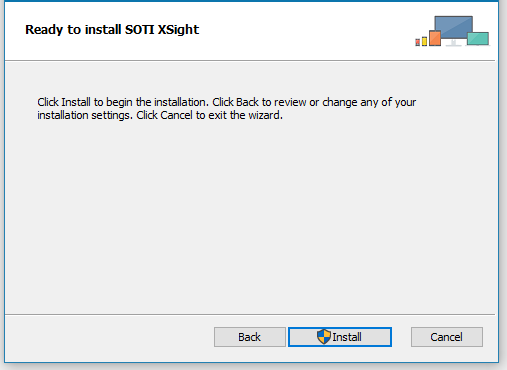
-
Click Install to begin the upgrade.
Results
During installation, the SOTI XSight installer automatically communicates the SOTI XSight server URL to SOTI MobiControl. If you need to change the SOTI XSight server URL, see Updating the SOTI XSight Server URL.