|
|
Creating a Package Project |
The first step to creating a package is to create a package project. The following steps explain how to use Package Studio to create a package project:
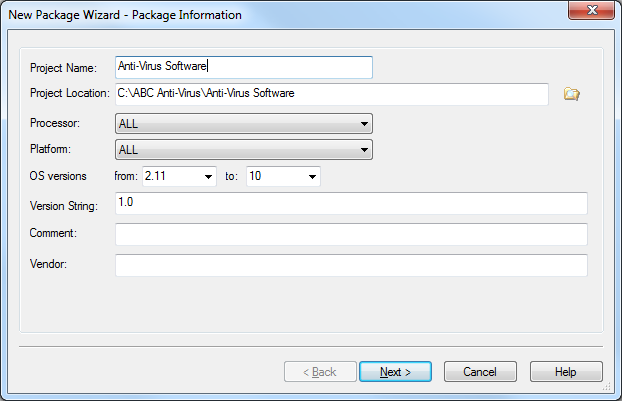
Package Information page
The following table describes the fields in the Package Information page of the New Package Wizard:
| Field Name | Description |
|---|---|
| Project Name | Enter the name of the project you want to create |
| Project Location | Select the folder and specify the path where you wish to save your project |
| Processor | Specify the processor of the mobile device which is compatible with the package. In most cases you do not need to modify the default "ALL" setting. |
| Platform | Select the mobile device platform. In most cases you do not need to modify the default "ALL" setting. |
| OS Versions | Enter the range of versions of the mobile device on to which the package can be deployed. In most cases you do not need to modify the default settings. |
| Version String | The version of the package is to be entered here (e.g. 1.0). The version numbers have to be incremented every time you modify the package, before you add the new modified package to the Packages view (tab)in MobiControl Manager. |
| Comment | Enter a description for the package. You can optionally leave this field blank. |
| Vendor | Enter name of the Vendor. You can optionally leave this field blank. |
-
Add optional scripts through the Add Scripts page. You may select appropriate scripts you want to execute during installation or uninstallation of this package. Please see the Add Script page for more information.
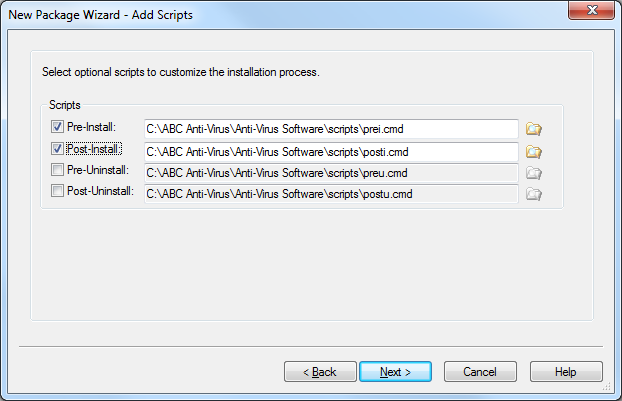
Add Scripts page
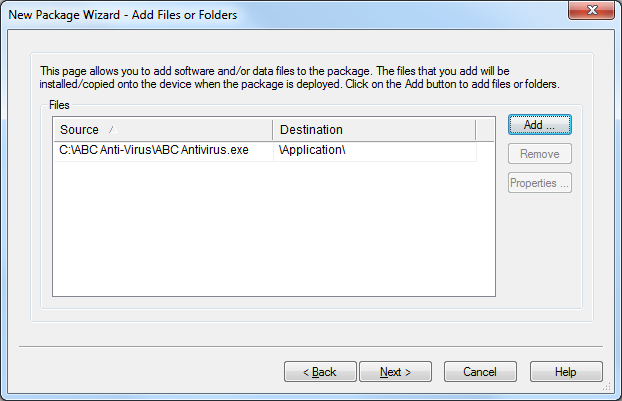
Add Files or Folders page of the New Package Wizard
The following table describes the fields in the Add Files or Folders page of the New Package Wizard.
| Field Name | Description |
|---|---|
| Source | The full path to the file on the desktop computer. |
| Destination | The path on the mobile device where the file is to be installed to. |
To add a file to the project, click the Add button and browse to the file(s) you would like to add to the project. After selecting the files you wish to add, the File Attributes dialog box will be displayed.
-
Specify the location on the mobile device where the file(s), file copying rules, and installation rules are to be installed.
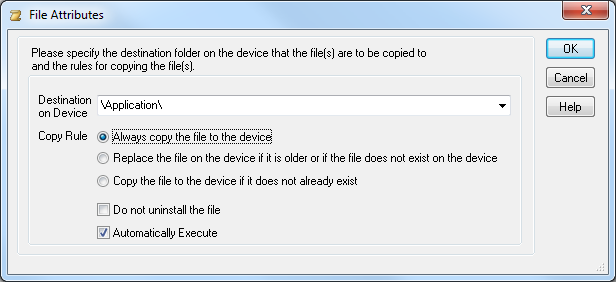
File Attributes dialog box
- Always copy the file to the device
- Replace the file on the device if it is older than a file with the same name, or if the file does not exist on the device
- Copy the file to the device if it does not already exist on the device
The following table describes the fields in the above dialog box.
| Field Name | Description |
|---|---|
| Destination On Device | The path on the device to where the file is to be copied |
| Copy Rule | Specifies the condition to be checked before the file is copied to the device. The options available are:
|
| Do not uninstall the file | When this option is enabled for a file, that file will not be removed or uninstalled from the device even if the package is uninstalled. |
| Automatically Execute |
Enabling this option results in the file being automatically executed or
launched on the device after the package is delivered. This option
can be used to automatically install an application distributed as a Please see the Cabinet File Properties page for more information on suppressing warning messages for end users when
installing |
Click OK. When you have finished adding files via the Add File page, click Next.
-
In the Size Setting dialog box, specify any additional storage space that may be necessary to install with the package.
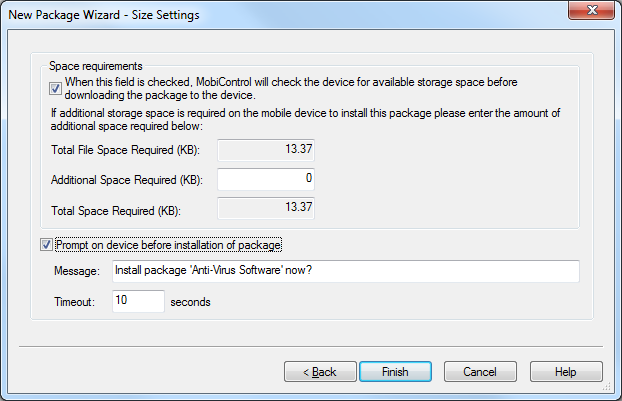
Size Settings page
The following table describes the fields in the above dialog box.
| Field Name | Description |
|---|---|
| Additional Space Required (KB) | Specify any additional storage space that may be needed to install the package. When MobiControl tries to install the package it will first check to see if there is enough space on the device to install the package. |
| Prompt on device before installation of package | If checked, a message box will appear on the device that prompts the user to install the package. If the user clicks No, the package will not be installed, the package will attempt to re-install five times by default and it can also be force a re-installed. The package will attempt to install on the Device Schedule Update. The message box is closed automatically after 10 seconds or if the user clicks Yes the package will continue installation. |
-
Click the Finish button to create the project.
Viewing the Package Project Properties
Once you have created a package project, you can view the properties of the project by selecting Package Properties from the Project menu in Package Studio.
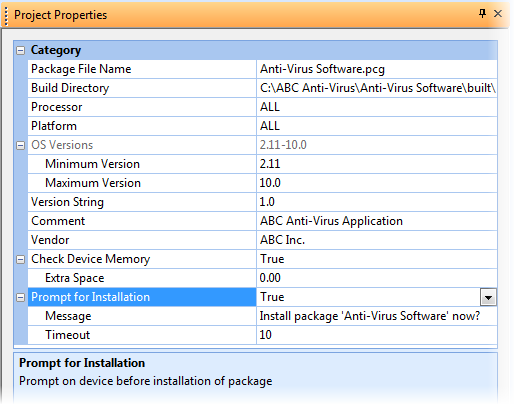
Package Project Properties dialog box
| Attribute Name | Description |
|---|---|
| Package File Name | Name of the package file generated by Package Studio |
| Build Directory | Path where the package (.pcg) file will be saved |
| Processor | Processor of the mobile device onto which the package can be deployed |
| Platform | Operating system of the device onto which the package can be deployed |
| OS Versions | List of the OS versions of the mobile device supported by the package to be deployed |
| Version String | Version of this package (which must be incremented before rebuilding a package project) |
| Comment | Remarks or comments regarding the project |
| Vendor | Name of the vendor who is creating the package |
| Check Device Memory | When this field is set to "True," MobiControl will check the device for available space before downloading the package to the device |
| Extra Space | If there is extra space (more than file size required to install the package) |
| Prompt for installation | When this field is set to "True," the device user will be prompted to install with a pop-up message box. |